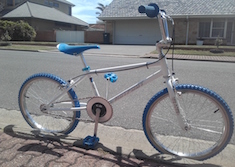
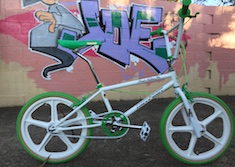
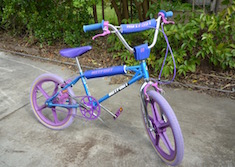
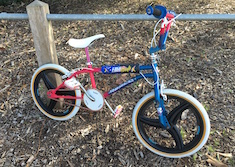
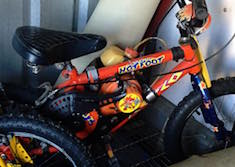
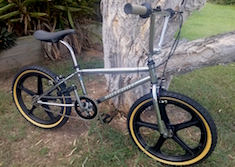
Repco Hotfoot
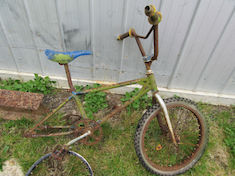
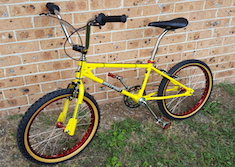
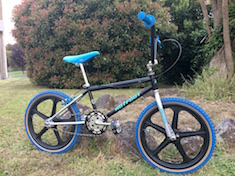
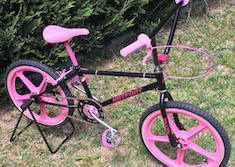
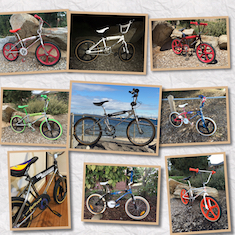
While researching information for my '85 Team Hotfoot and up-coming '82 Team Hotfoot build, I got so sick of finding information then losing it again that I started copying images of bikes, parts and advertising material into a single place. To assist others, I have reproduced this information over the following pages .. most of the information can be found on OzBMX and BMXMuseum and I am not pretending that this informtion will replace either of these valuable resources.
Please browse through all of the material I have collected:
If you have any Hotfoot information or photos, please forward them to me and I will add them to the site. I am especially interested in brochures and advertisements as these are most valuable when restoring bikes back to their original glory.
Restorations
- OldSkoola75: '84 HiTen Hotfoot
- Filmote: '85 Freestyle Hotfoot
- Filmote: '85 Hotfoot 24" Cruiser
- Filmote: '88 Freestyle Hotfoot
Filmote: Restoration of an '85 Hotfoot 24" Cruiser
So by now I have a few Hotfoots - including some that I ride and some that are destined to hang on my garage wall for ever - but I find myself continually opting to ride my '95 Mongoose Menace over these other bikes. Why? The simple reason is that the geometry and size of the Hotfoots make them less comfortable to ride than most mid-school or new-school bikes. The Mongoose isn't large (with a top tube length of 19½ inches or thereabouts compared to a Team's 18" or so) but the geometry of the bike makes the seat post slightly more laid back / less upright making the frame feel much bigger.
Short of slapping Hotfoot stickers on my Mongoose, I needed a solution and building a 24" Hotfoot Cruiser was the obvious one. Peat had collected a number by this time and I managed to buy one from him. The bike was in reasonable condition with good chrome but badly rusted steel rims. The brakes, hubs and cranks were all original but the lower quality that Repco had started introducing by this time.
- Restoring the Frame
- Restoring the Hubs
- Restoring the Rims
- Wheels Complete
- Fitting the Headset and Bottom Bracket
- The 3 Speed Hub
- Assembling the Beast
Restoring the Frame
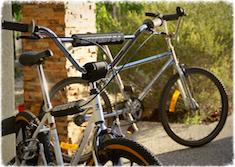
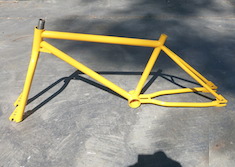
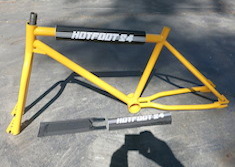
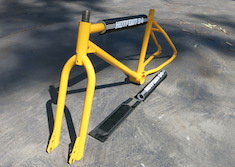
The bike I bought from Peat was basically original with decent chrome and my original plan was to simply polish the frame, replace the rusty wheels and ride it but I kept reflecting on the two bikes Clayton had built for himself and his brother. The bold colours of his yellow and orange bike set them apart from the common chrome / black accessories builds that are floating around. I had a plan - if this was going to be a cruiser it was going to stand out and it was going to be built for cruising. To make it stand out, I wanted a loud colour and BMXMadman suggested a colour called Hazard Yellow.
|
|
|

|
|
Restoring the Hubs
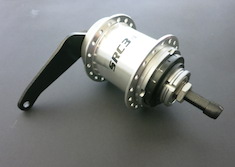
I wanted this bike to cruise so I ended up buying a Sturmey Archer 3 speed rear hub. Apart from easy riding in top gear, this hub is fitted with a coaster brake and I am so sick of bikes with crappy '80s brakes that I thought that a coaster might be nice for a change. I will decide during the build whether I want to restore the original hand brakes and put them back on. At the moment, I am liking the idea of a cleaner looking bike without these.
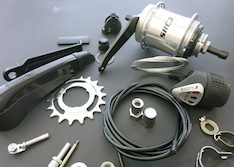
The Sturmey Archer kit contains dozens of parts - more than I have ever put on a bike before. I have tucked the instructions safely away and plan to read them before I start assembling the bike. I have a hunch I will need them!

|
|
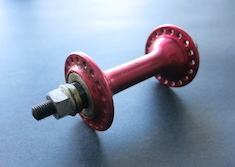
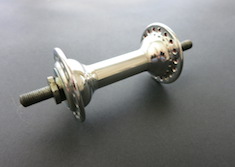
To complement the new Sturmey Archer hub, I needed a front rim but I wanted at least this to be an '80s part. Shimano front hubs seem to be a dime a dozen with the rears being really scarce (is this because they broke BITD?) so I bought one from eBay and set about polishing it back to raw alloy.
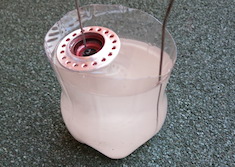
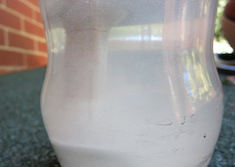
Unlike most alloy equipment from the '80s, these hubs are painted rather than anodised. I stripped the red paint off using normal paint stripper but could not remove it from the stamped Shimano logo or from other details. The paint also seemed to have penetrated the alloy leaving it a faint pink / red colour .. in frustration I gave the hub a caustic soda bath. It removed the remaining paint and 'staining' ready for polishing.
|
|
|

|
|
Restoring the Rims
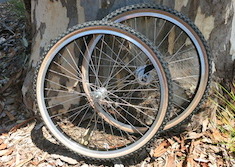
When I first received the bike, I pulled off the rusty 24" steel rims and threw out on a council rubbish pickup assuming I would replace them with a NOS of 24" alloy rims. A couple of months went by and no 24" rims of any sort popped up on eBay and I was wishing I had kept the steel rims and had them re-chromed. Finally a set of Weinmann 7X rims turned up on eBay and I bought them within seconds of seeing them .. the freight from the US cost more than the rims themselves. I have been monitoring eBay and have not seen any 24" rims since!
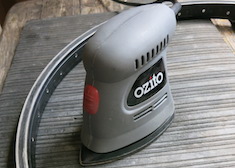
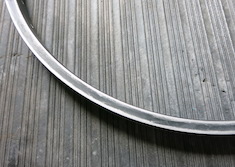
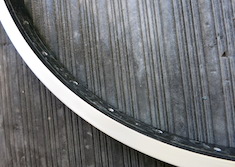
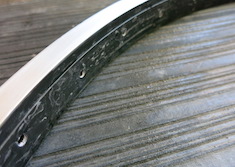
The rims were anodised black - boring - so I shiny-sided them by first stripping as much as I could using a cheap electrical sander and 80 grit sandpaper. As you can see theis took the anodisation of the edges of the brake face but left the middle untouched. This has been my experience every time I have shiny sided rims and assume that the rims have concave sides - or I am doing it wrong! I sanded the remaining anodisation off using wet 'n dry starting with 80 grit and working up to 1600 grit. A final polish with Purple Polish finished the rims ready for lacing.

|
|
|

|
|
Wheels Complete
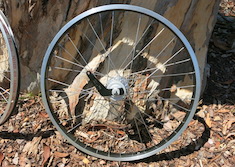
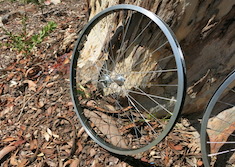
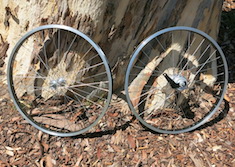
I have laced a number of wheels over the years and thought I was ready to do these as well. A quick look at the Sturmey Archer instructions indicated that the hubs are not symmetrical like a typical BMX hub and the right hand side spokes are shorter then the left. This is typical of road bikes to allow for the gear cluster but I hadn't even considered that a hub with a single cog would ever fall into this category. My confidence left me and I meekly took these to the local bike shop for lacing.

|
|
|

|
|
Fitting the Bearing Races and Bottom Bracket
With the exception of applying the decals, fitting the headset cones, fork crown race and bottom bracket are the most nerve wracking part of building a bike for me. Especially when you have a freshly painted frame!
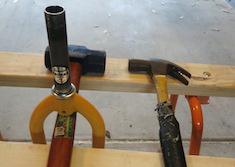
The best way to fit a crown race to a set of forks is to find a length of pipe with an inside diameter close in size to the outside diameter of the steerer tube. With this pipe fitted over the steerer tube, you can tap the race into place. Alternatively, you can tap the race down using a nail punch while taking care not to slip and damage the bearing face. I suspend the forks between two horses so that any pressure is absorbed byt the steerer tube only.
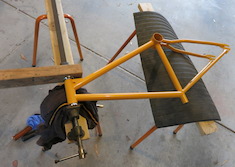
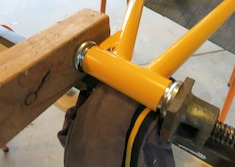
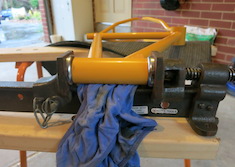
There are a number of specialist tools for fitting headset cups but they can be fitted using a set of sash clamps as shown below. Care must be taken to ensure that the cups 'bottom out' on the head tube. If the brackets are fitted correctly, the bearings will not be parallel to one another resulting in problems.
|
|
|

|
|
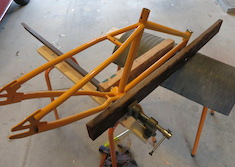
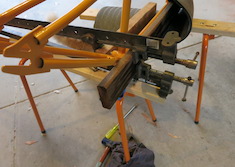
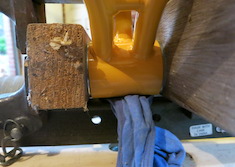
The cups for the bottom bracket can be fitted using sash clamps as well. I use two lengths of timber to protect the edges of the cups. These can be tricky to fit as the cups will tend to go in cocked especially if the clamping area of the sash is smaller than that of the cup 'face'. A second clamp fitted from above helps remedy this by allowing you to adjust each clamp separately.
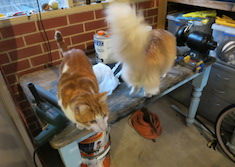
Sometimes you need the assistance of others to finish the job. These two helpers are the epitomy of the curious cat and want to help at the most inopportune times.
|
|

|
|
The 3 Speed Hub
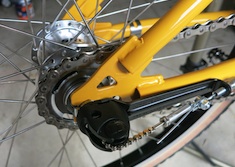
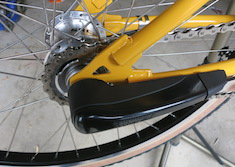
Fitting and adjusting the Sturmey Archer hub and its shifter is really simple due to its multiple adjusters. The trick is simply to adjust it until the shifting chain is under tension in top gear (3rd). What I did notice when riding the bike is that you can shift up gears under load but you have to back of a touch to get it to down-shift.
I am not convinced about the black plastic cover that is provided in the kit. Obviously it is designed to cover and protect the shifting mechanism but it is pretty chunky and stands out against the yellow paintwork.

|
|
Odds and Sods
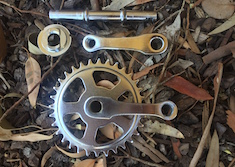
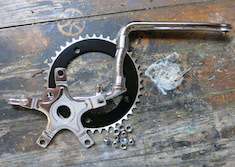
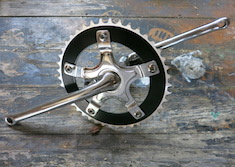
Every time I fit a set of one piece cranks I have to check and re-check the bearings to make sure I have them correctly orientated - should the bearing cage should face inwards or outwards ? Of course this concern kicks in after I have put grease on the bearings (and my hands) and just want to get the part installed cleanly.

|
|


