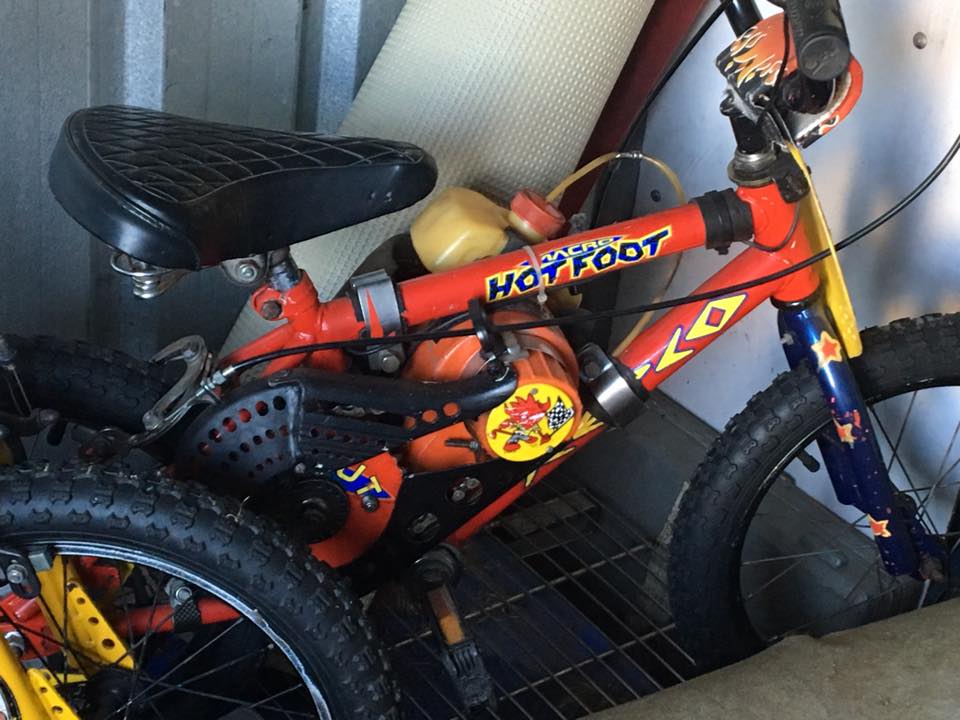
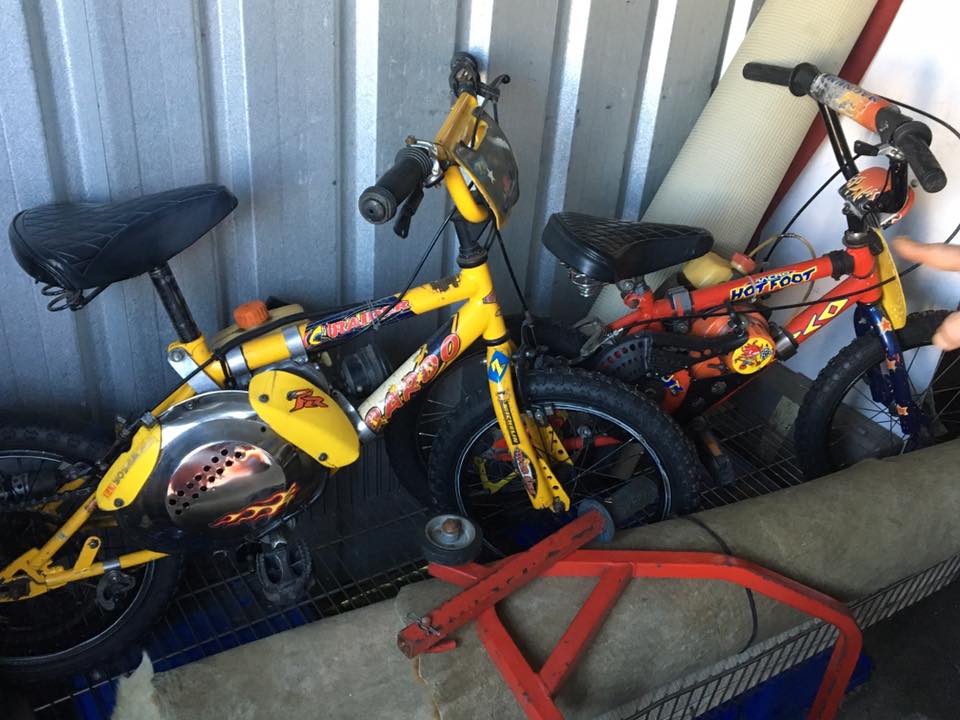
Repco Hotfoot
While researching information for my '85 Team Hotfoot and up-coming '82 Team Hotfoot build, I got so sick of finding information then losing it again that I started copying images of bikes, parts and advertising material into a single place. To assist others, I have reproduced this information over the following pages .. most of the information can be found on OzBMX and BMXMuseum and I am not pretending that this informtion will replace either of these valuable resources.
Please browse through all of the material I have collected:
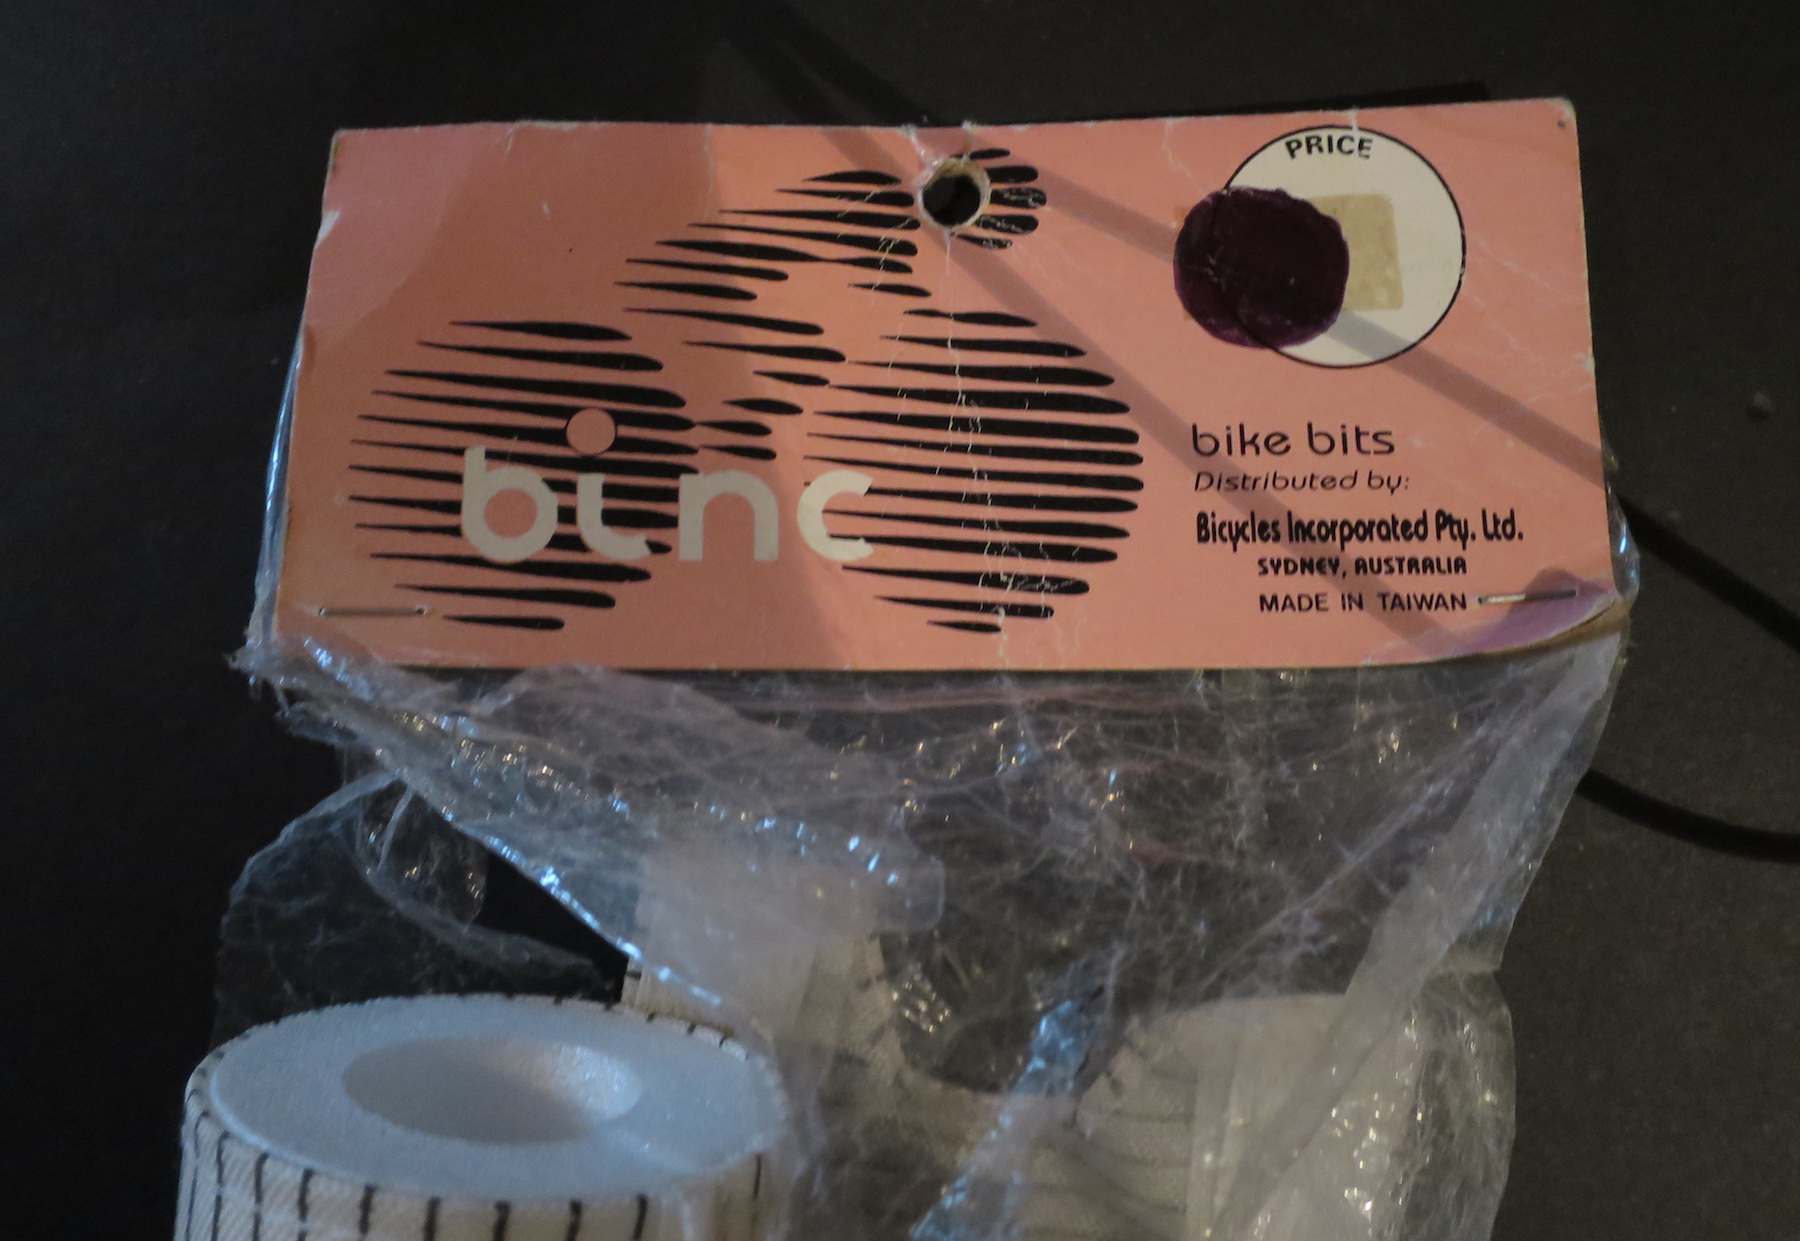
If you have any Hotfoot information or photos, please forward them to me and I will add them to the site. I am especially interested in brochures and advertisements as these are most valuable when restoring bikes back to their original glory.
Restorations
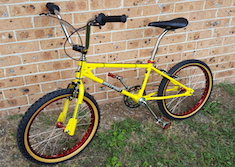
- OldSkoola75: '84 HiTen Hotfoot
- Filmote: '85 Freestyle Hotfoot
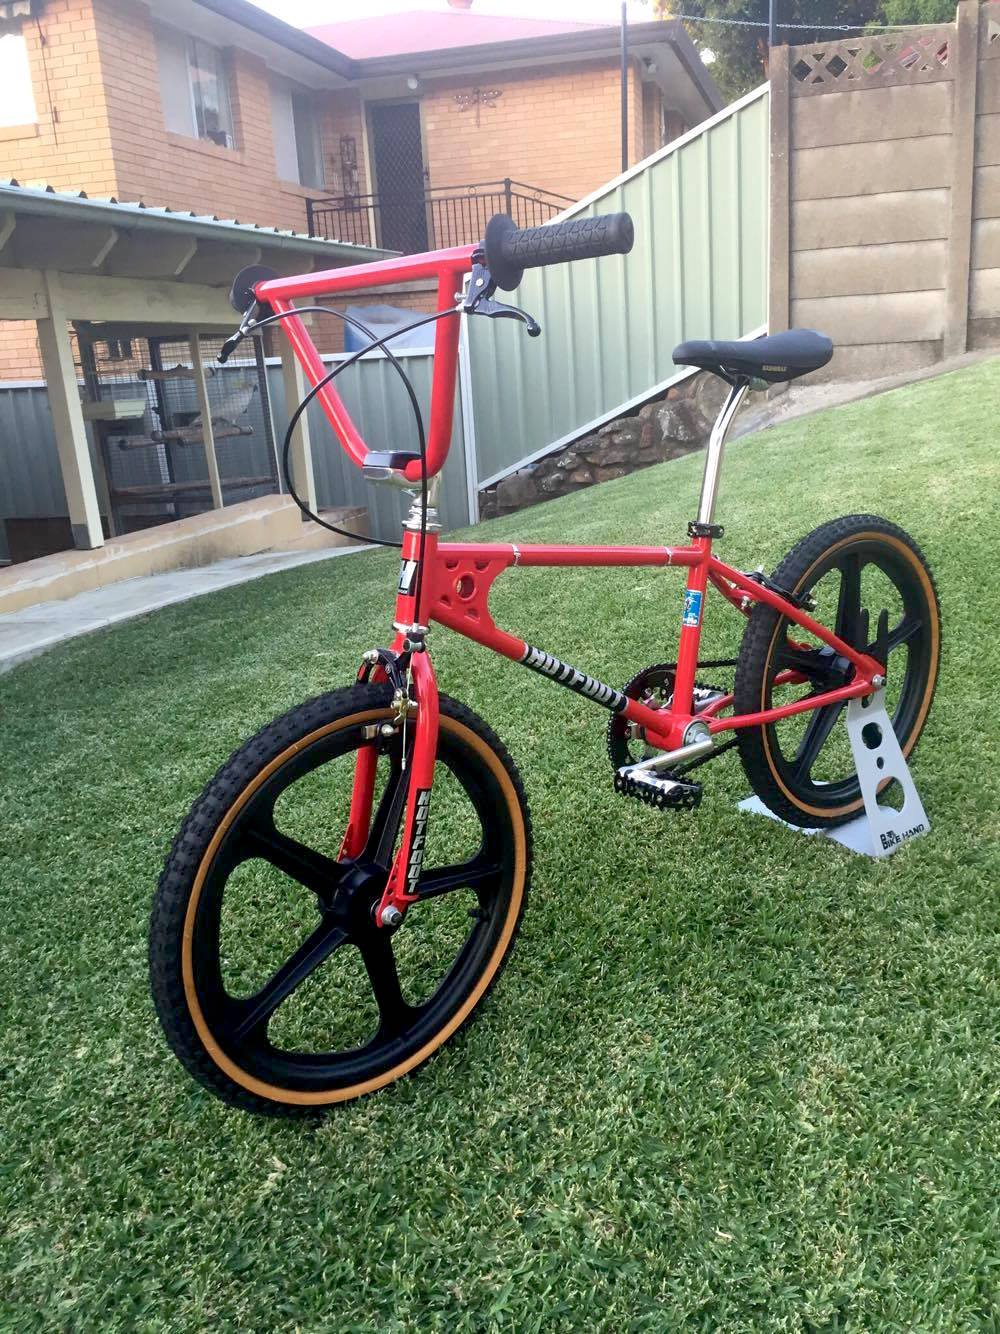
- Filmote: '85 Hotfoot 24" Cruiser
- Filmote: '88 Freestyle Hotfoot
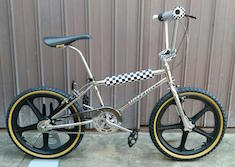
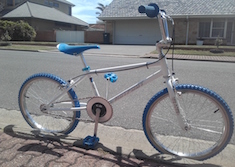
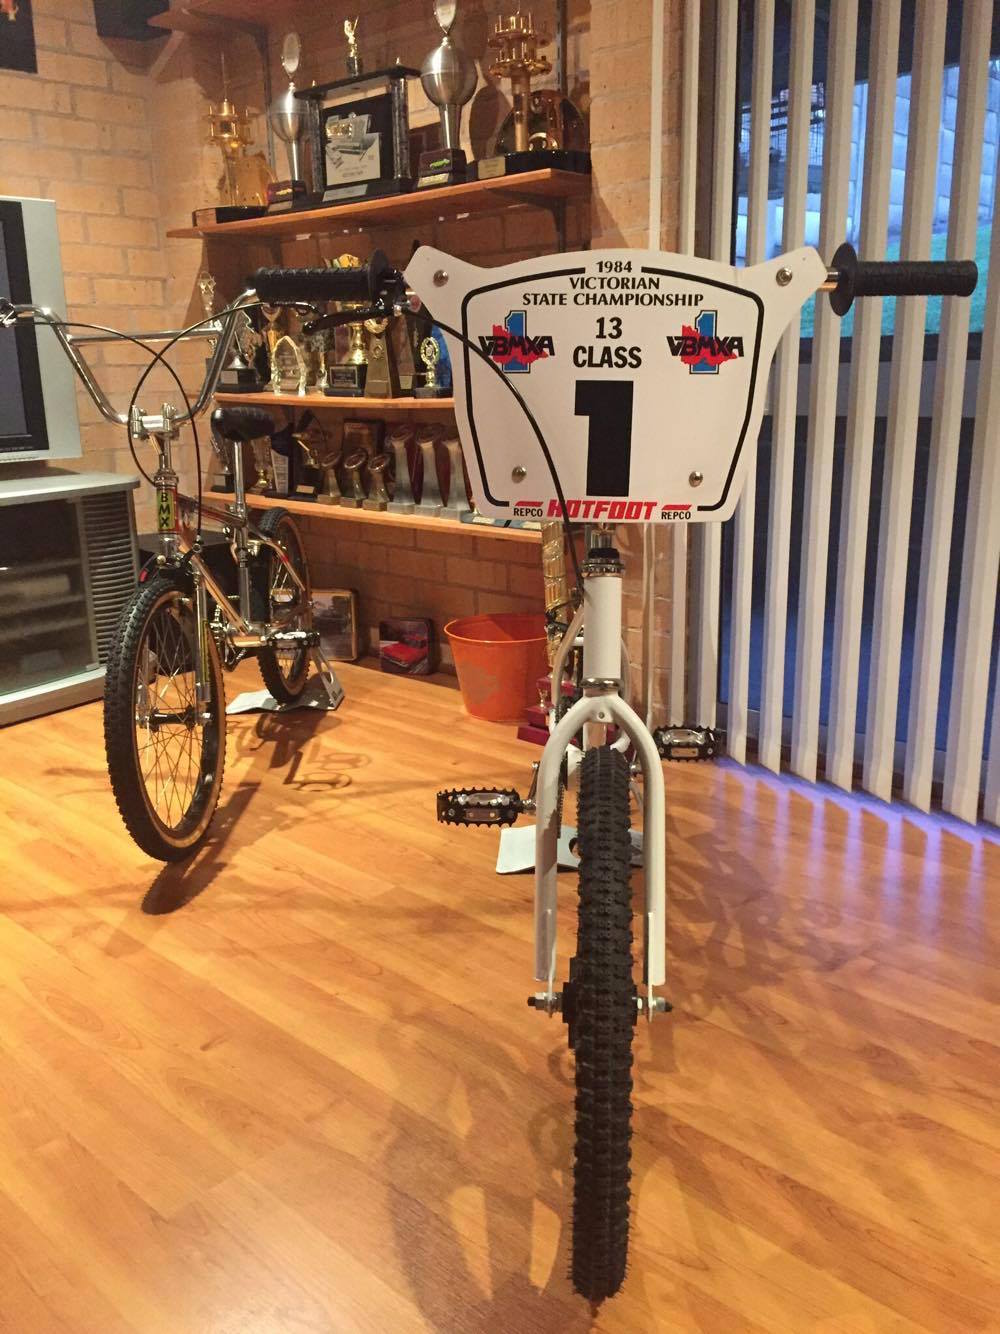
OldSkoola75: Restoration of an '84 HiTen Hotfoot
A special thanks to OldSkoola75 (Simon) for submitting the series of photos below that detail the restoration of his 1984 HiTen Hotfoot. The great thing about this build is that OldSkoola did all of the work himself from repairing and painting the frame and all of the accessories to restoring the original Skyway OE Tuffs. Breathing new life into old parts rather than simply replacing them with new parts can be incredibly rewarding!
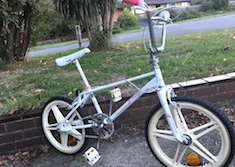
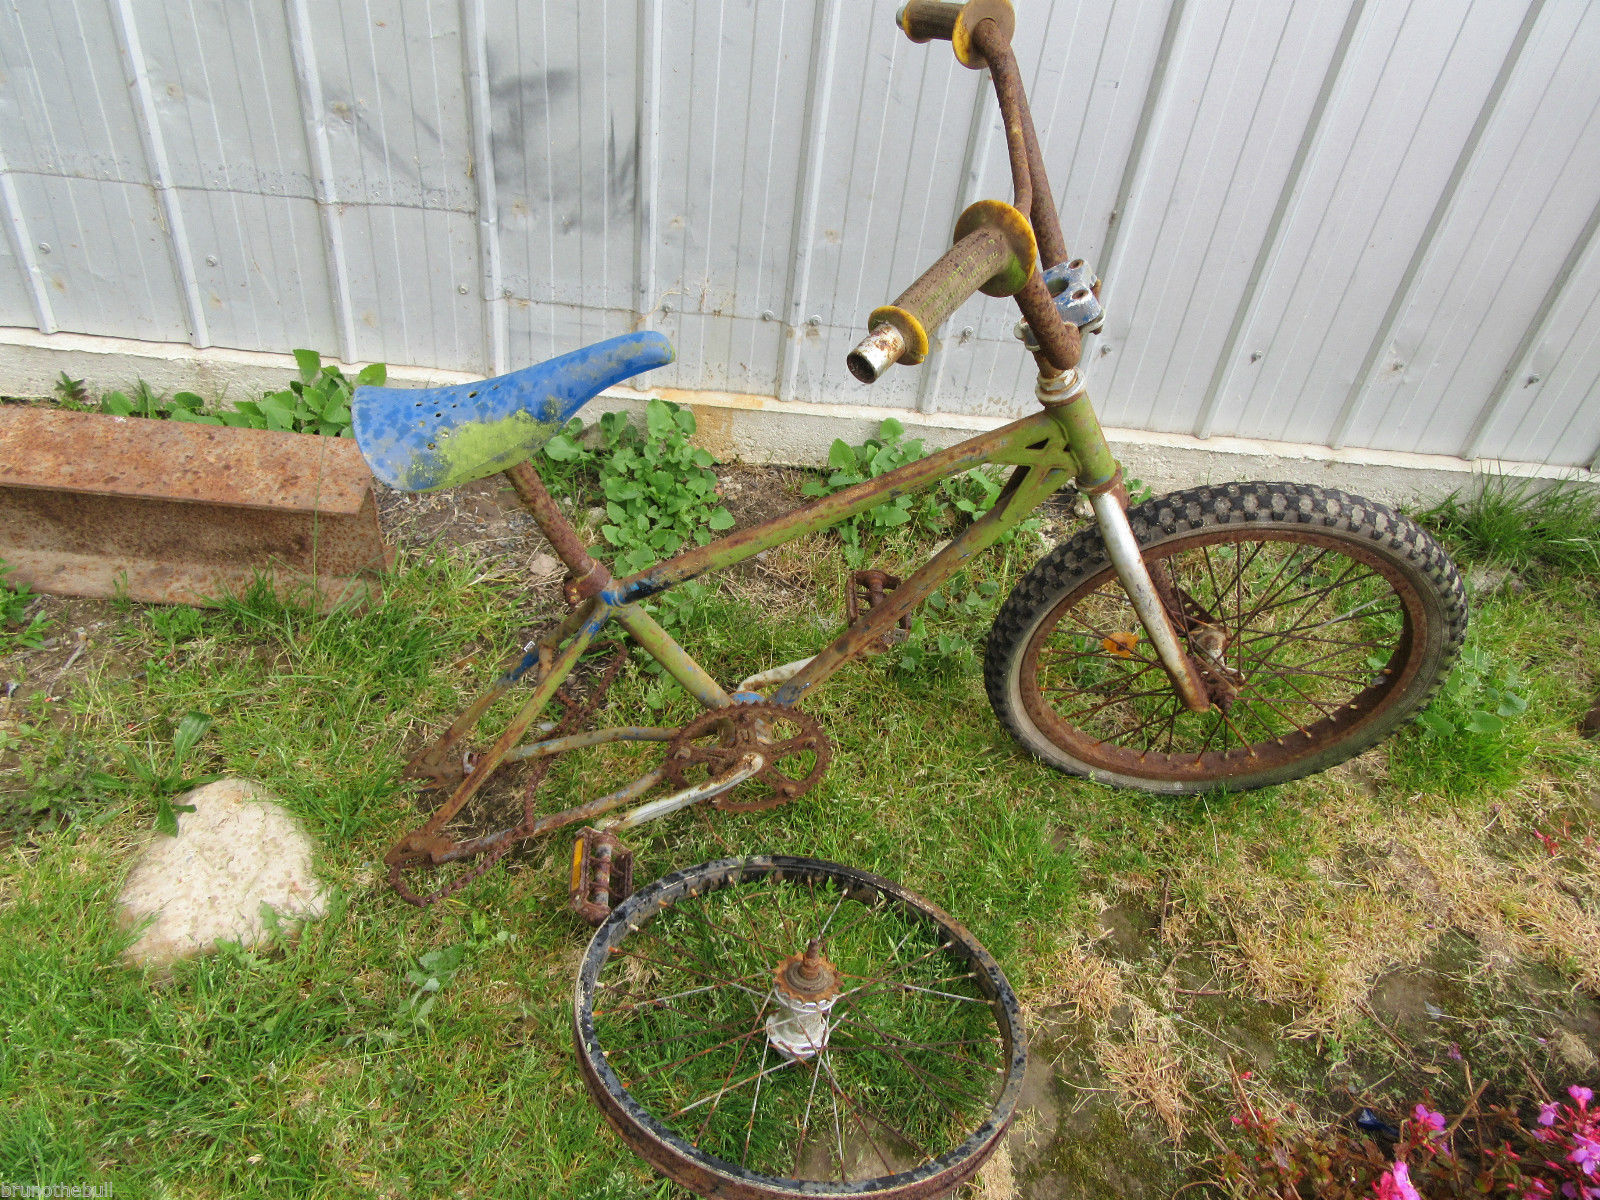
Before
OldSkoola swapped a Repco Intrepid frame for this 1984 HiTen frame and original Akisu forks with Mr.Hotfoot. The CW-style bars are similar to the
originals but feature a nicer top bar with a continuous curve end-to-end rather than the straight top section of the normal bars.
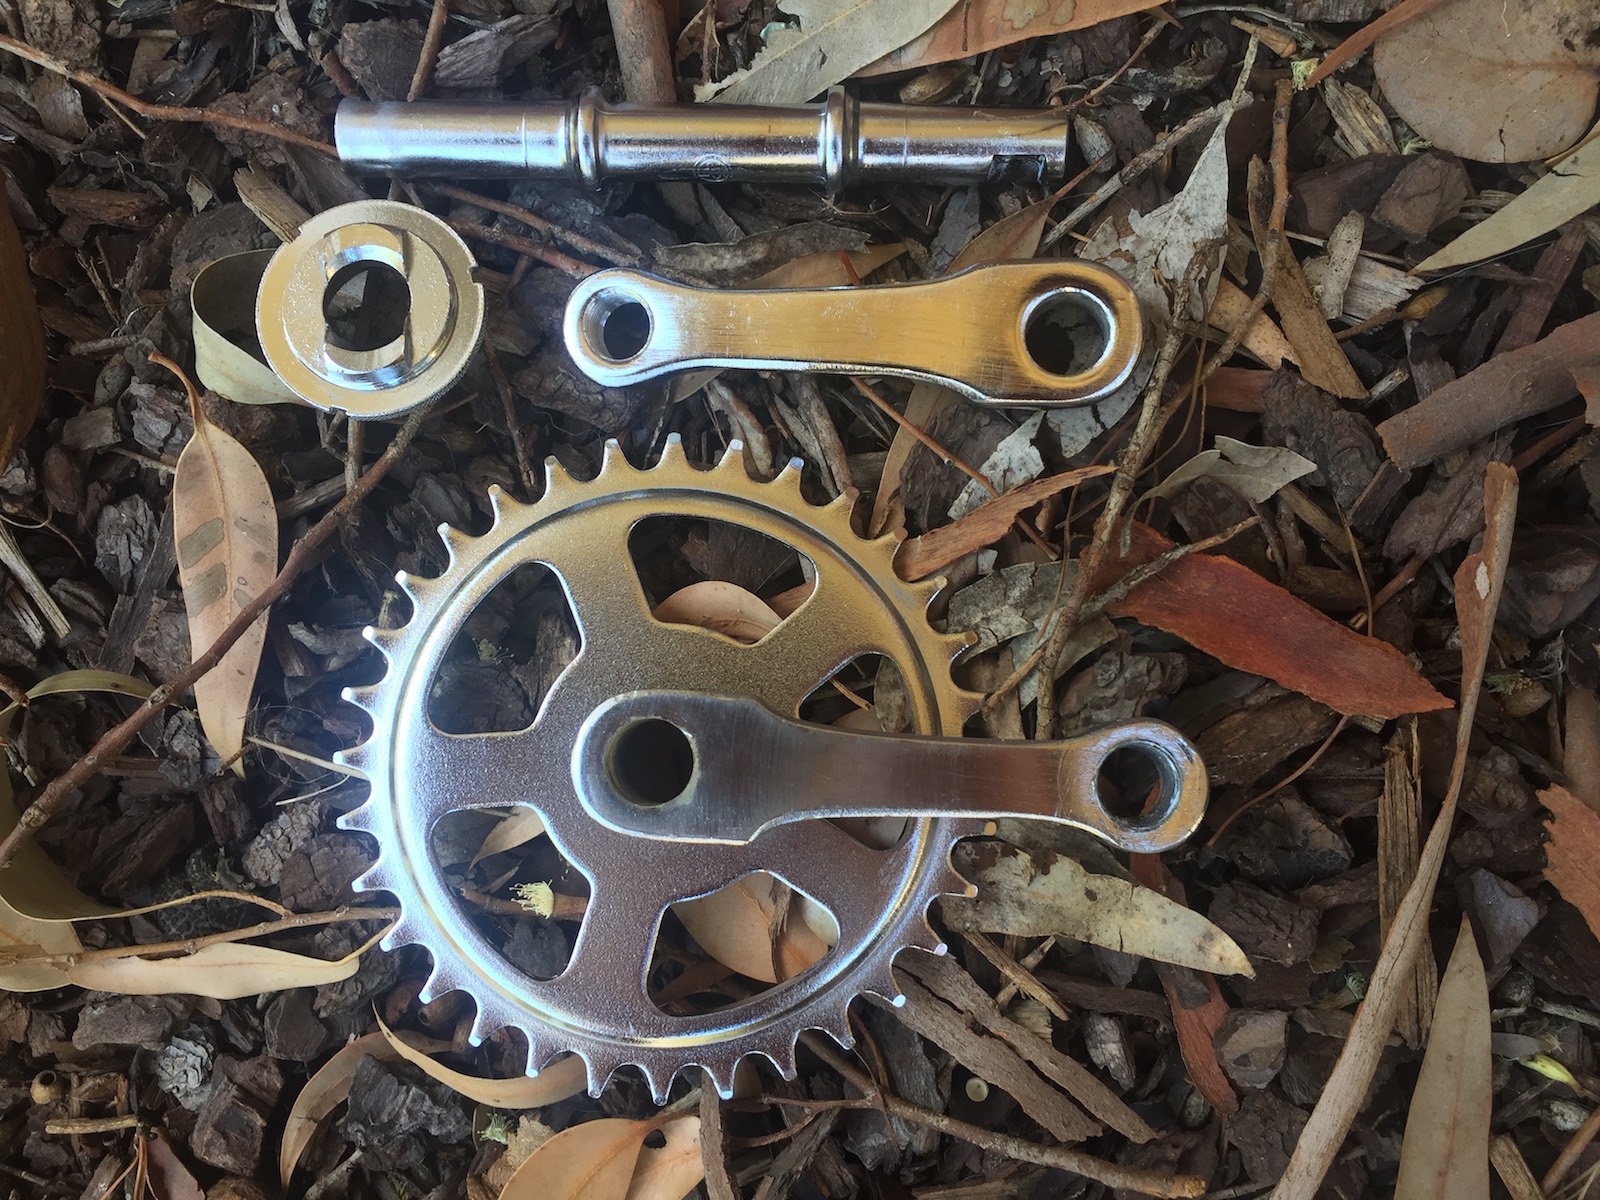
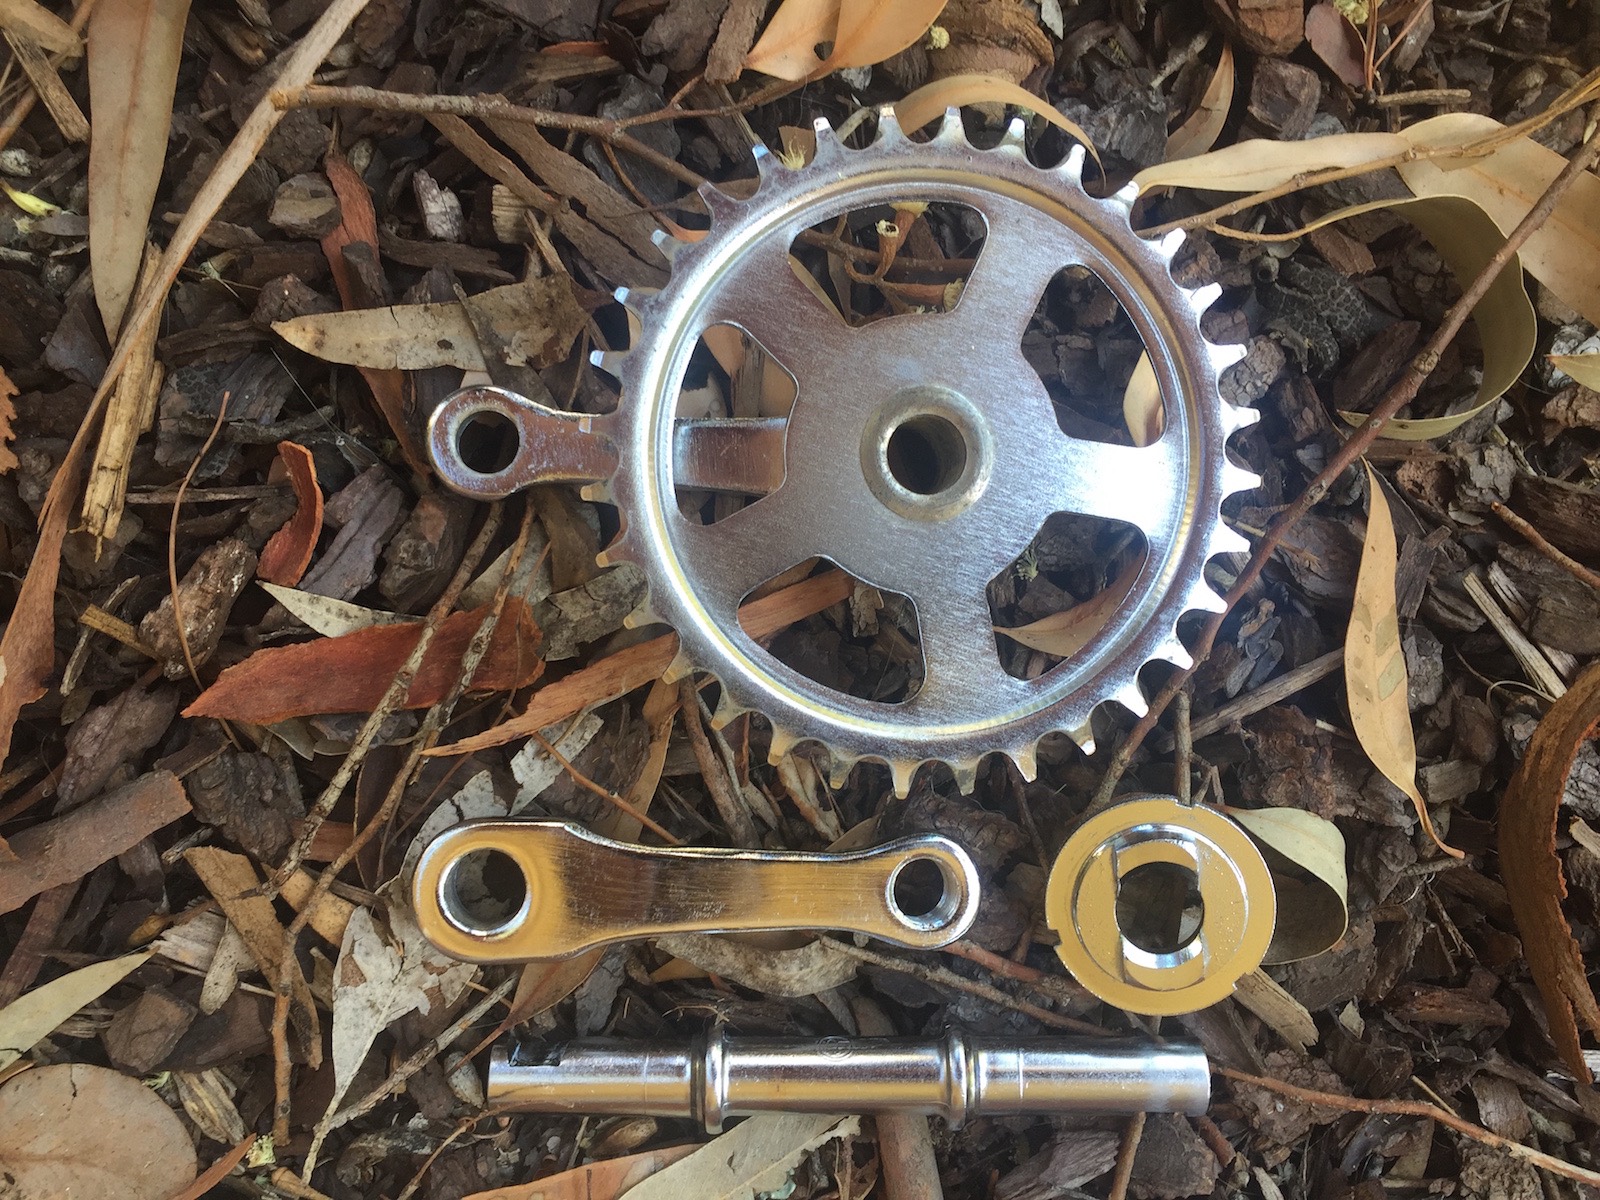
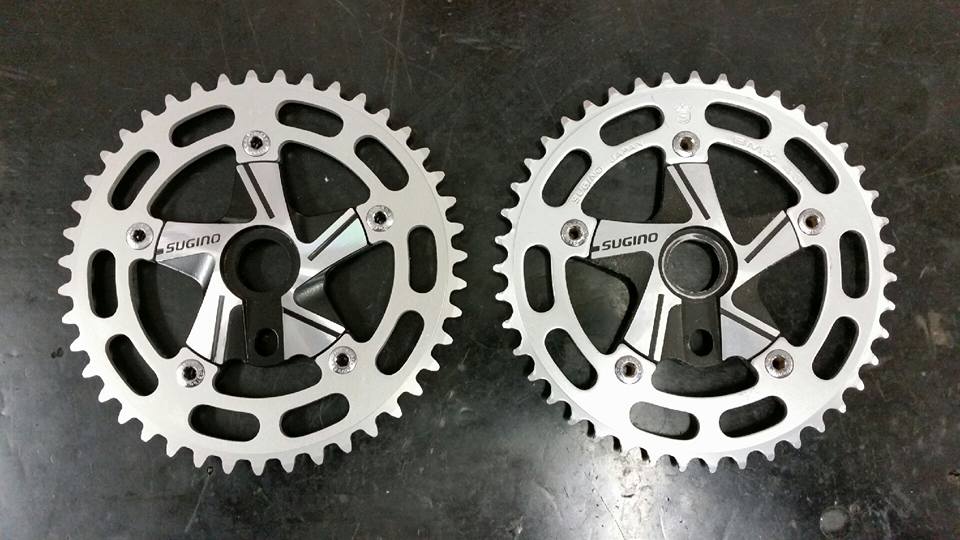
The Hiten Hotfoot was not blessed with the same level of accessories as the Team version however OldSkoola's bike features some of the parts that would be found on these bikes. The alloy Sugino spider and matching 44T chainring was originally from a Hotfoot freestyler. The Dia Compe front and rear brakes are a step up from the Lee Chi copies that the bike originally came with.
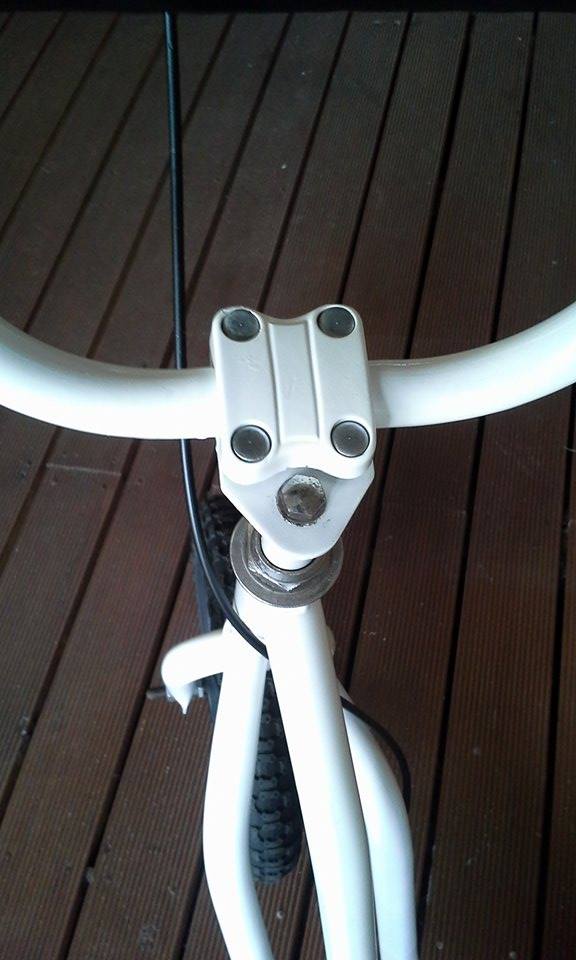
The stem is a Nitto MX2. Although not original equipment to the Hotfoot range this is era-correct and a real top-quality addition to the build.

|

|
|


|

|
Frame Repairs
Although he is handy with a MIG welder, Oldskoola decided to try something different when repairing the years of accumulated dints in the frame. He choose a product from Selleys called Metallic Cement which - according to their site - is a hard setting, thick silver-grey metallic filler, suitable for use with most metals and alloys.
He started by outlining the marks and dints in the top tube, down tube and around the bottom bracket to ensure that when he started filling he would not miss any. In a previous life, someone had drilled a hole in the chainstay brace behind the bottom bracket that presumably was to accommodate a kick stand. A bolt through the factory, horizontal hole in the chainstay brace, stops the cement from leaking out.
The marks and dints are simply filled using the cement. Once dry, the cement can be sanded back using wet and dry paper until it is level with the surrounding metal. If required, a second application of cement can be added to bring the level of lower areas up to the surrounding metal.

|

|
|

|

|
|

|

|
|

|

|
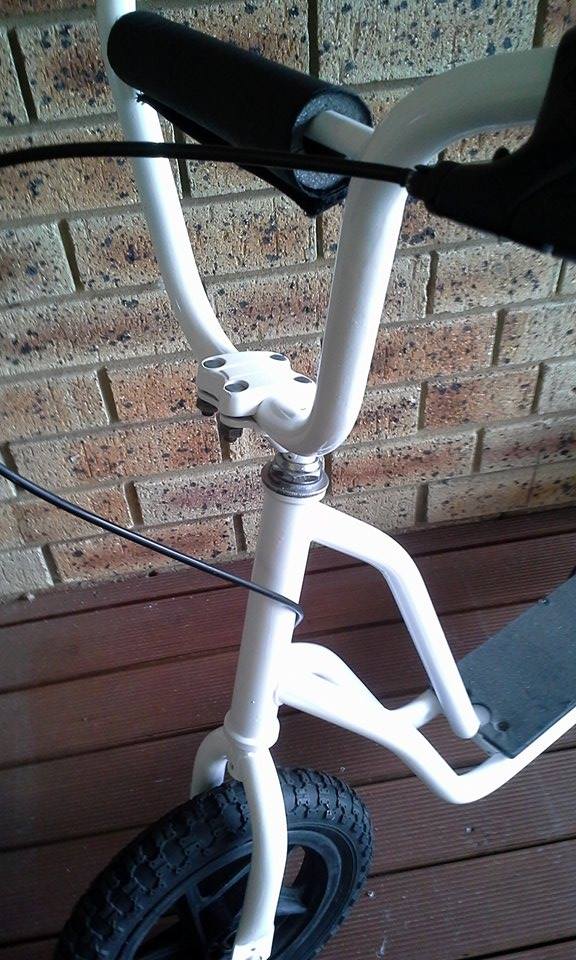
Painting the Frame
After all of the marks in the frame where repaired and the whole frame sanded back to metal, it was time to paint the frame, forks and handlebars in white. Rather than have someone else paint the bike, Oldskoola decided to paint the bike himself using aerosol cans.
To ensure the flattest base possible, Oldskoola started by applying 2 coats of automotive spray putty / undercoat which was rubbed back between coats using 600 grit Wet & Dry sandpaper. The application of a spray putty helps remove any visible lines when feathering between the steel and the metallic filler. Next, two coats of white were applied - sanded back with more Wet & Dry - followed by another couple of coats of white to achieve an even coat across the entire frame. Once satisfied with the finish, Oldskoola applied a clear coat to protect his work!
Hanging the frame between two work horses allows easy access to the entire frame without having to move it or turn it around. Always spray in a well ventilated area - preferably outside - unless you love the smell of the solvents in the paint!

|

|
|

|

|
|

|

|
Restoring the Accessories
Electing to restore the accesories of a bike has one great advantage - you can purchase and restore parts of any colour and then paint them all the same colour.
Many old school bikes suffer from the annodised parts being numerous shades of a colour and you cannot even rely on the parts from the same manufacturer being consistent.
With painted parts, this simply does not happen!
OldSkoola painted all of the parts of his bike with a deep blue colour including the headset. As you can see, he masked the inner races of the bearing cups to ensure that the paint would not end up coming off when riding the bike and contaminating the greased bearings.
The Sugino chainring and spider received special attention. Once the painting of the spider was complete, OldSkoola painted the debossed sections with white paint using a fine brush. The chainring itself was masked to leave the teeth a raw alloy colour and painted the same colour as the frame. The finished detail of the assembly is a highlight of the bike!

|

|
|

|

|
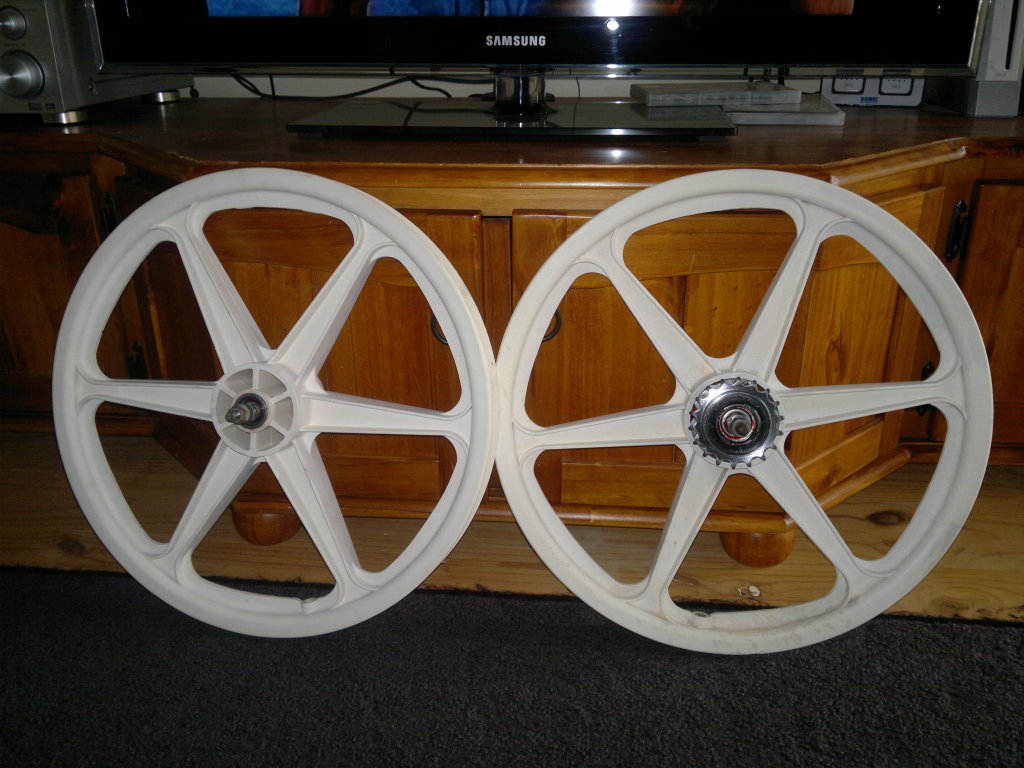
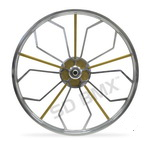
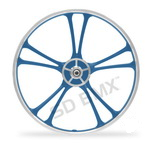
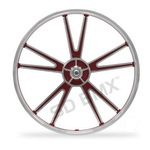
Restoring the Skyways Tuffs
Rather than purchase a set of new Skyways, Oldskoola continued the restoration theme by restoring a set of original six spoke, OE Skyways. When he got them, they had the usual accumulated grease, stains and brake rub from 25 years of use.
After attacking them with a Scotch Brite to remove the brake rub, the Tuffs were soaked in caustic soda (drain cleaner to you and me) for two hours and scrubbed with a dunny brush. Oldskoola used about a litre of caustic soda diluted with about the same amount of water - be careful, caustic soda is extremely corrosive and should never be tipped down an aluminium sink / pipes and will burn if it comes into contact with skin.
Finally, they were soaked in bleach to whiten the wheels. This time, Oldskoola placed the wheels in a sink and poured in 2 litres of bleach and added only enough hot water to cover them!

|

|
|

|
|
Final Assembly
With all parts restored and painted its time for the fun stuff - the final assembly! Assembly stalled when OldSkoola discovered that the headset that he bought did not fit the head tube of the
bike - at this stage it was a made rush to find one that fitted and paint it to match the other painted parts. The partially assembled bike below shows an iteration of the bike where it was fitted
with chrome forks however these were ultimately stripped and painted along with the handlebars.
OldSkoola made a couple of concessions to modern technology - the inclusion of a sealed, water-proof bottom bracket and modern 'grippy' brake pads. As the bike was destined to be a rider, the inclusion of these parts ensures that the bike will be a pleasure to ride.
Finally, the bike was fitted with a decal set supplied by Lixy and the blue nicely complements the painted blue accessories and a reproduction pad set.

|

|
|
|

|
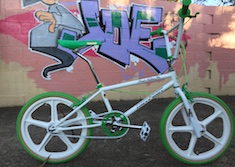
Complete!
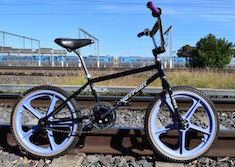
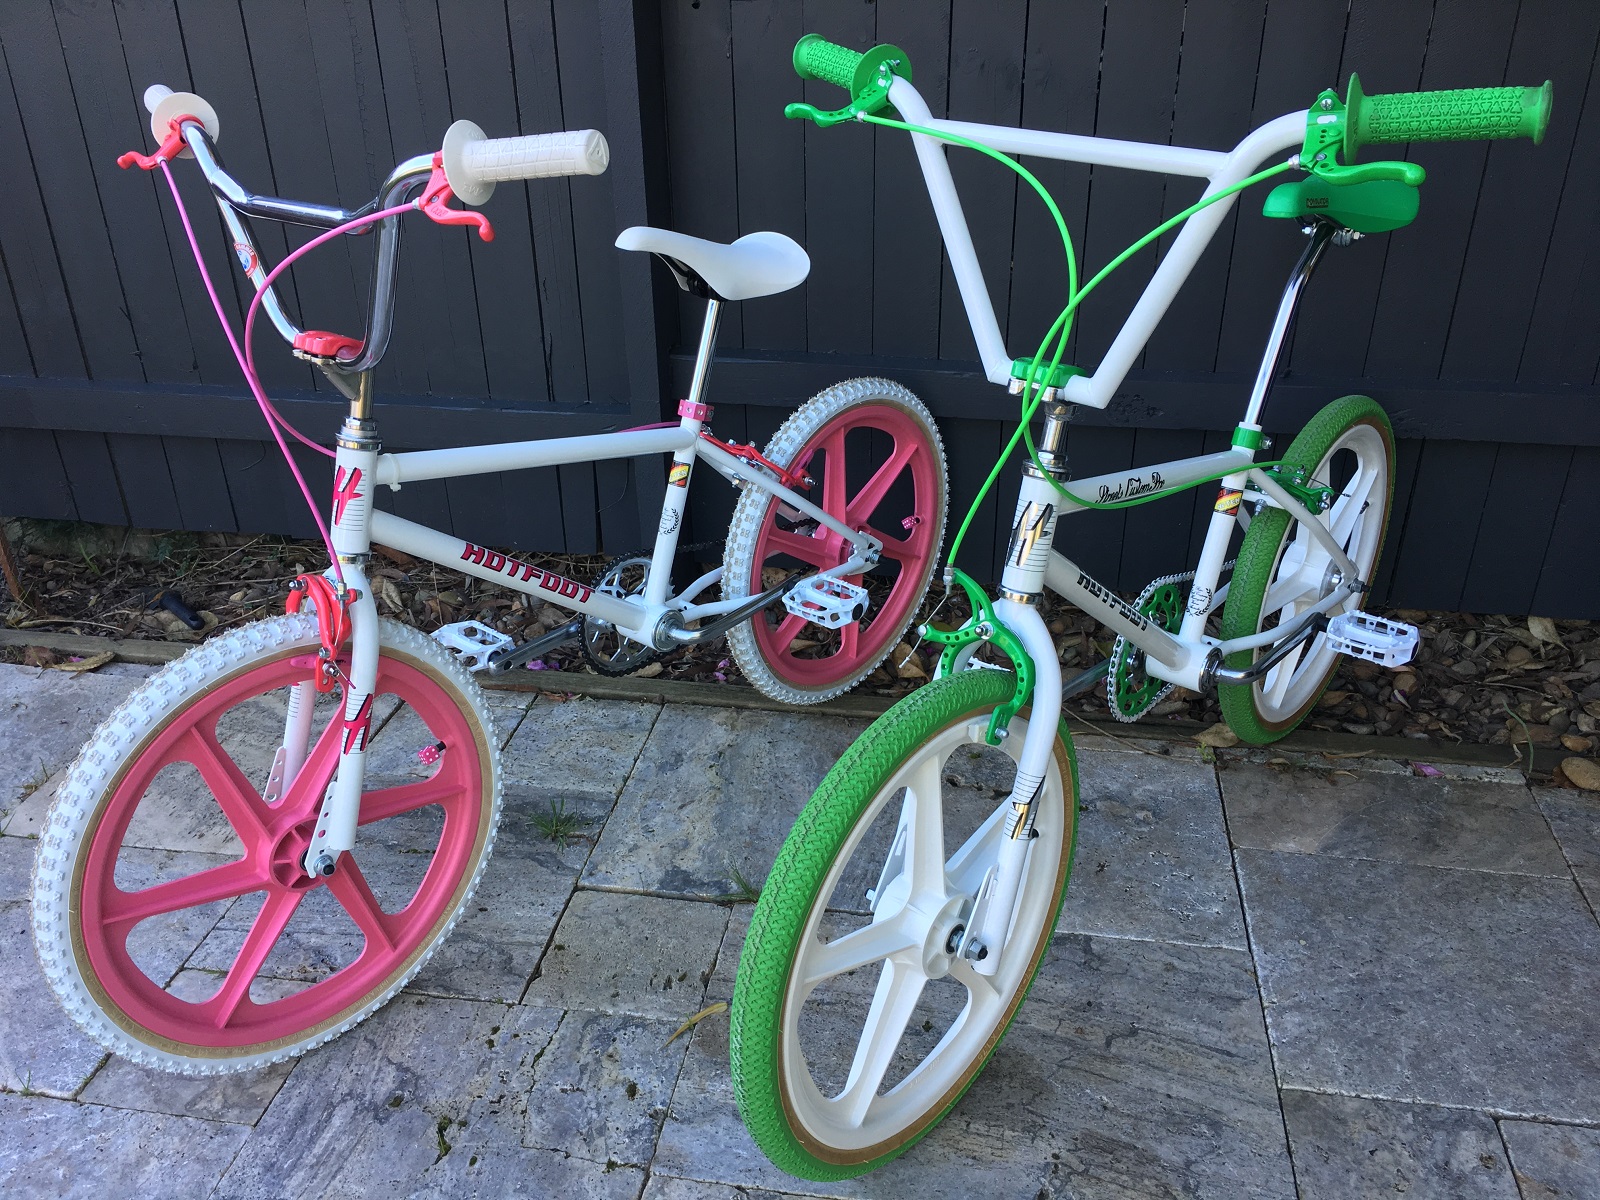
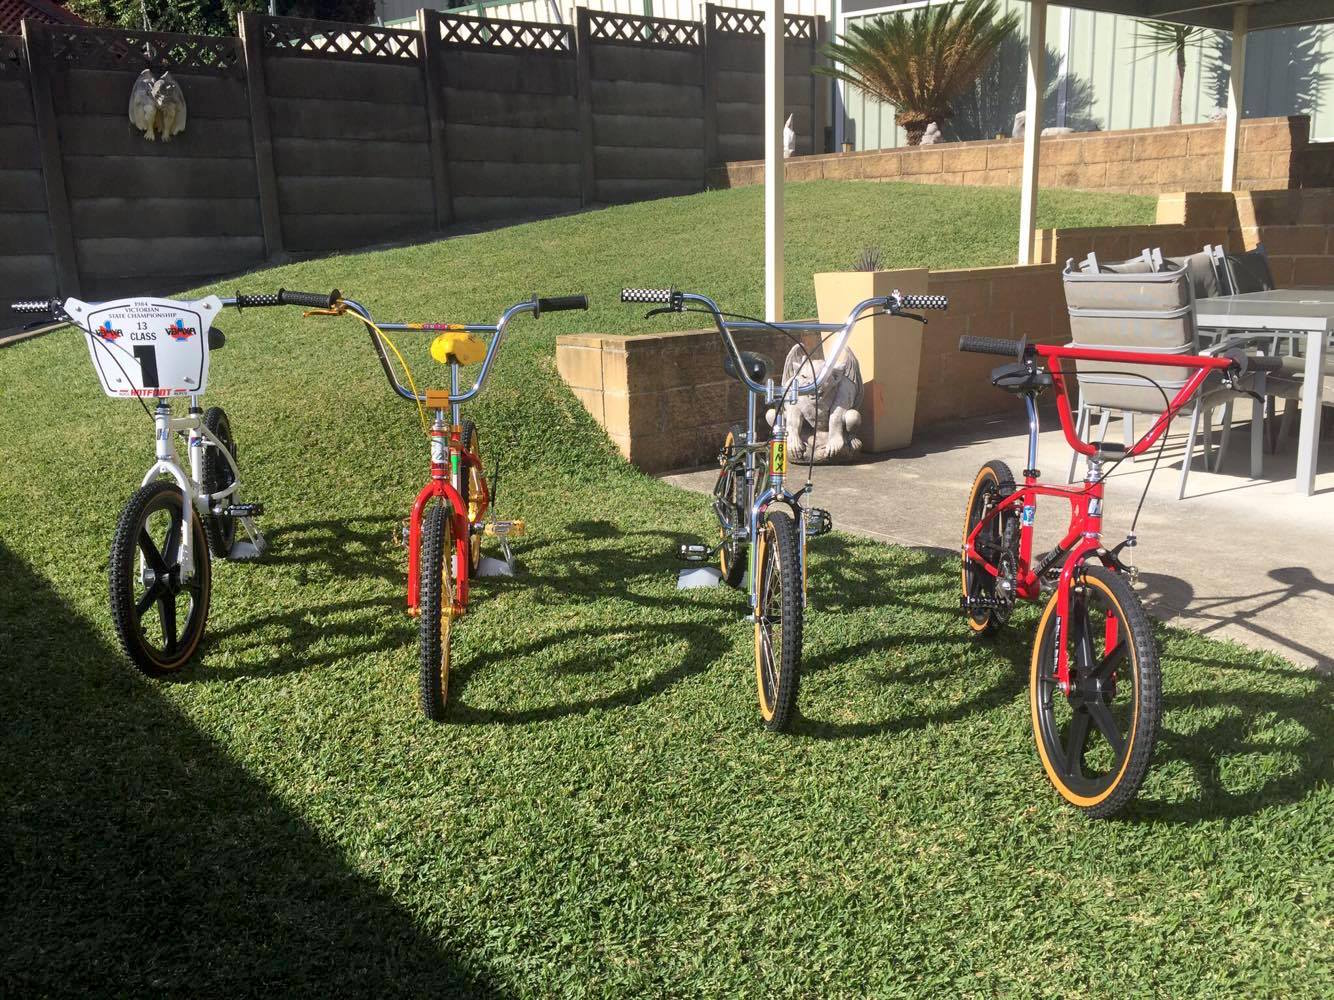
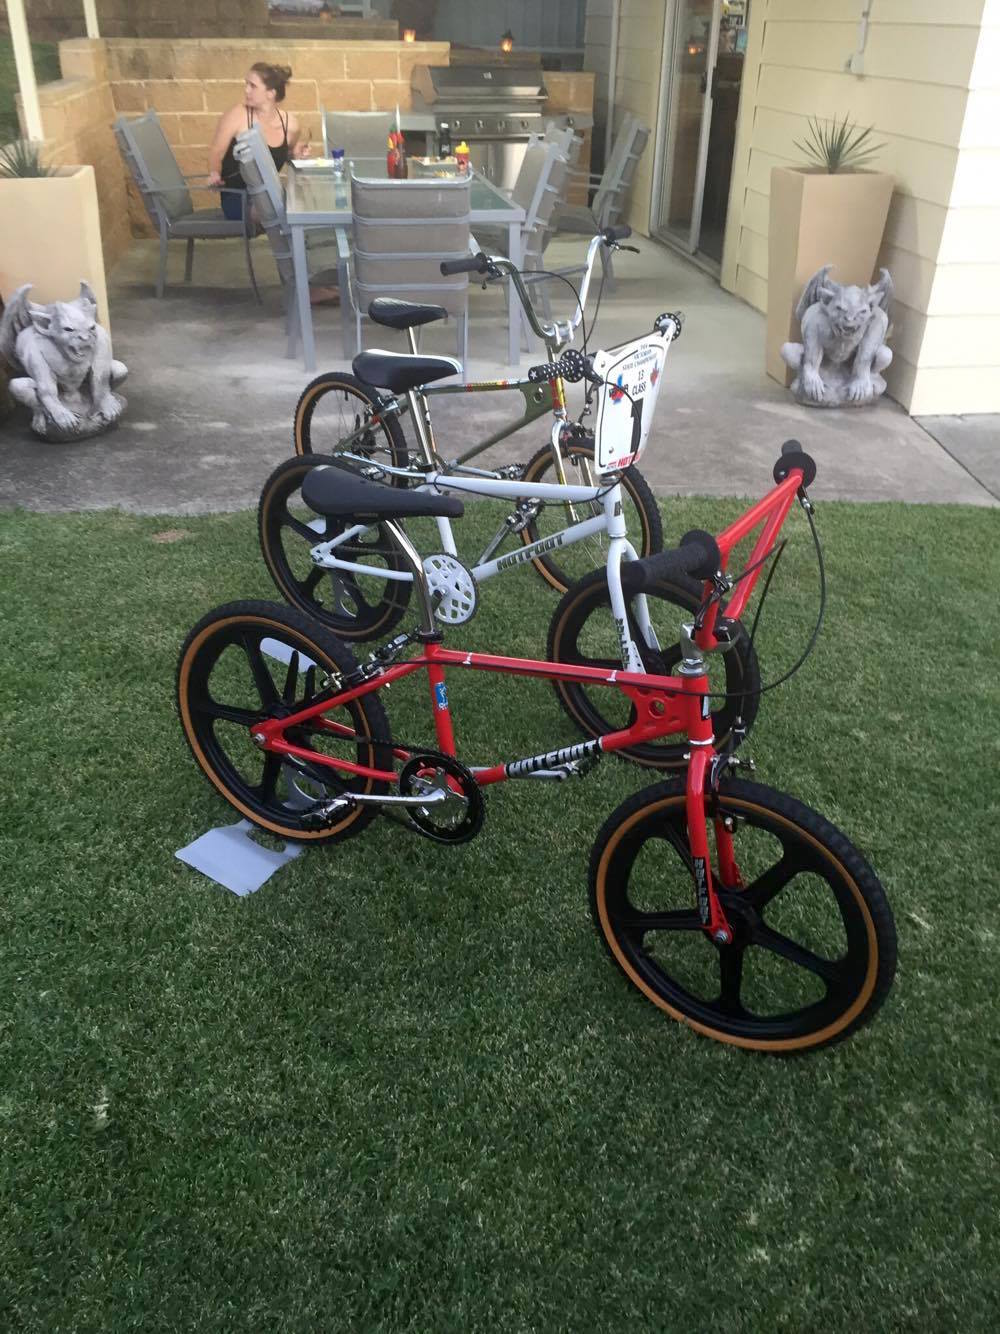
The final result is a credit to OldSkoola and confirms that a white and blue colour scheme never looks bad. He has plans of submitting this in the OzBMX Bike of the Month competition where I am sure it will do well! The final photo shows OldSkoola's '84 Hiten alongside my '85 Team - Simon and Simon's matching bikes at the July 1st swapmeet.

|

|
|

|

|
|

|
||


