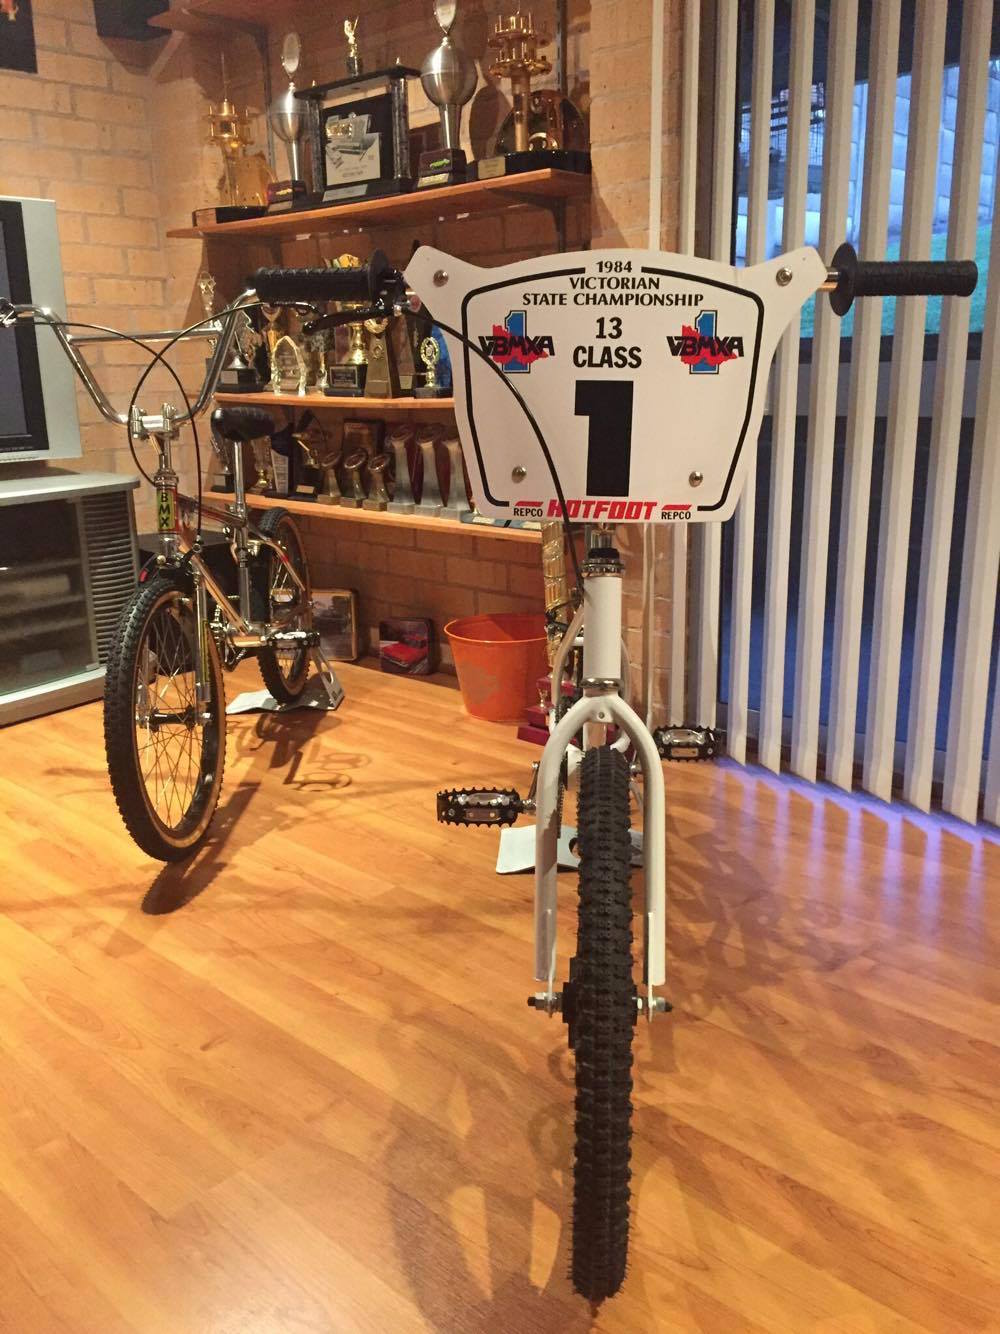
Repco Hotfoot
While researching information for my '85 Team Hotfoot and up-coming '82 Team Hotfoot build, I got so sick of finding information then losing it again that I started copying images of bikes, parts and advertising material into a single place. To assist others, I have reproduced this information over the following pages .. most of the information can be found on OzBMX and BMXMuseum and I am not pretending that this informtion will replace either of these valuable resources.
Please browse through all of the material I have collected:
If you have any Hotfoot information or photos, please forward them to me and I will add them to the site. I am especially interested in brochures and advertisements as these are most valuable when restoring bikes back to their original glory.
Restorations
- OldSkoola75: '84 HiTen Hotfoot
- Filmote: '85 Freestyle Hotfoot
- Filmote: '85 Hotfoot 24" Cruiser
- Filmote: '88 Freestyle Hotfoot
Filmote: Restoration of an '85 Freestyle Hotfoot
The freestyle movement was in full swing by the time Repco released the Hotfoot Freestyle in 1985. So it is surprising that Repco took so long to introduce a Freestyle Hotfoot into the market and then pulled it shortly after. My theory is that at this stage Repco was negotiating to be the importers and distributors of other brands including Mongoose and Haro who both had freestyle models in the range.
Very few of these models are known to exist - at present I can only count five of which three are in Victoria (Mr.Hotfoot, Wolf and myself), two in Queensland (Lukesta888 and another, unidentified person) and a sole one in New Zealand (Legless). If you are a serious Hotfoot collector then this is the Holy Grail!
- Before
- Influences
- Colour Scheme
- Restoring the Small Parts
- Restoring the Sugino Spider
- Restoring the Sugino Cranks
- Rechroming the Freestyle Handlebars
- NOS Kashimax Handler Seat
- Painted Frame
- Bleaching the Red Stone Tuffs
- Complete
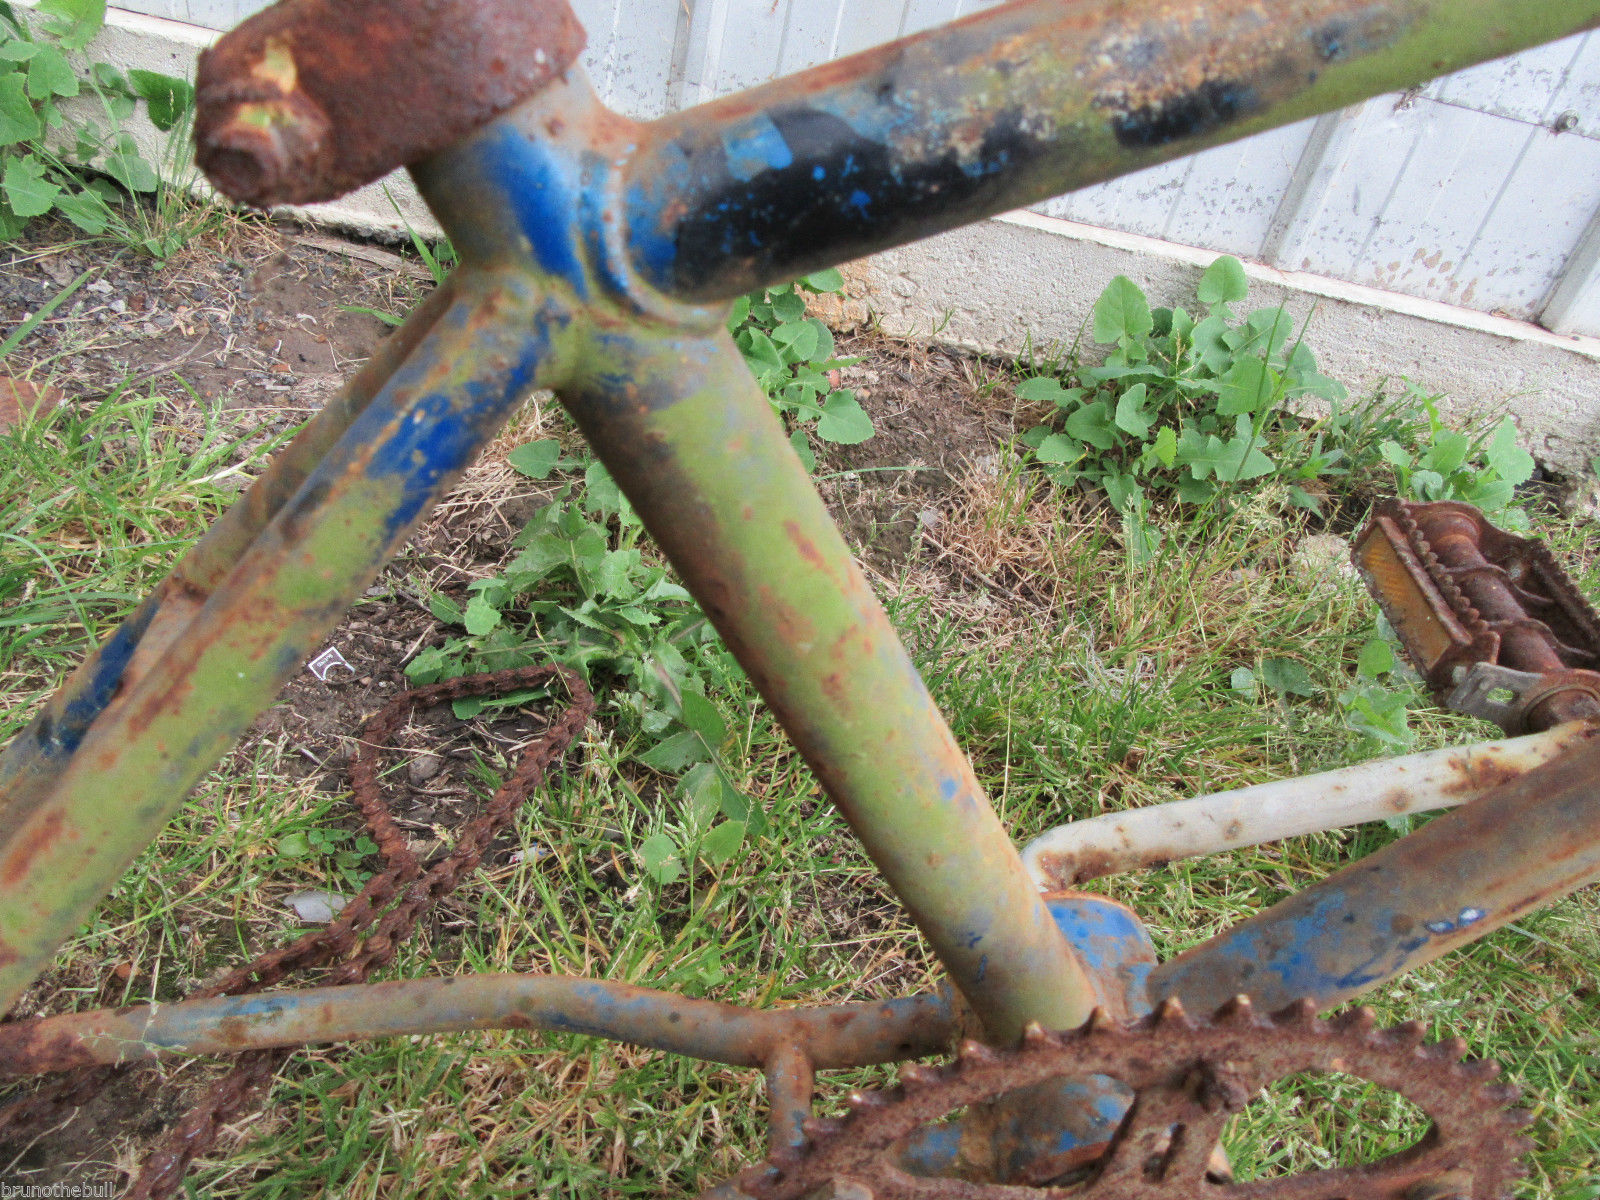
Before
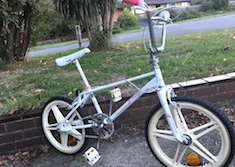
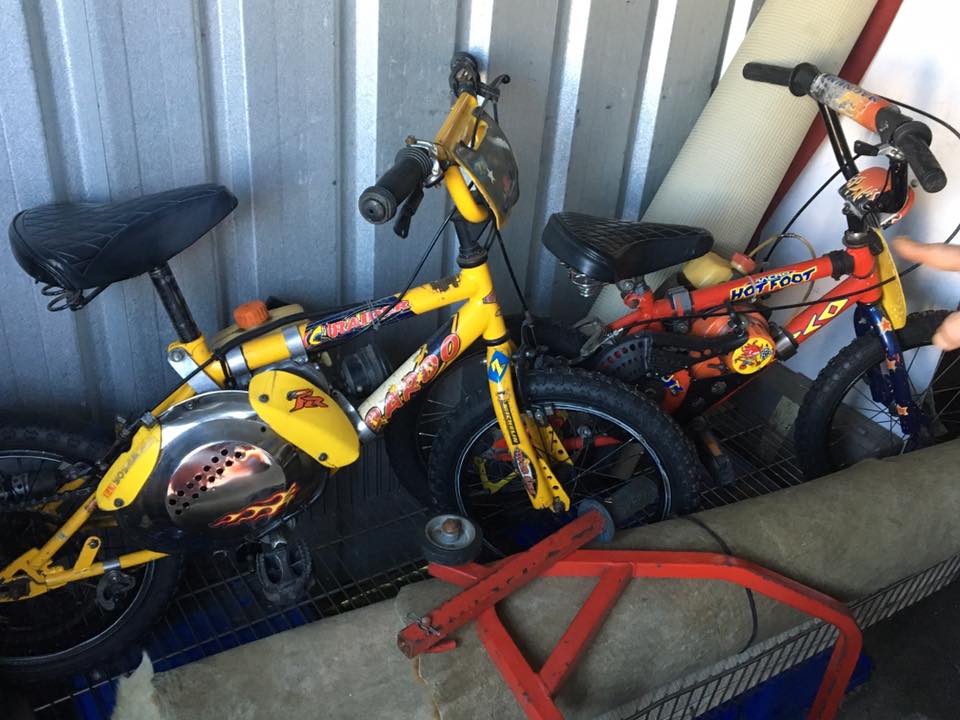
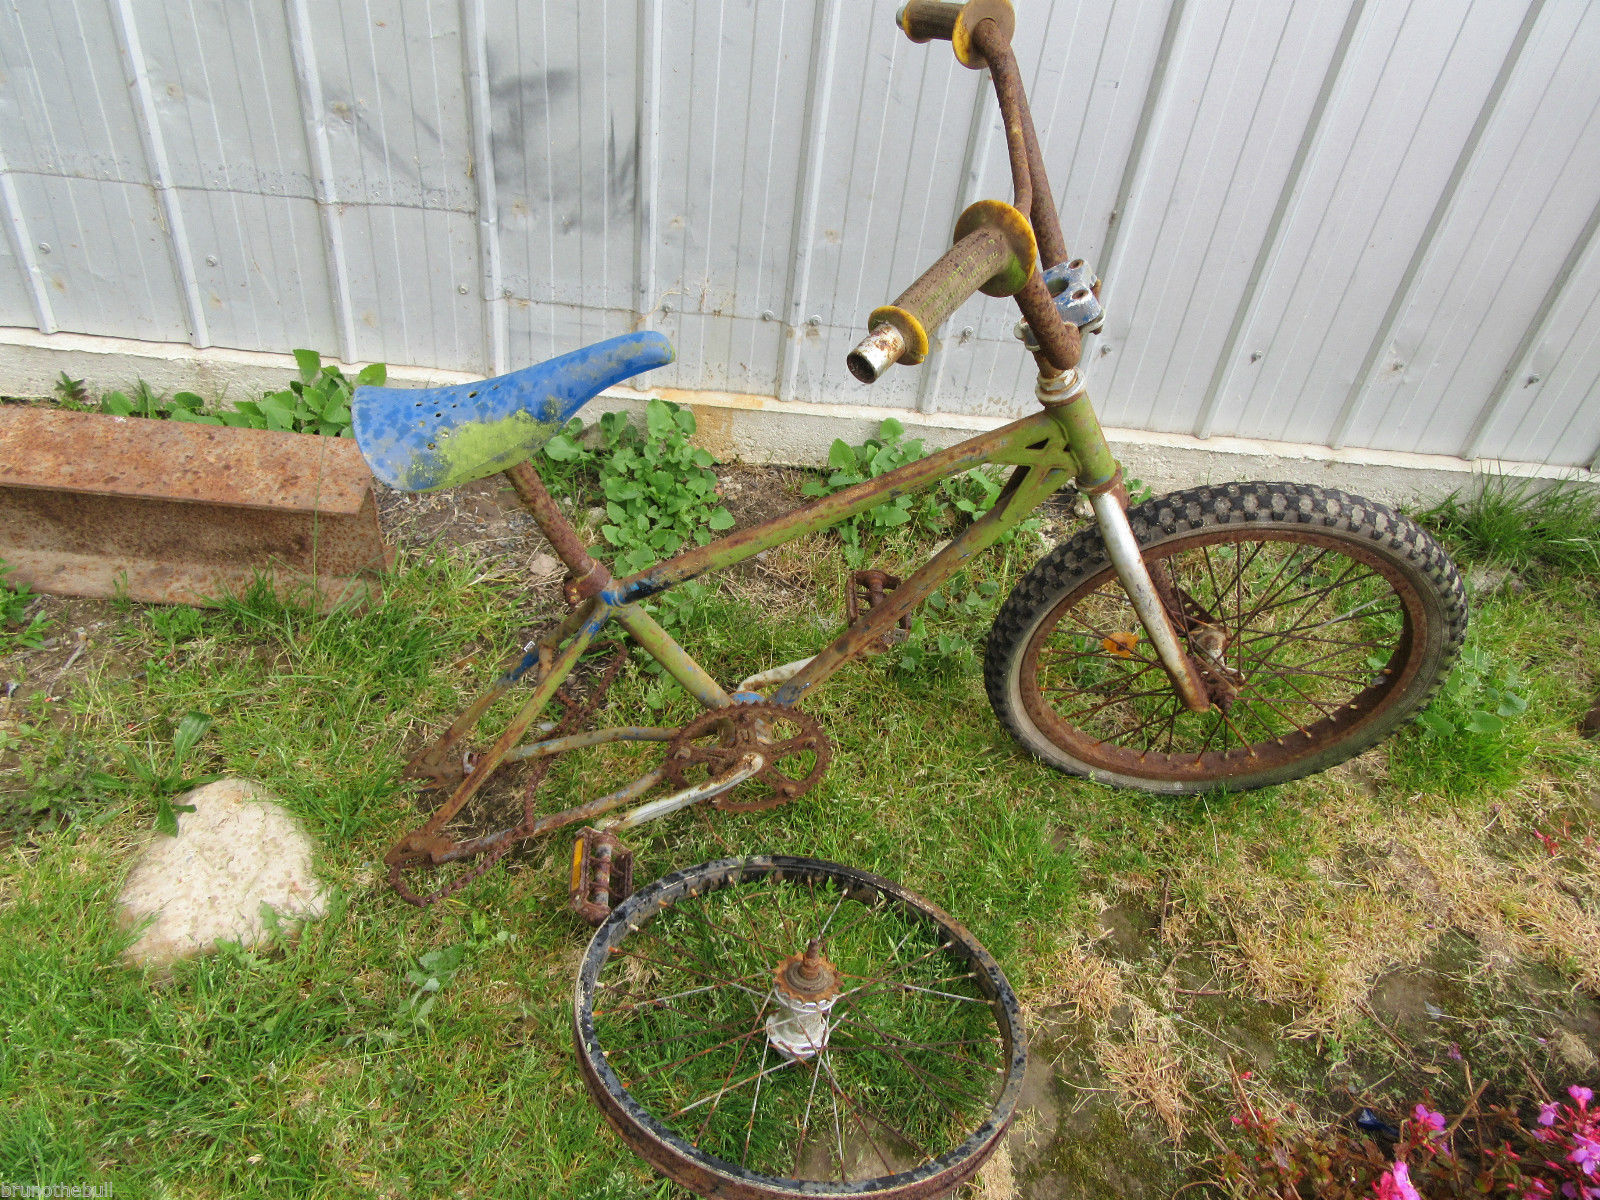
I purchased this complete Freestyle on eBay from a seller in Queensland. It was in reasonable condition for its age with plenty of surface rust, a cracked rear Red Stone mag but with most original parts present.
Lukesta888 had warned me about a potential design and manufacturing problem with the welding between the front steerer tube and the lower gusset that had resulted in his frame cracking. I am glad to report that this frame appears to be free of any cracks but I will know more once the paint is stripped.

|

|
|

|
|
|


|

|
Influences
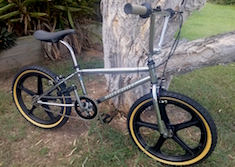
The Hotfoot Freestyle takes its design cues from a number of bikes including the Schwinn Free Form Ex, the CW Freestyle, and to a lesser extent the Haro Master and Sports.
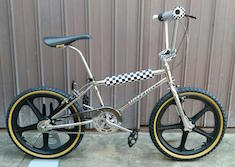
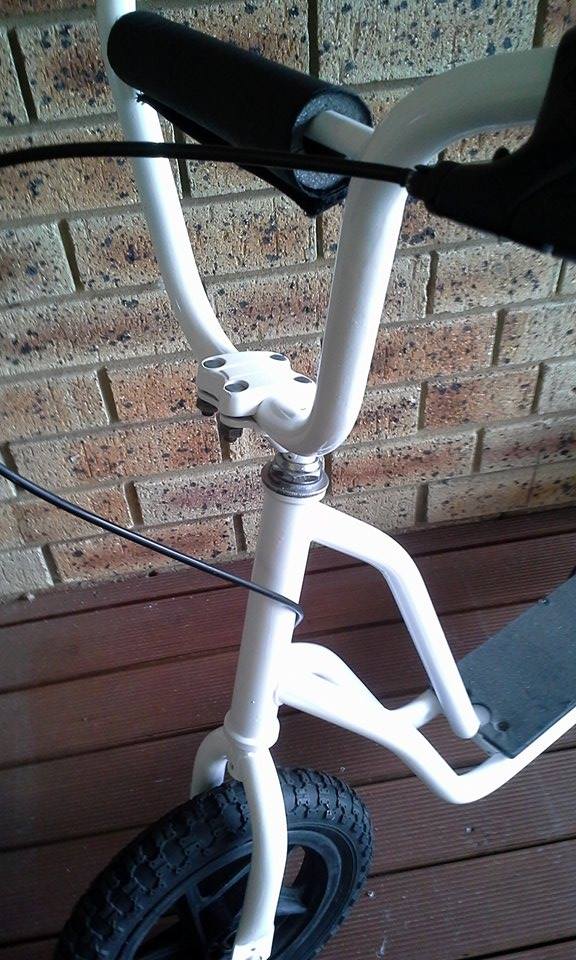
The resemblance between the Hotfoot Freestyle and the CW Freestyle is undeniable – in particular the rear standers that were welded to the lower chain-stays and the distinctive platform formed in front of and behind the seat clamp by the extension of the top tubes. The CW and the Hotfoot differ in that the CW has a single top tube with additional tubing added to form the platform whereas the Hotfoot has twin top tubes – similar to the Haros of the time – which form a platform. In my opinion, the Hotfoot’s twin tubes look are just as functional as the dedicated platform on the CW and give the whole package a feel that it was designed specifically for freestyle. The CW, by contrast, looks like a standard BMX frame that has been converted to a freestyle with the addition of the standers, seat platform and the integrated fork pegs.
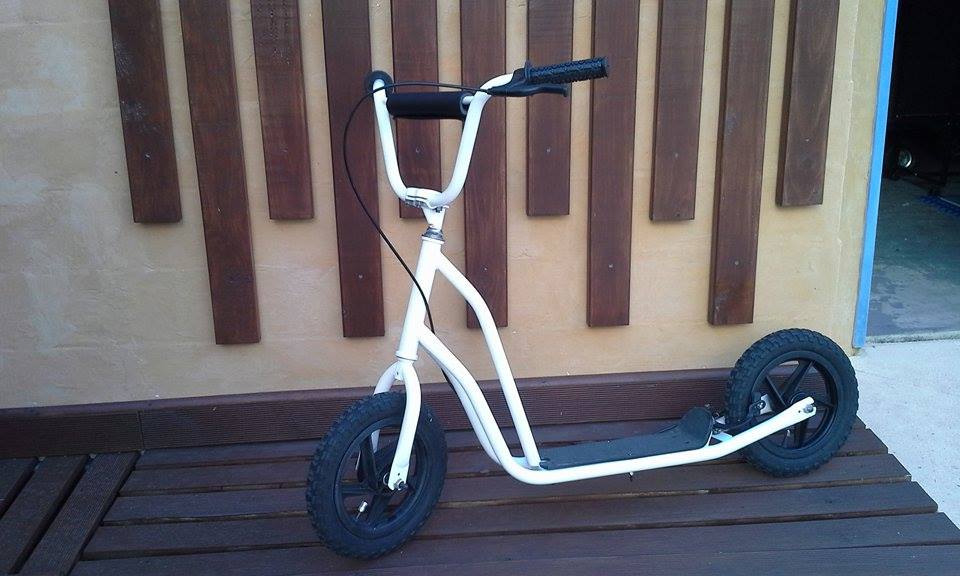
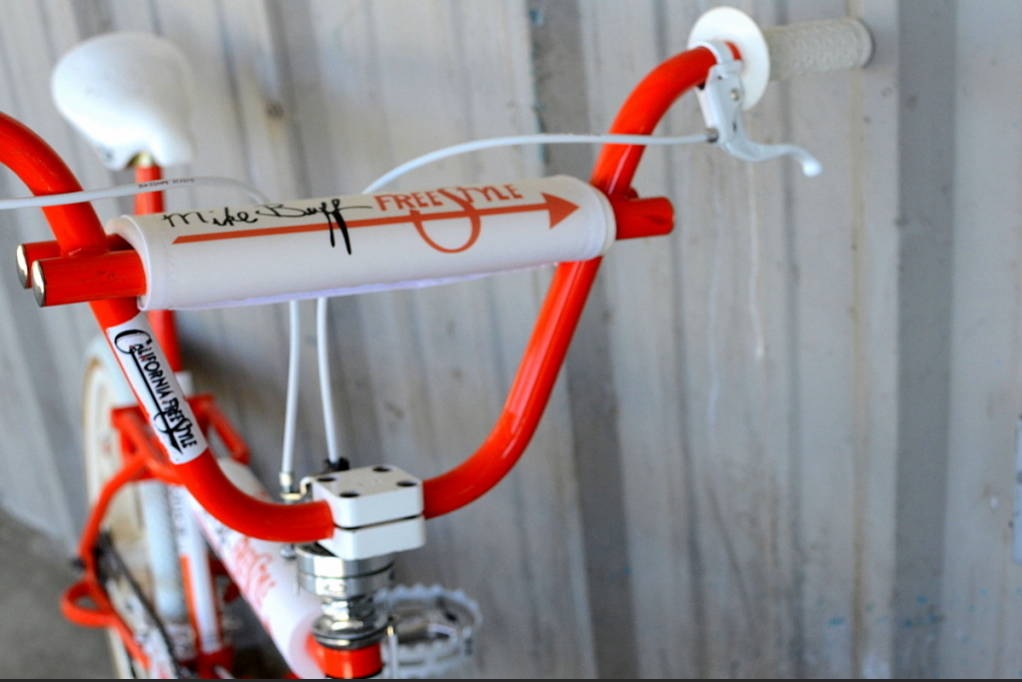
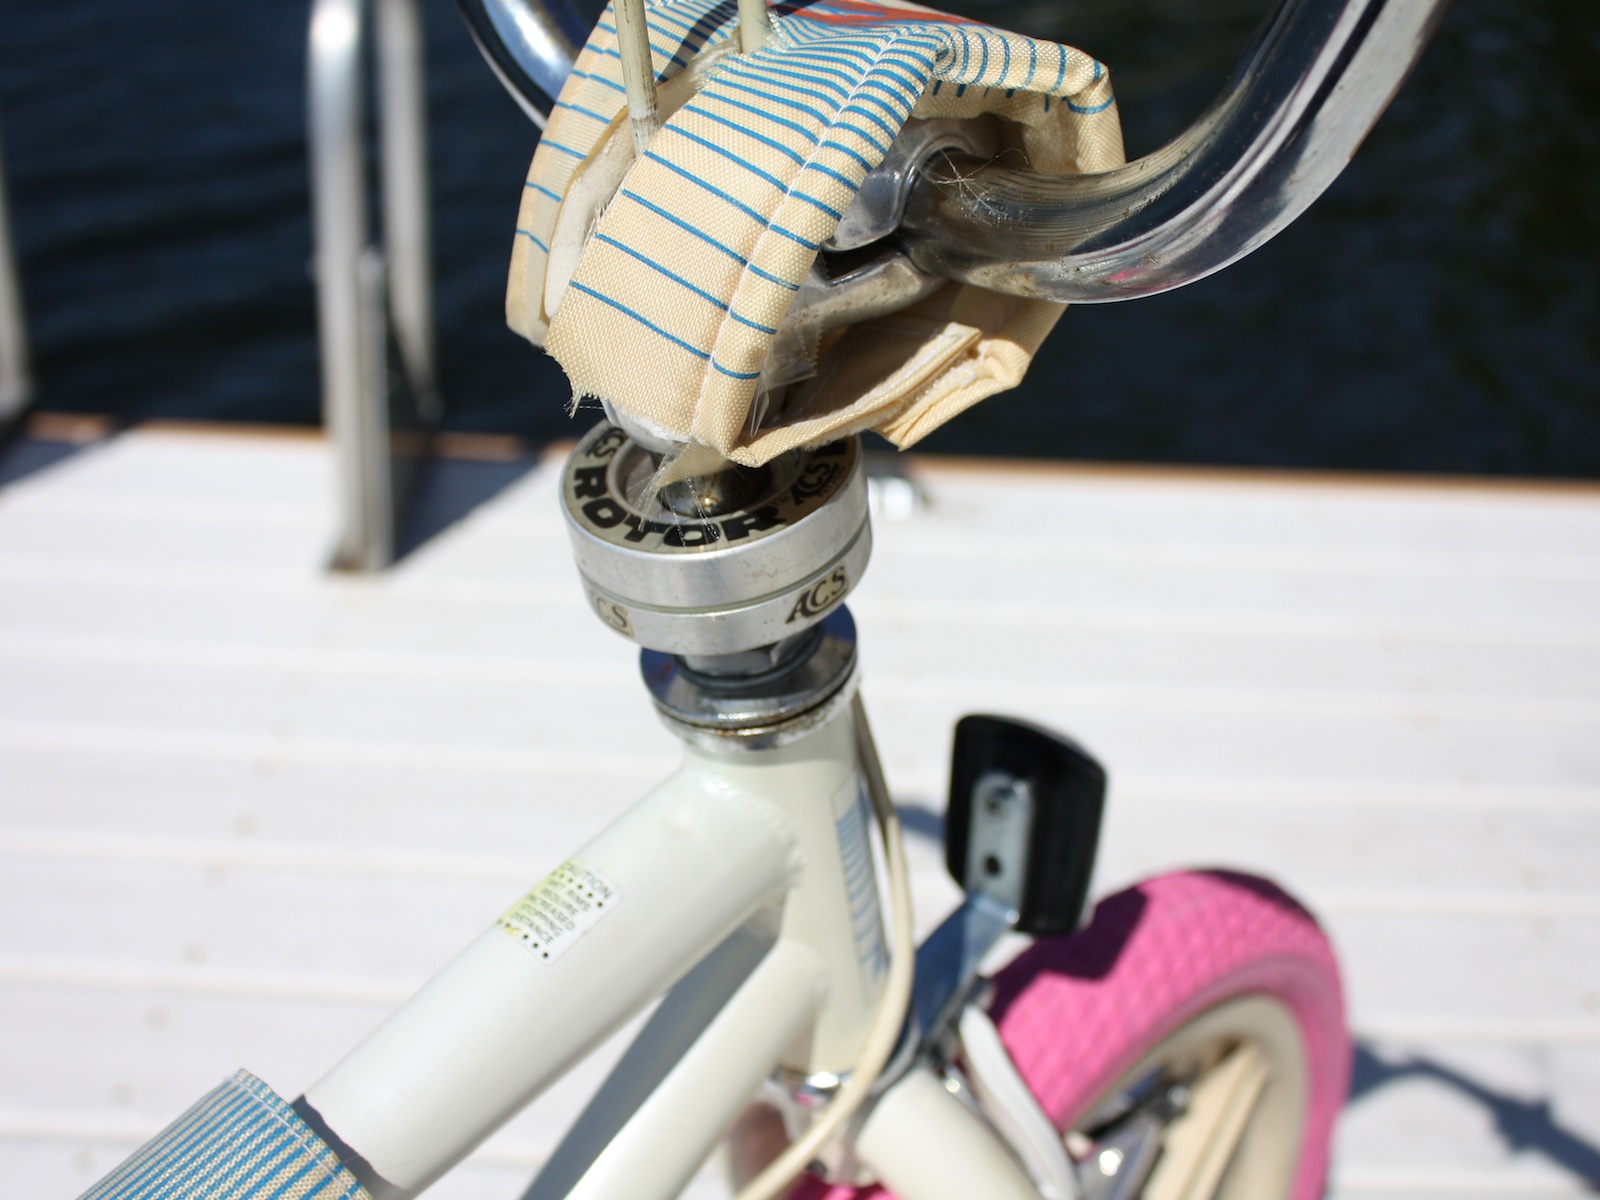
I love the idea of a seat pole with an integrated grab handle as seen on the Mike Buff (sounds like a great porn name) inspired bike. I am going to get one made albeit using a straight CrMo tube as a basis..

|

|
|

|

|
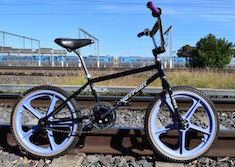
Schwinn Free Form EX
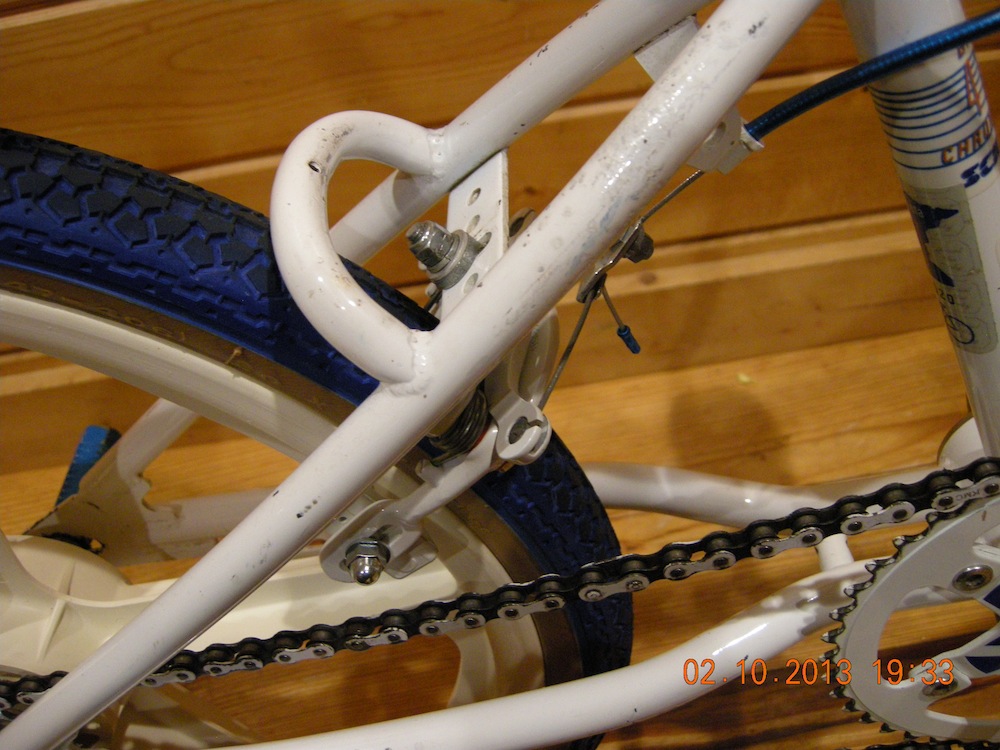
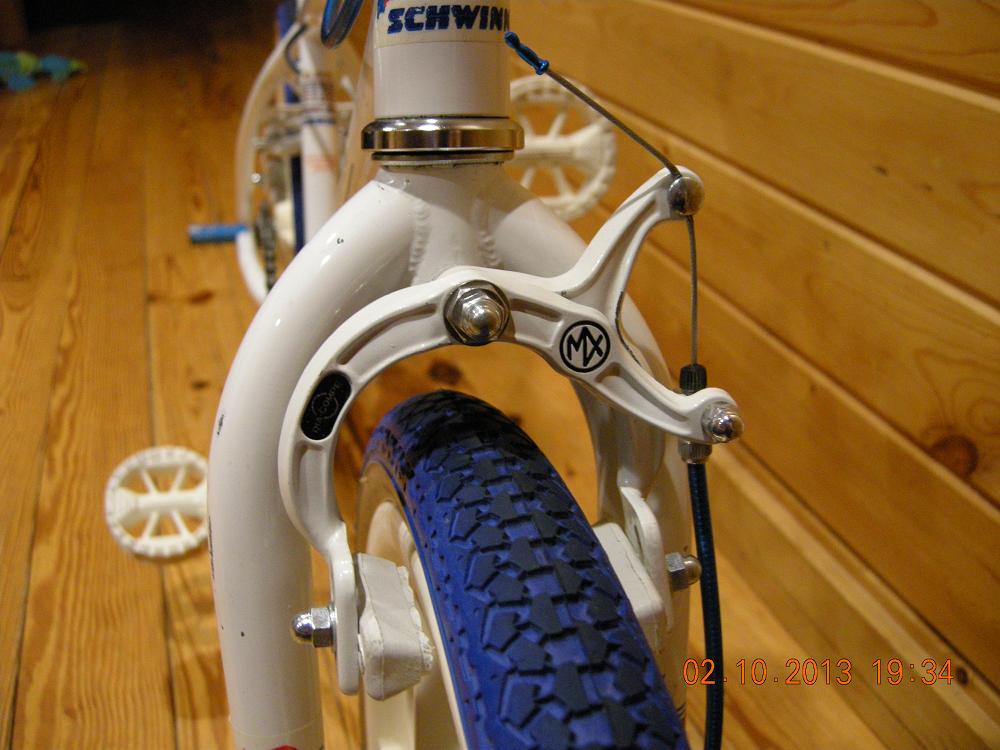
As you can imagine, being built at the same time in the same factory ensured that the Schwinn Free Form Ex and the Repco Hotfoot Freestyle would share both design concepts and actual parts. Parts such as the dropouts, the Dominator seat, the Red Stone tuffs and the Sugino drivetrain (cranks, chain ring and spider) are all shared across the Hotfoot range. The Schwinn also shares some design features with the ’85 Team Hotfoot including Aero tubing and the graphics on both the decals and pad set.
Unlike the Hotfoot Freestyle, the Schwinn is fitted with both a rear calliper brake and a coaster brake. I was very keen to include a centre pull, rear calliper on my build but have been thwarted by the lack of a bridge to mount the cable end on. I have no desire to modify the frame I have so instead I plan to purchase a pair of Dia Compe FS880s (if I can find a reasonably priced set).

|

|
|

|

|
Colour Schemes
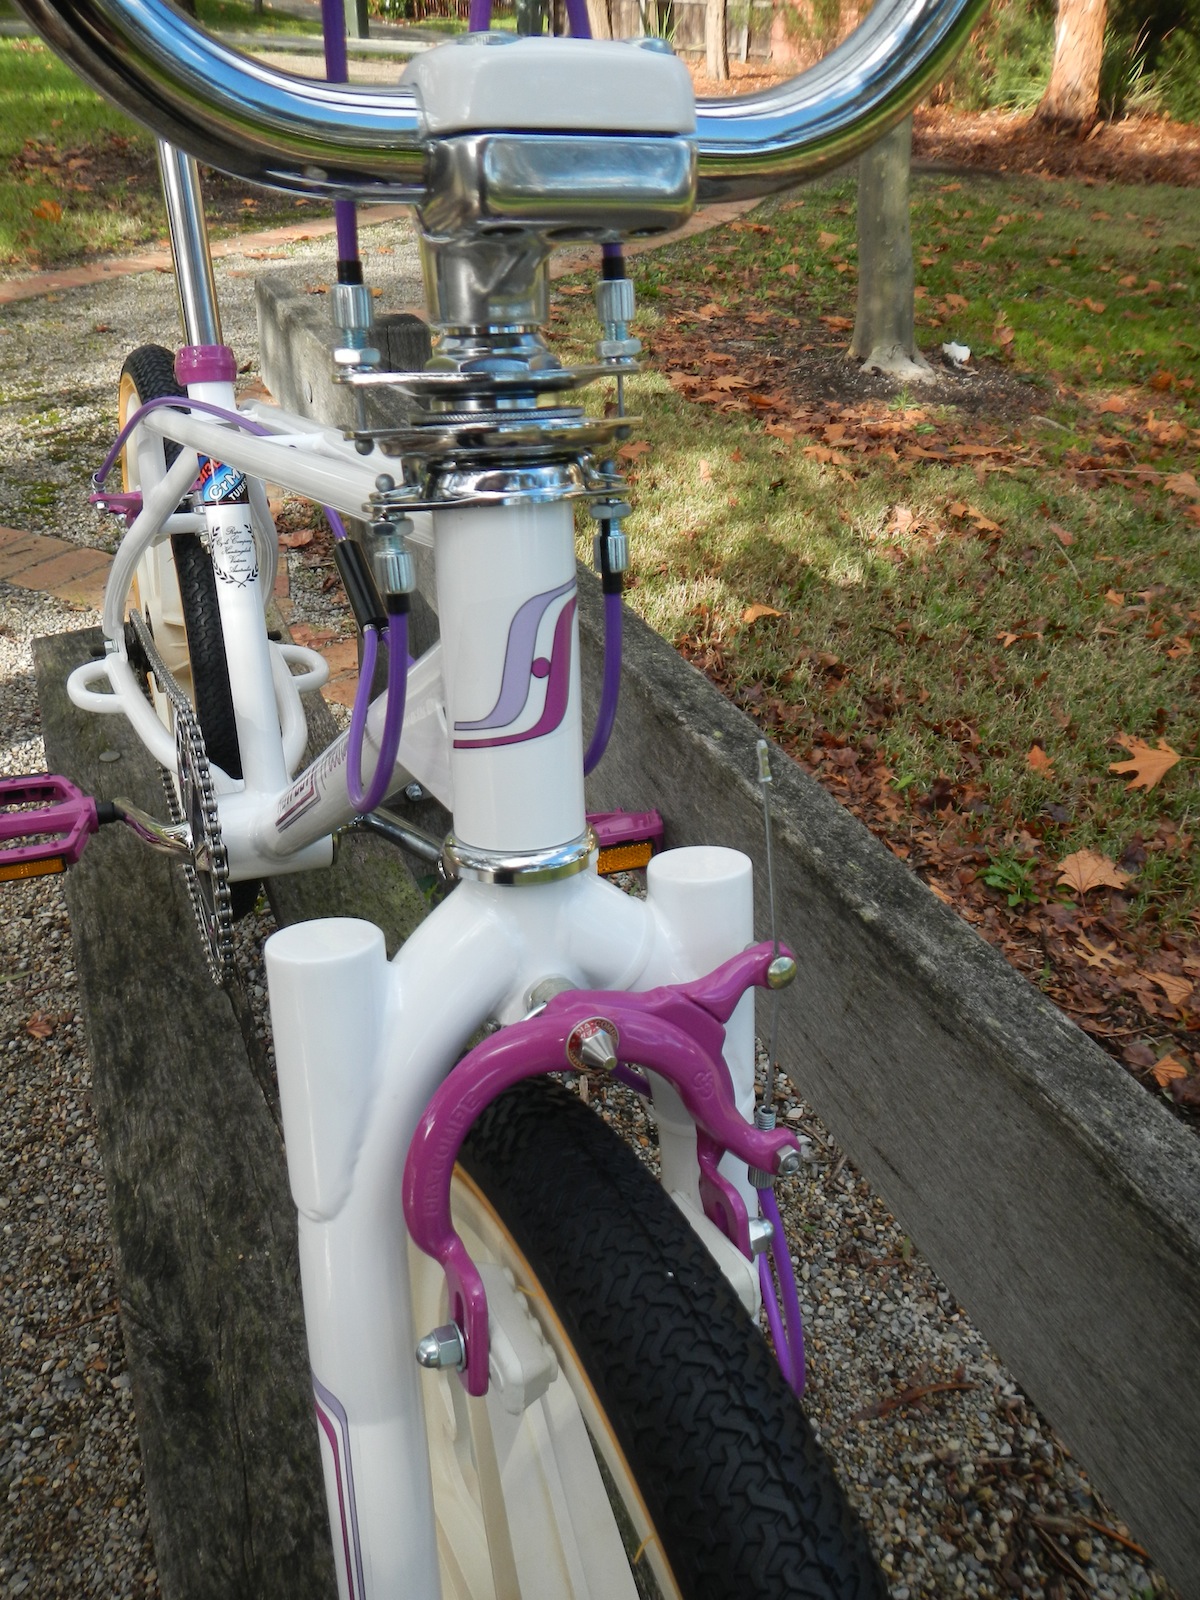
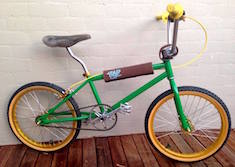
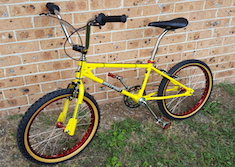
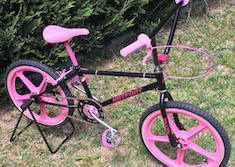
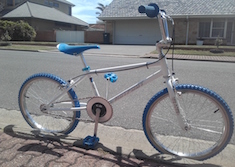
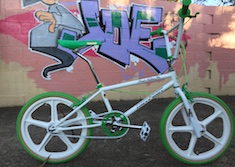
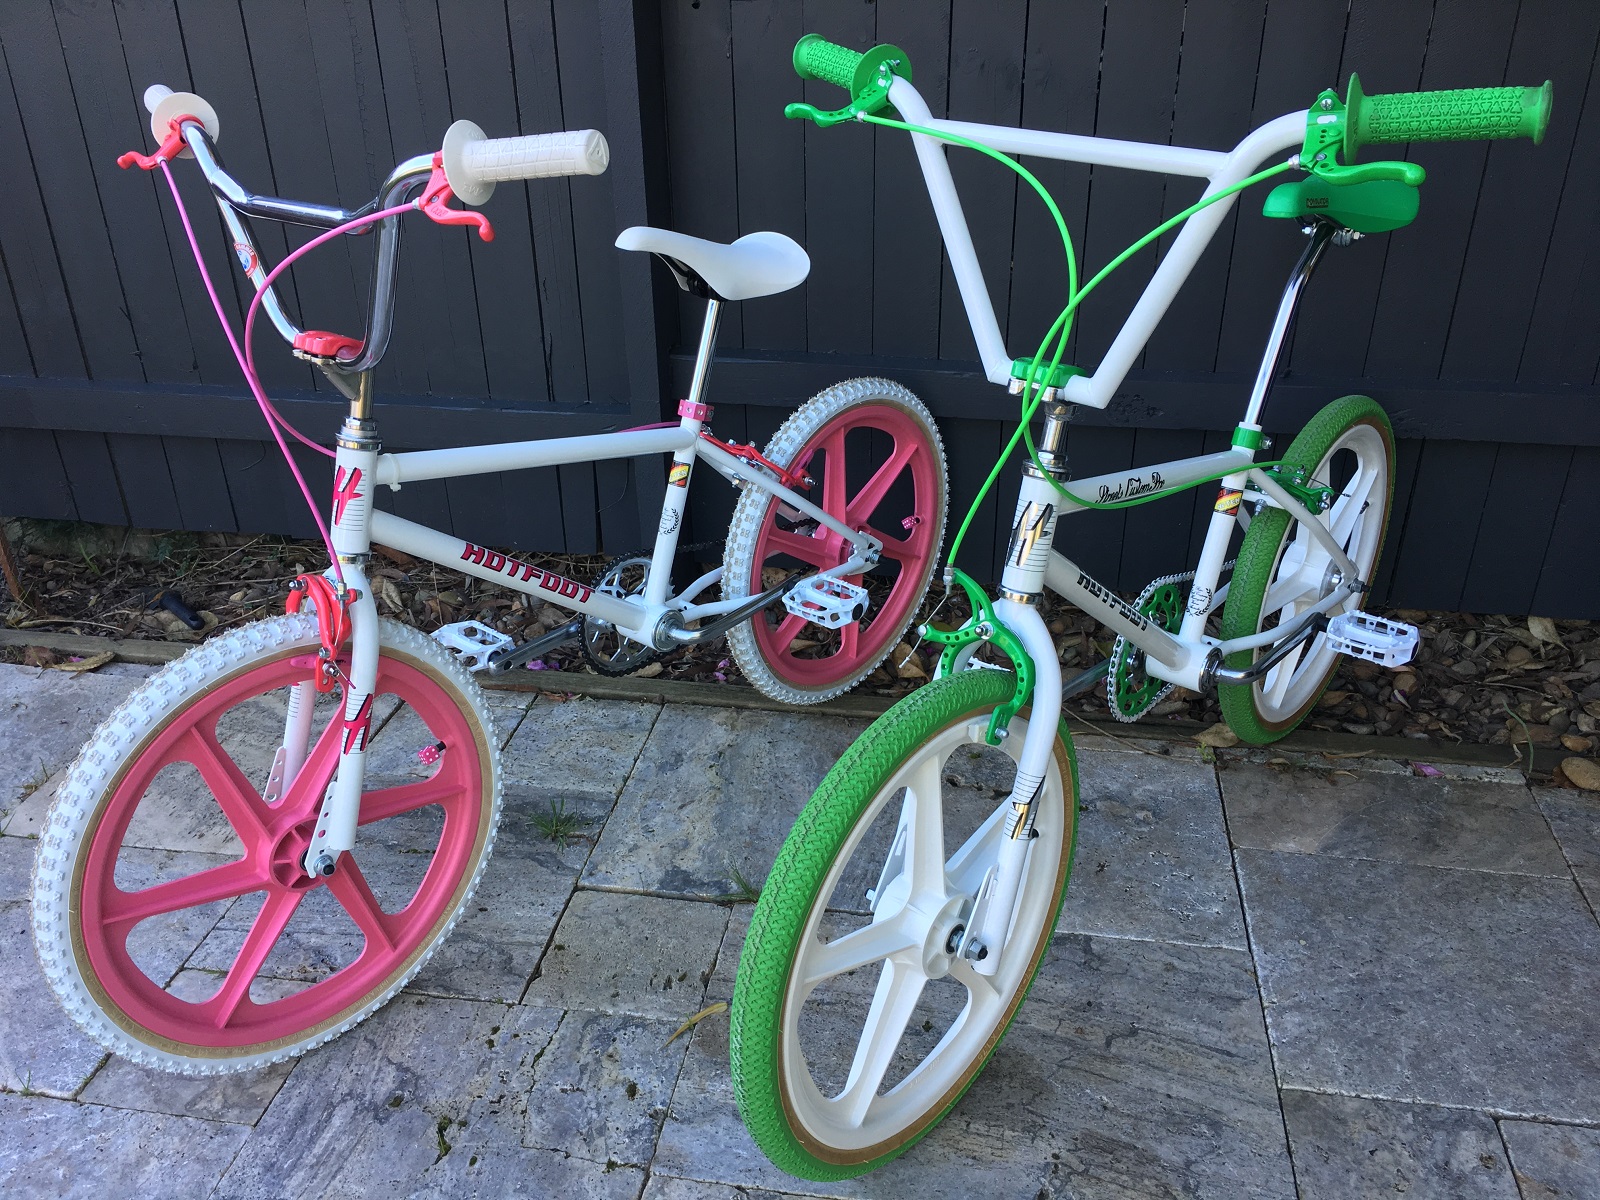
The Hotfoot Freestyle came in two colour schemes only - a white frame, seat and Red Stone mags with either pink or green accessories and matching two-tone decals. In my opinion, both of these colours look cheap and give the bike an overall toy store quality so I started the search for a new colour scheme ..
Freestyle bikes need bold colours - especially on a stark white frame - so I hunted around for a colour that was both unique and bold. Inspiration came in the form of a set of NOS purple Dia Compe Tech IV levers that I found on eBay. I have since ordered a set of upper and lower Odyssey Gyro cables in matching purple and I am looking out for a set of Dia Compe FS 880 callipers that I can restore and paint a matching colour. Hopefully this is not too much purple!
Although I was changing the colour, I did want to keep true to the original feel of the bike and settled on a custom coloured set of decals that Lixy has reproduced from artwork provided by Lukesta888. My set will have a deep purple and lavender colour combination to compliment the brake hardware.

|

|
|

|

|
Restoring the Small Parts
Restoring the small parts is always a rewarding part of a build for me. Whereas I have to send parts out to be chrome plated or powder coated, I can spend restore alloy parts to sometimes better than new condition with minimal tools and a lot of elbow grease. Why pay top dollar for NOS parts when you can restore the parts that were originally on the bike?
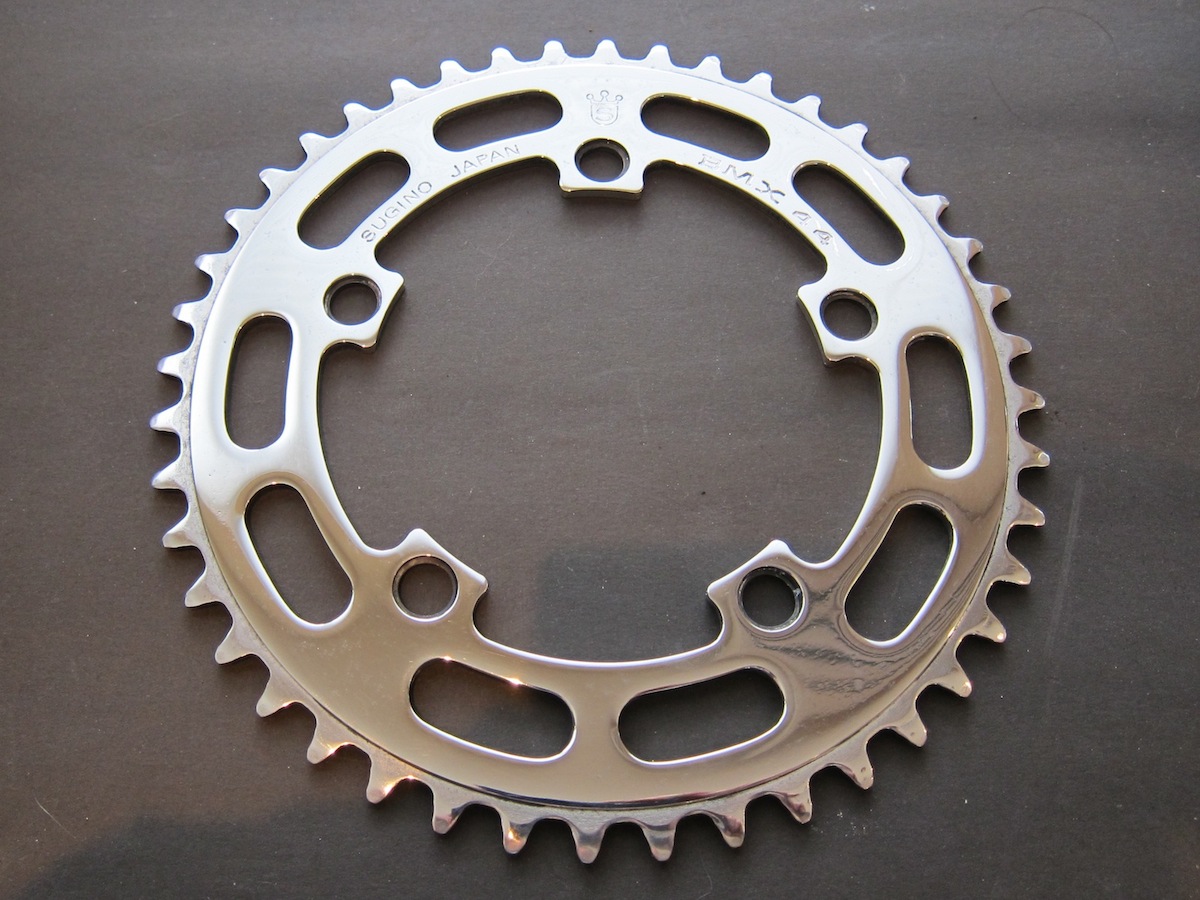
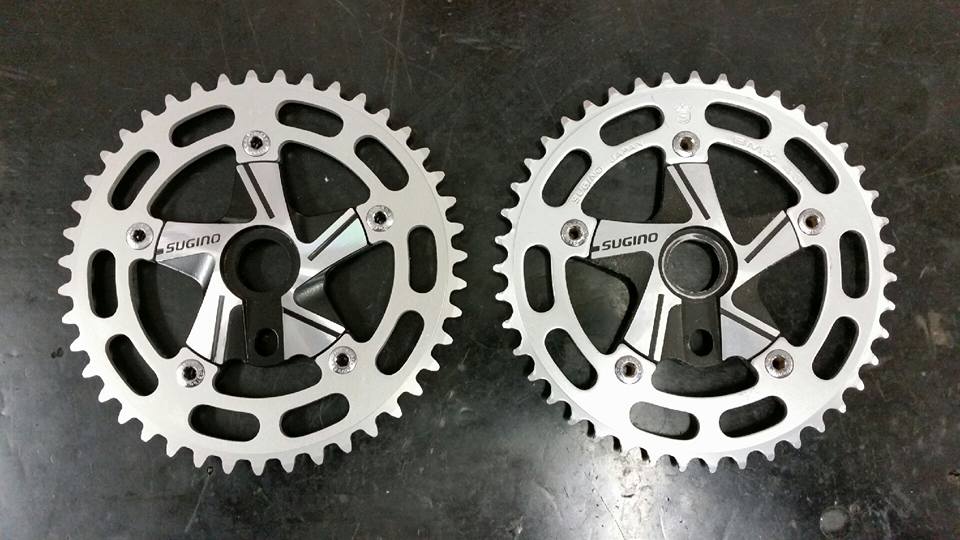
The Hotfoot Freestyle came with a Sugino 44 tooth chain ring, alloy Sugino spider and Sugino CrMo one-piece cranks. Luckily, mine had all of the original parts on it and they are all in restorable condition. The chain ring - as you can see in the before photos below - had a reasonable amount of nicks and scratches. I was able to sand most of the shallow ones out using a combination of 80, 120, 240, 400 and 800 grit wet-and-dry paper but I intentionally left some of the deep scratches as to remove them would mean removing a significant amount of the alloy. After a quick polish on the wheel the results look good!

|

|
|
|

|
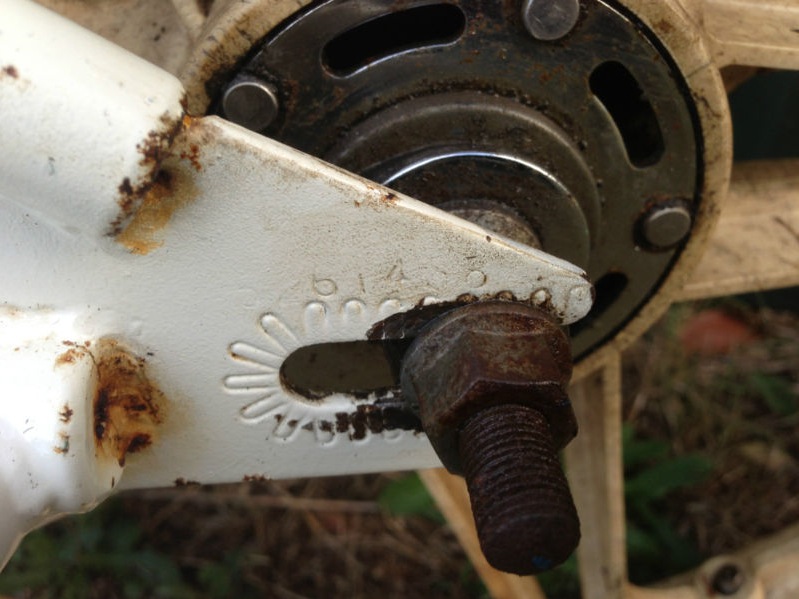
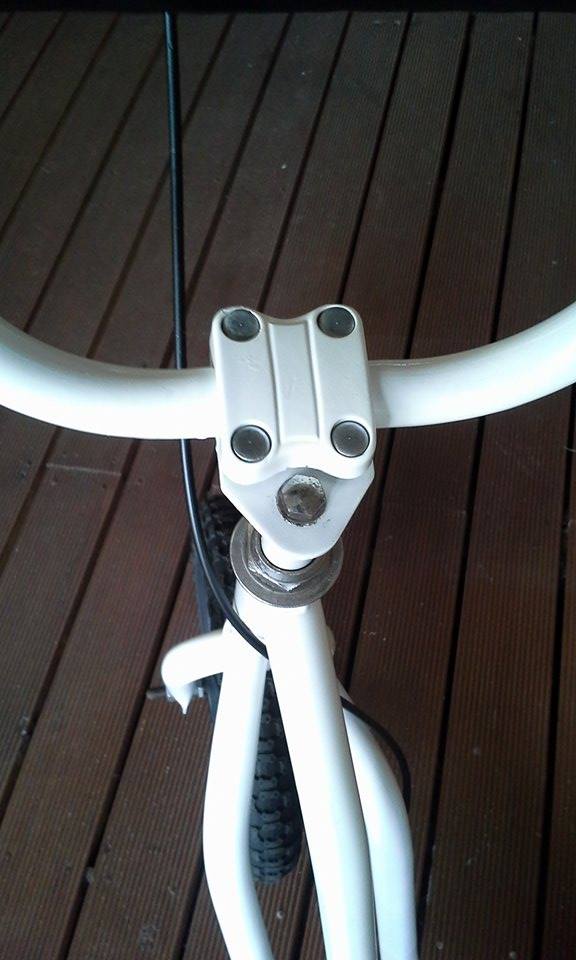
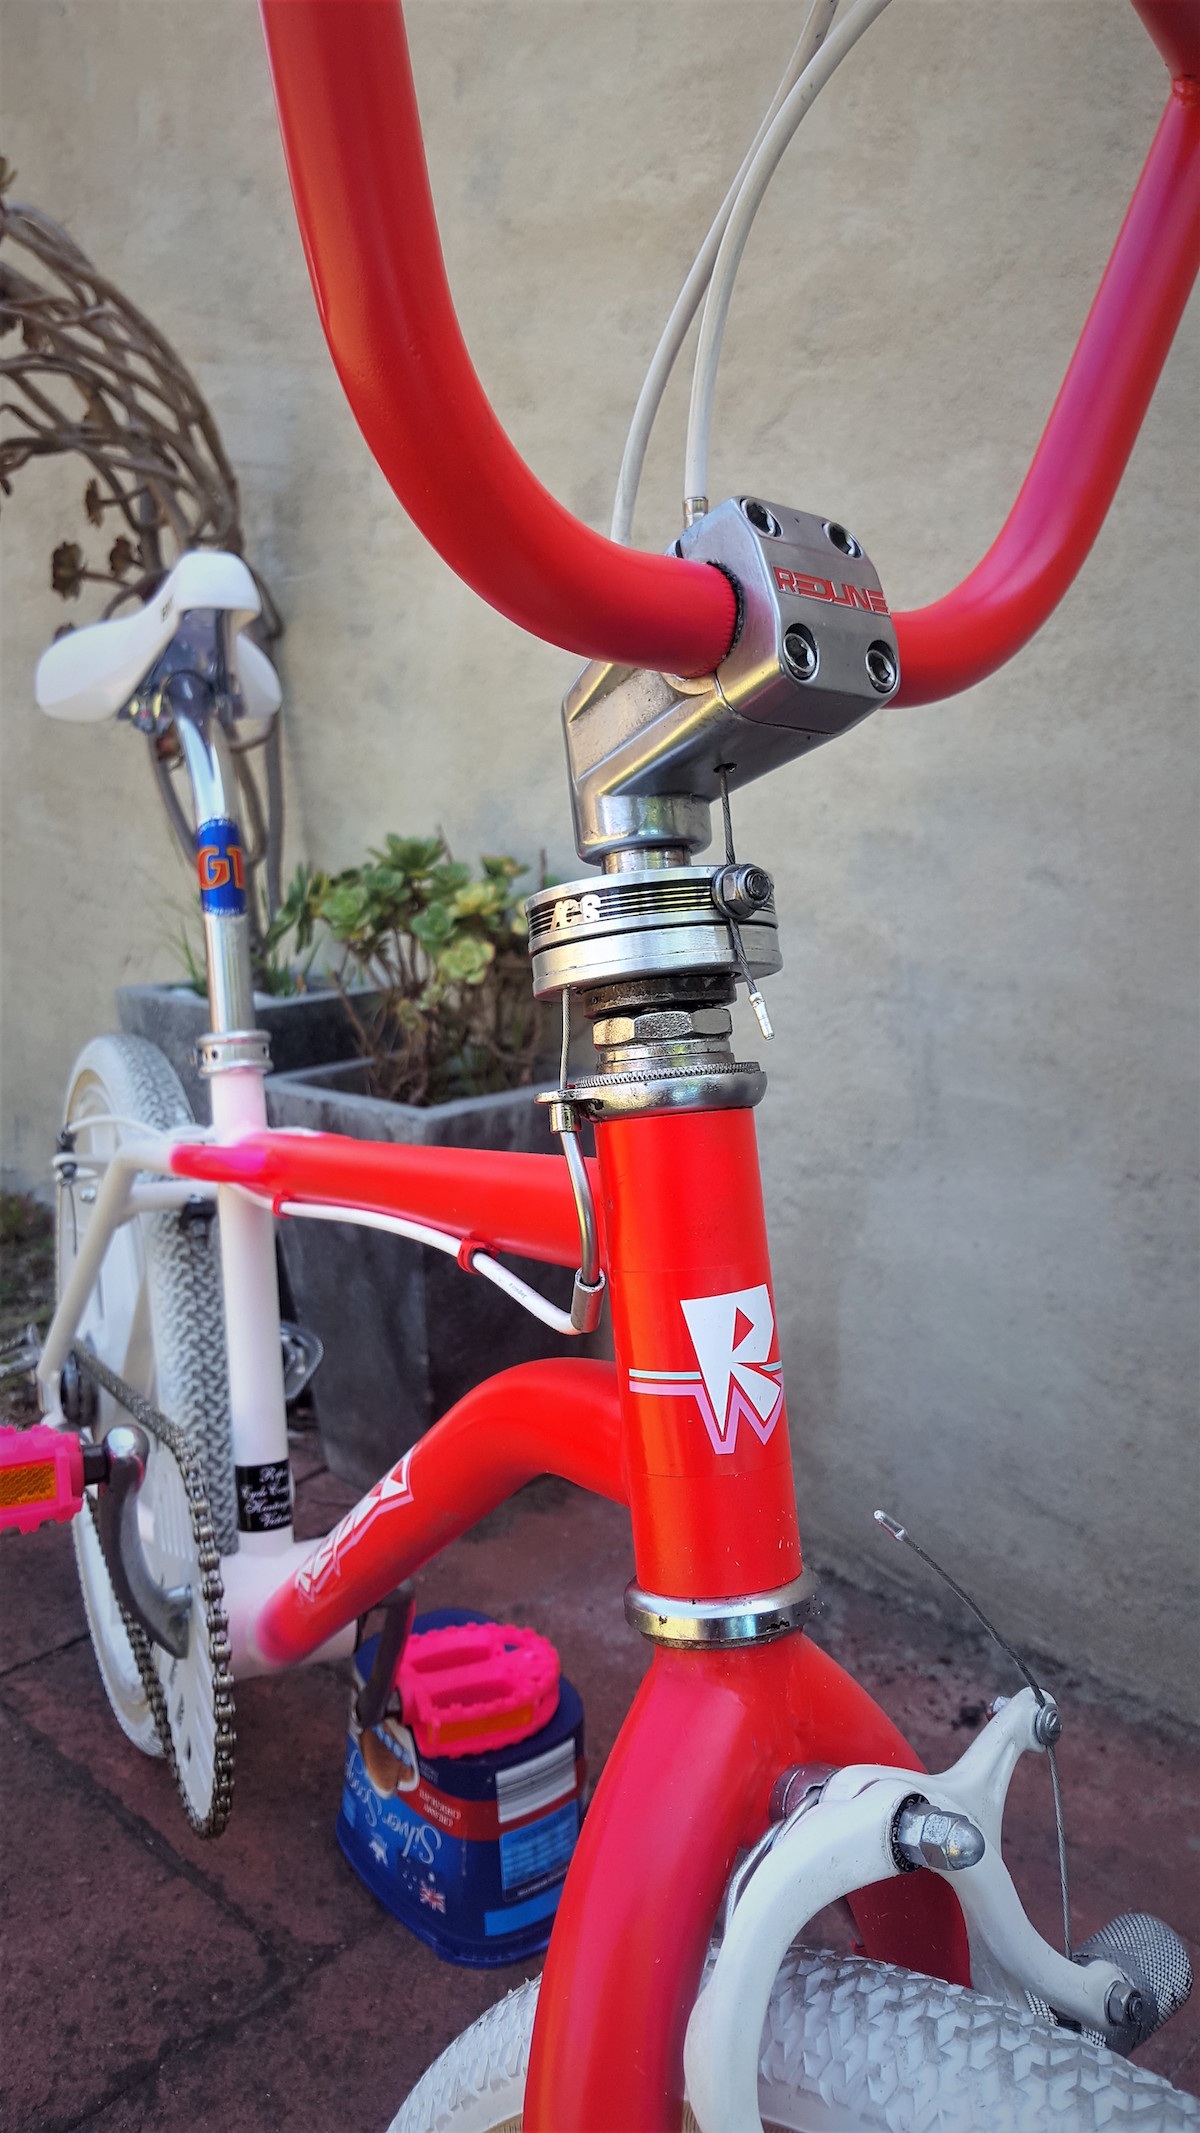
The alloy SR stem had also seen better days. Over the years the bolts had rusted badly and the previous owner had damaged the top of the stem - badly marking the SR-423 stamp - and the stem cap while using a spanner or a socket set to tighten the quill bolt.
As the stem cap will be painted purple to match the other accessories on the bike, the damage from previous attempts to tighten the bolt can be filled, sanded and painted over. The same cannot be sad for the SR-423 stamp - I will do my best to polish the stem without polishing the details out but this will result in a few of the original marks being visible. The stem will be finished off with a new centre bolt and alloy M8 hex socket head screws.

|

|
Sugino Spider
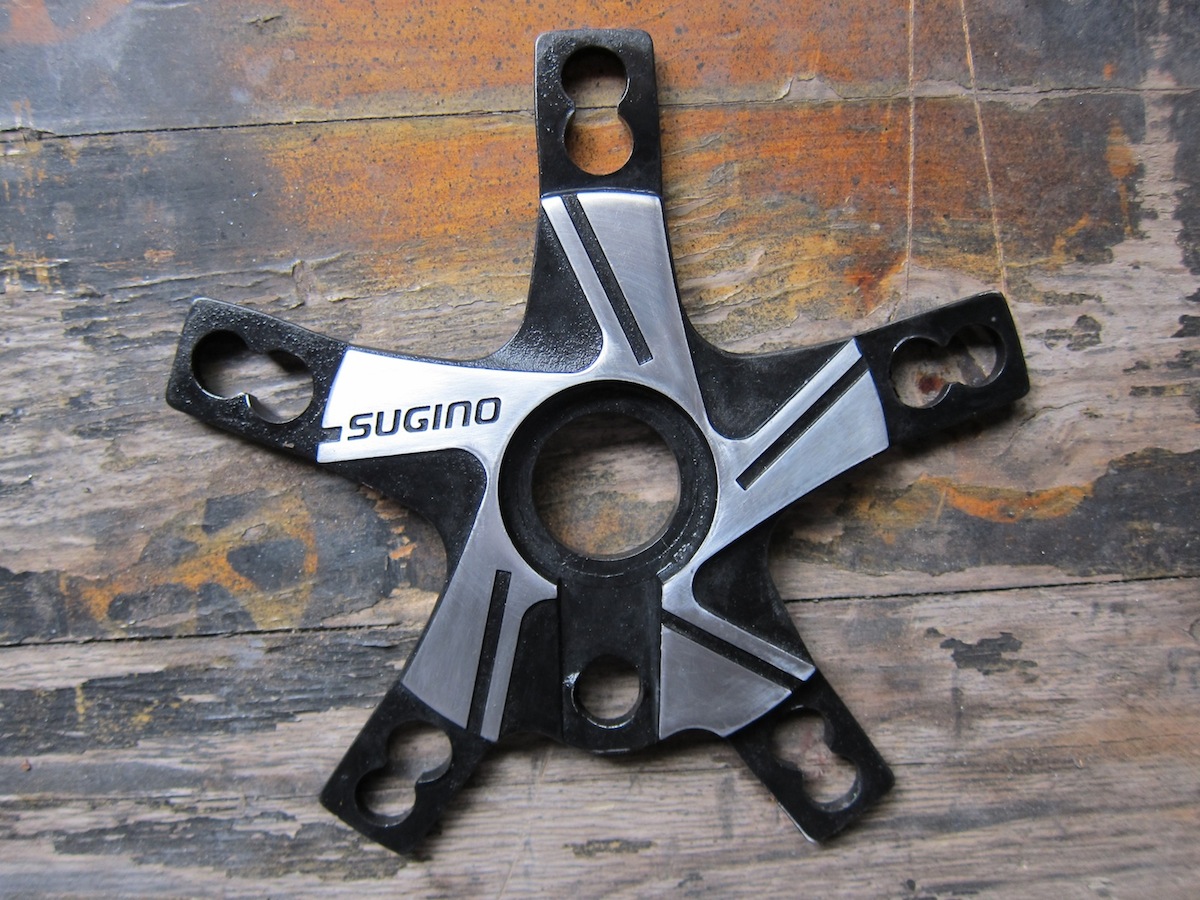
The Sugino Spider that came with the bicycle was in good condition but I decided to paint it again and give the faces a quick polish as they had a lot of scuff marks and scratches on them. The sequence below shows the steps of stripping the paint through to painting and sanding back the faces to reveal the alloy underneath. To minimise the sanding required after painting, I sanded the alloy faces prior using 600 grit wet and dry. Just needs a polish now!

|

|
|

|

|
|

|
|
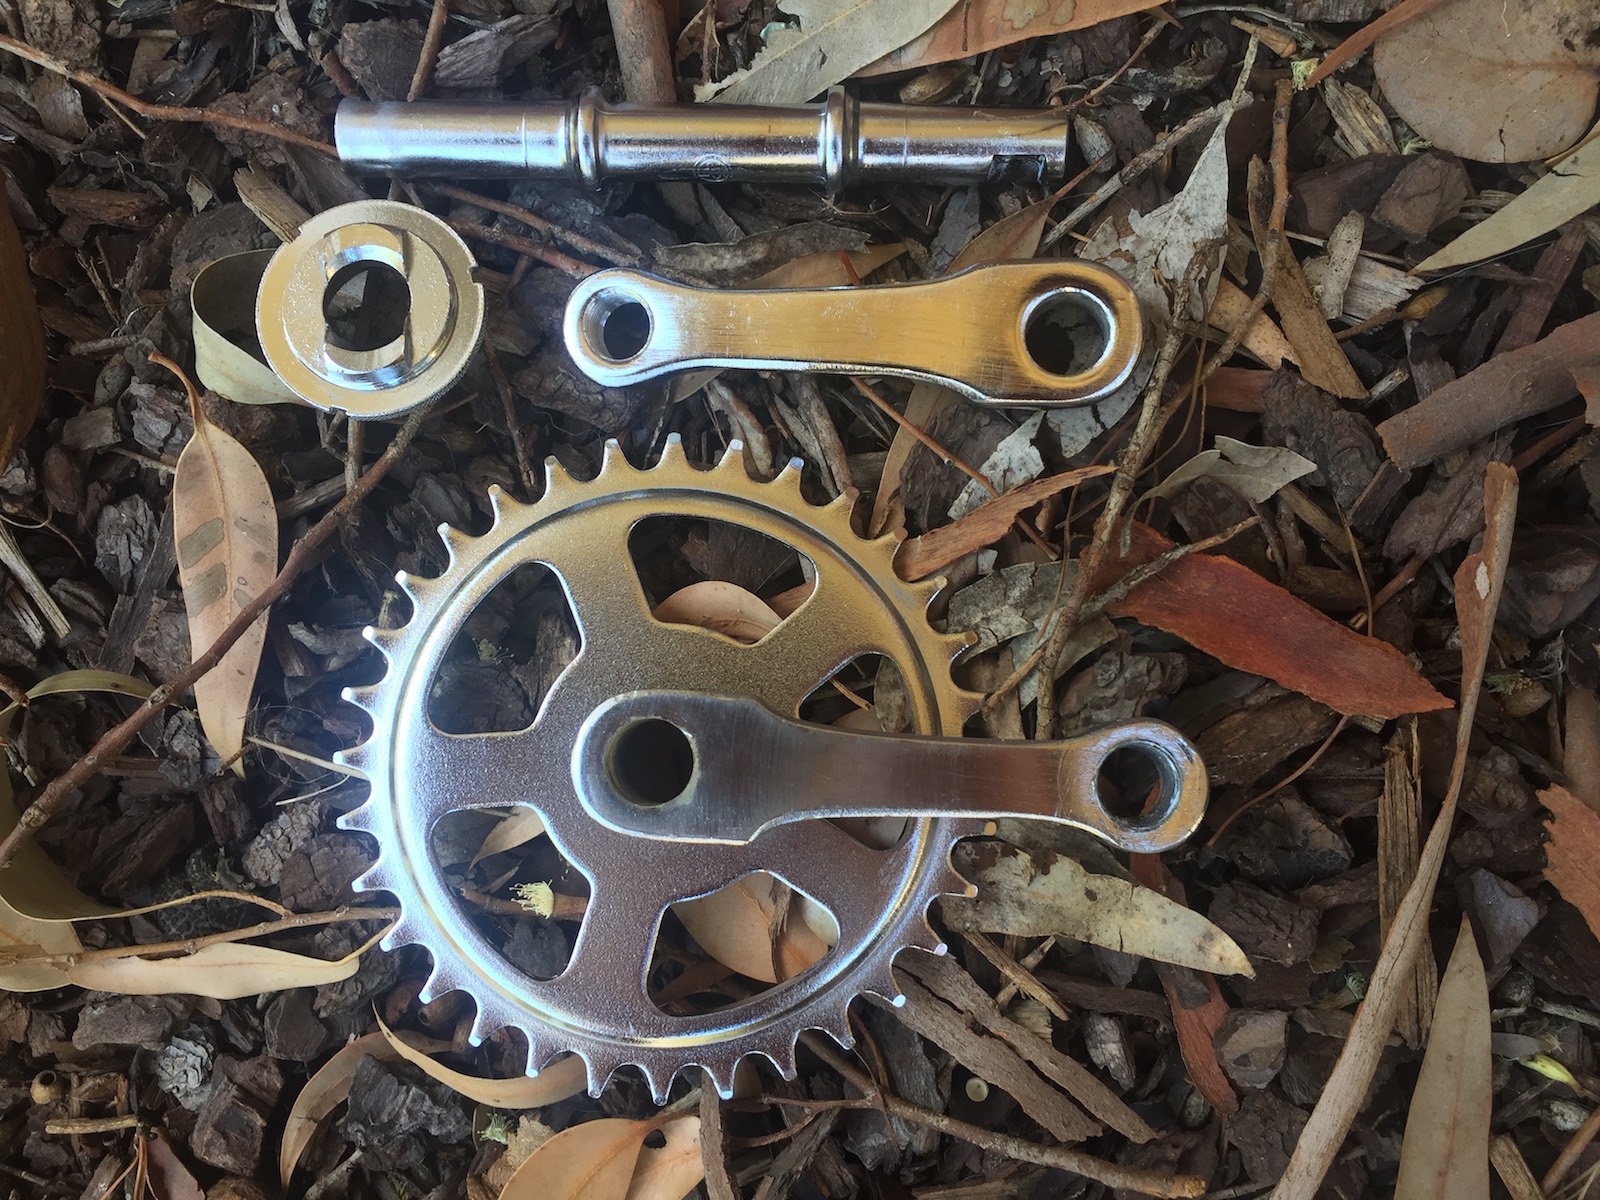
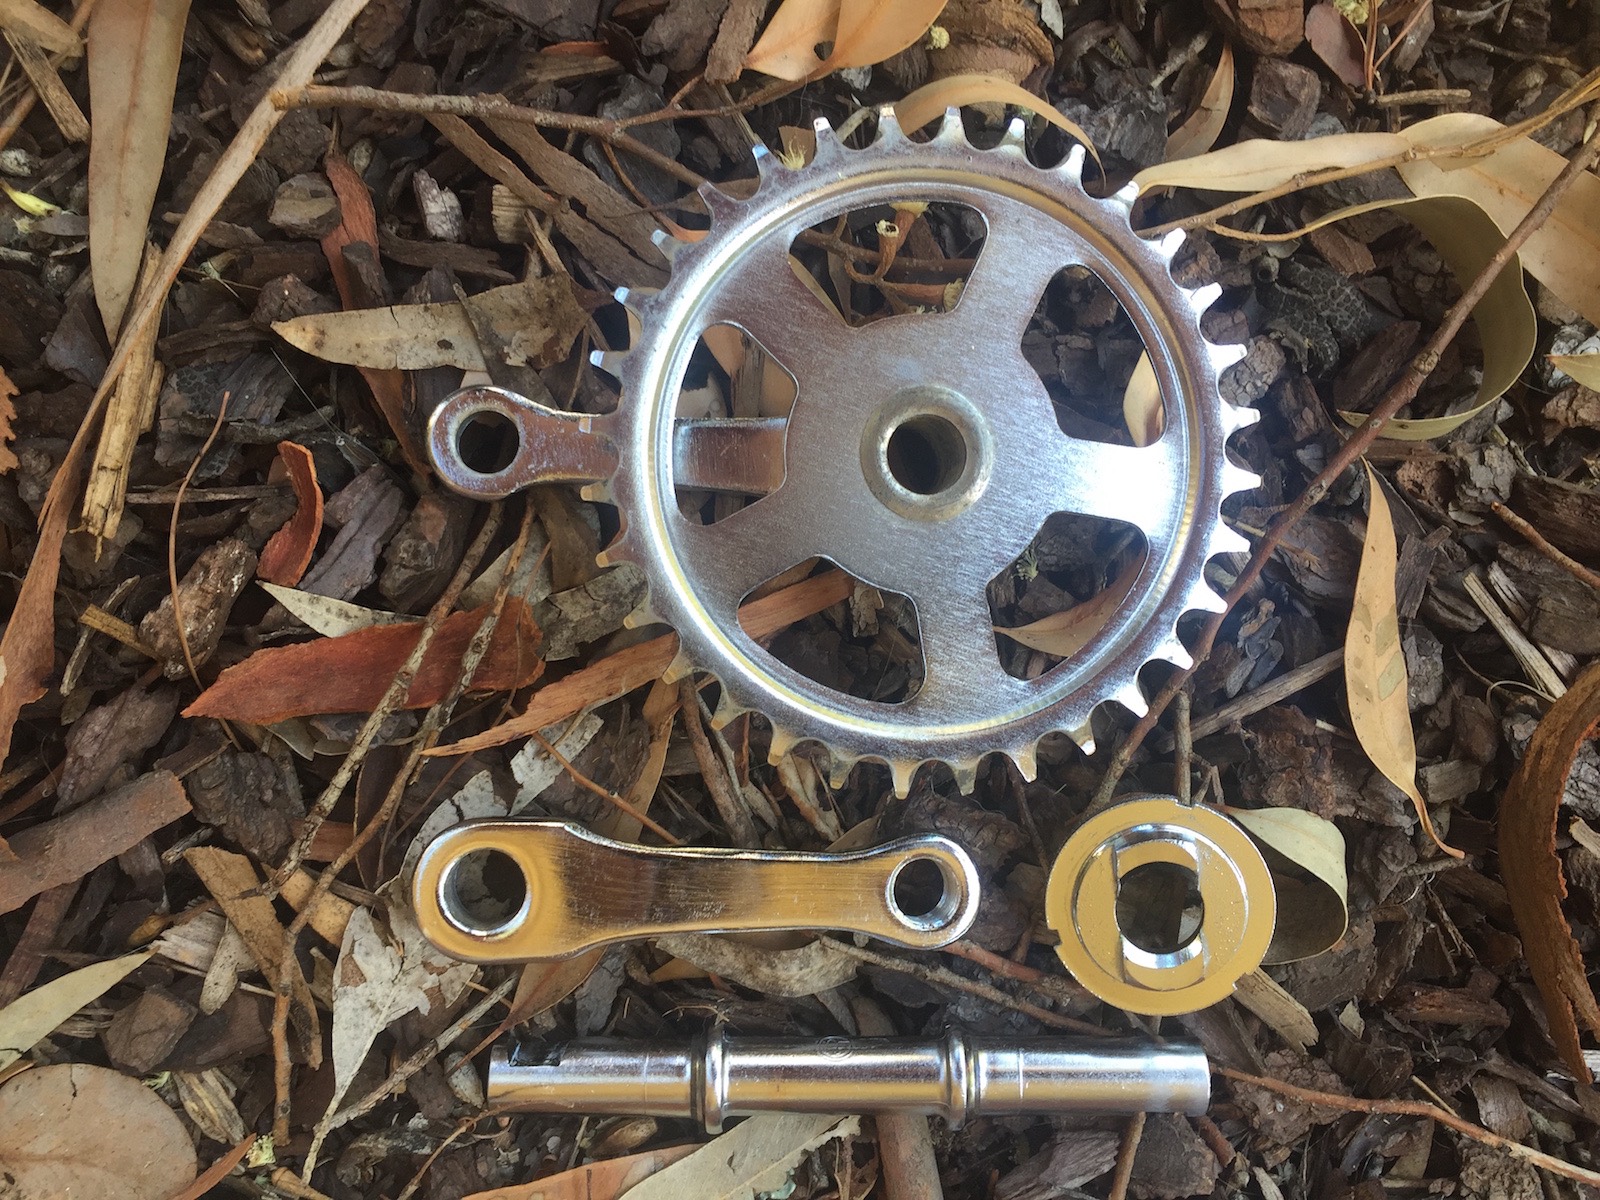
Sugino Cranks
Rob and Rick of Star Plating have done a fantastic job with these pair of cranks - just look at their condition in the original pics above! These had little chrome left and had some decent scraping along the front faces and across the Sugino stampings. Now they look brand new!

|

|
|

|
Freestyle Handlebars
Again, Rob and Rick of Star Plating have done an amazing job on a set of bars that - if it weren't for the fact that they are original to the bike - I might have thrown in the bin. These are a pretty ordinary set of bars and to me the proportions look a little wrong - the crossbars need to be a 1/2 inch or so higher.

|

|
|

|

|
Kashimax Handler Seat
I had a nice white Dominator ready for this bike when I was alerted to this Kashimax Handler by Lukesta888. I was concerned that it would introduce yet another shade of purple to my build but its amazing how close the colour is to the Odyssey cables I already have.

|

|
|

|

|
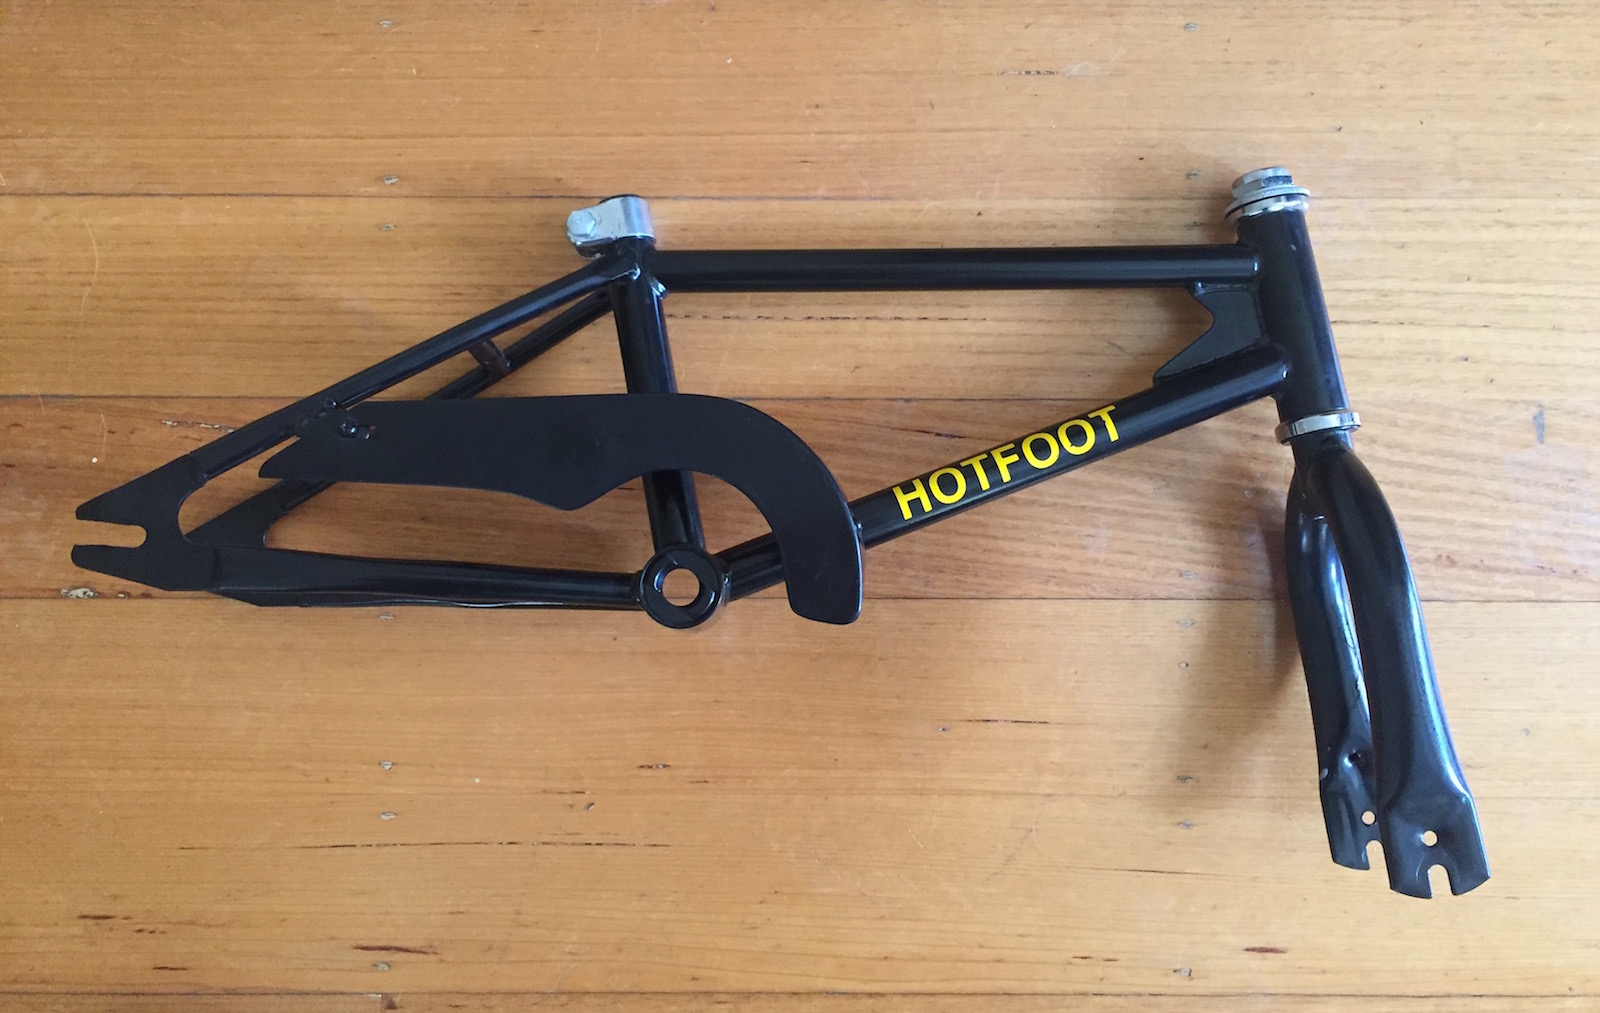
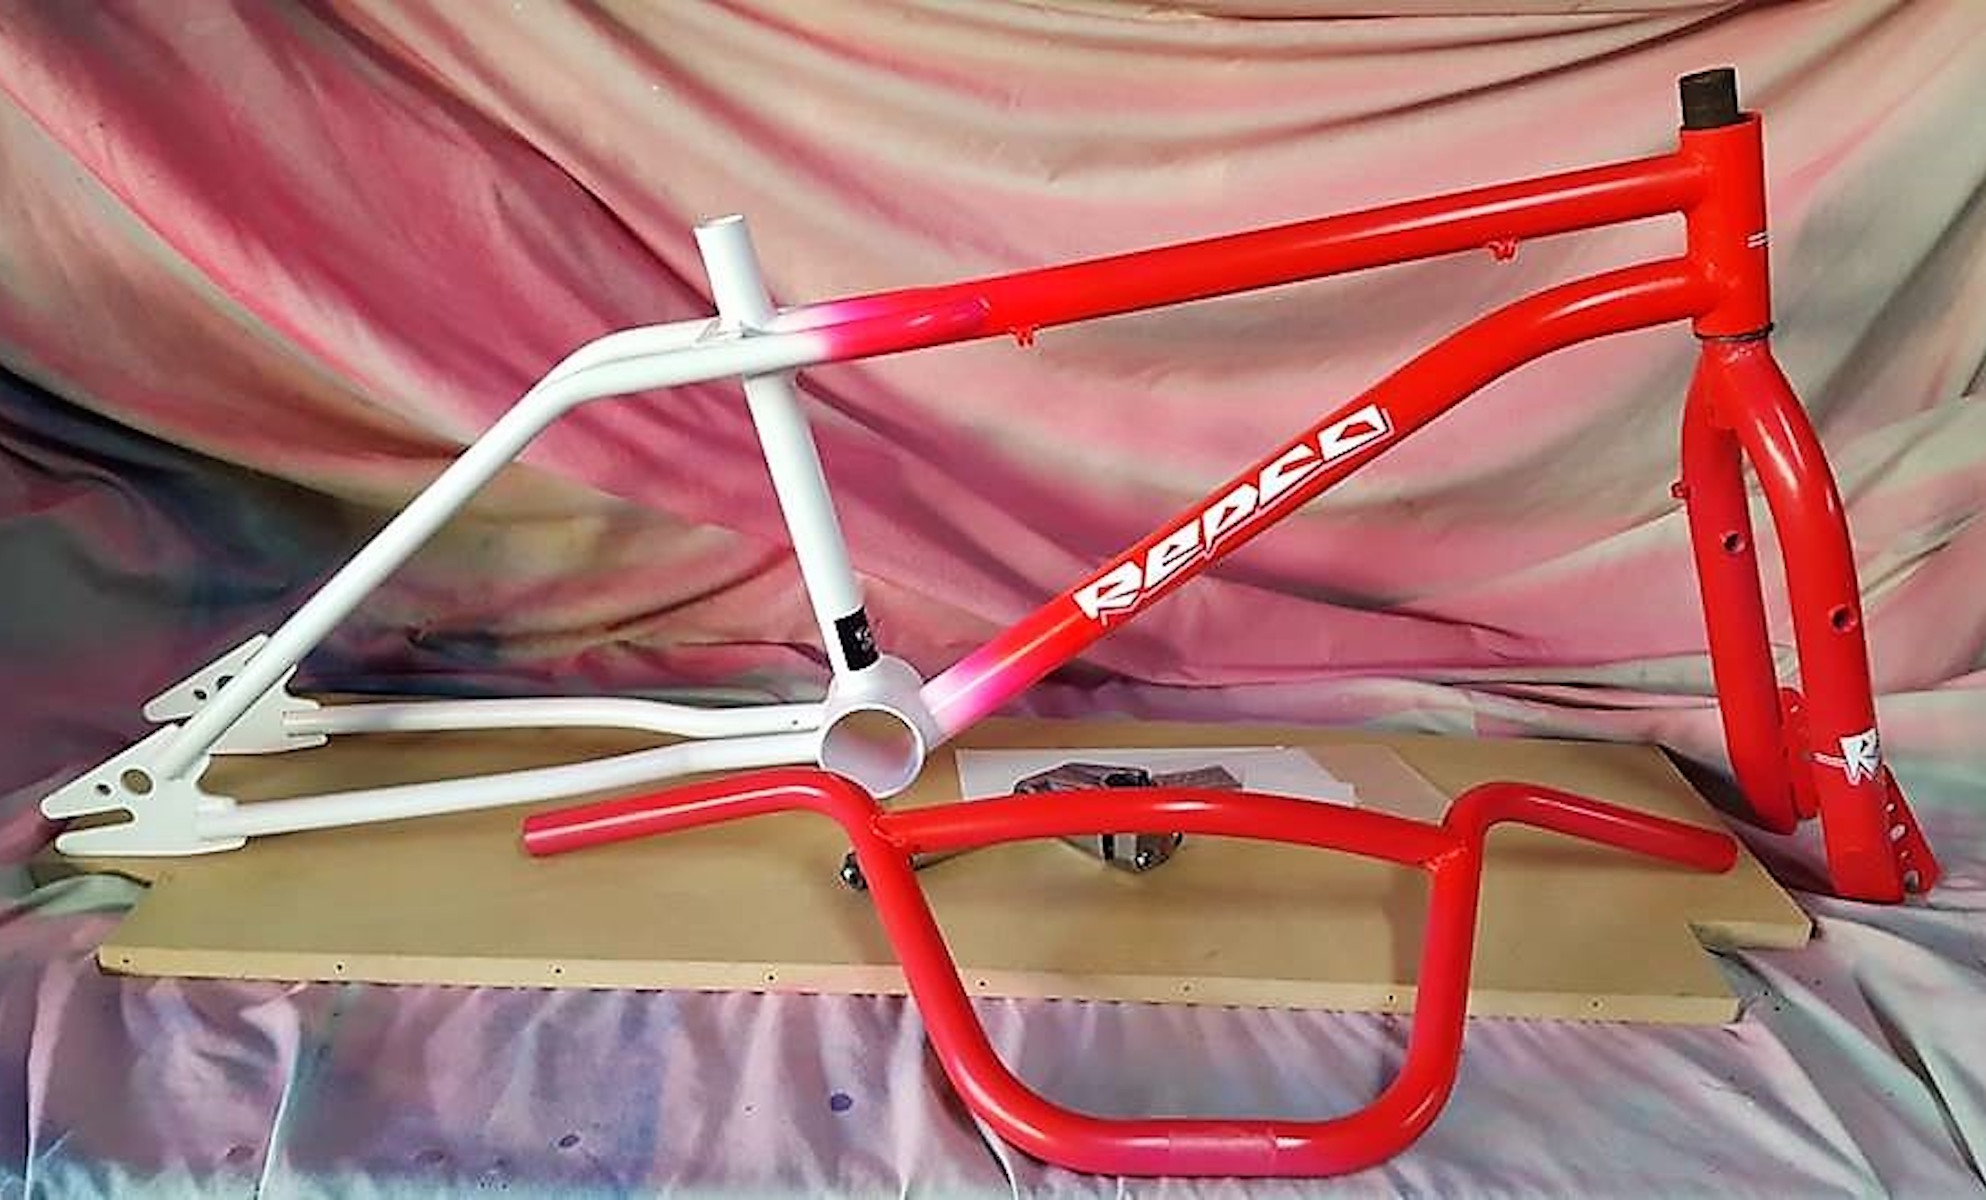
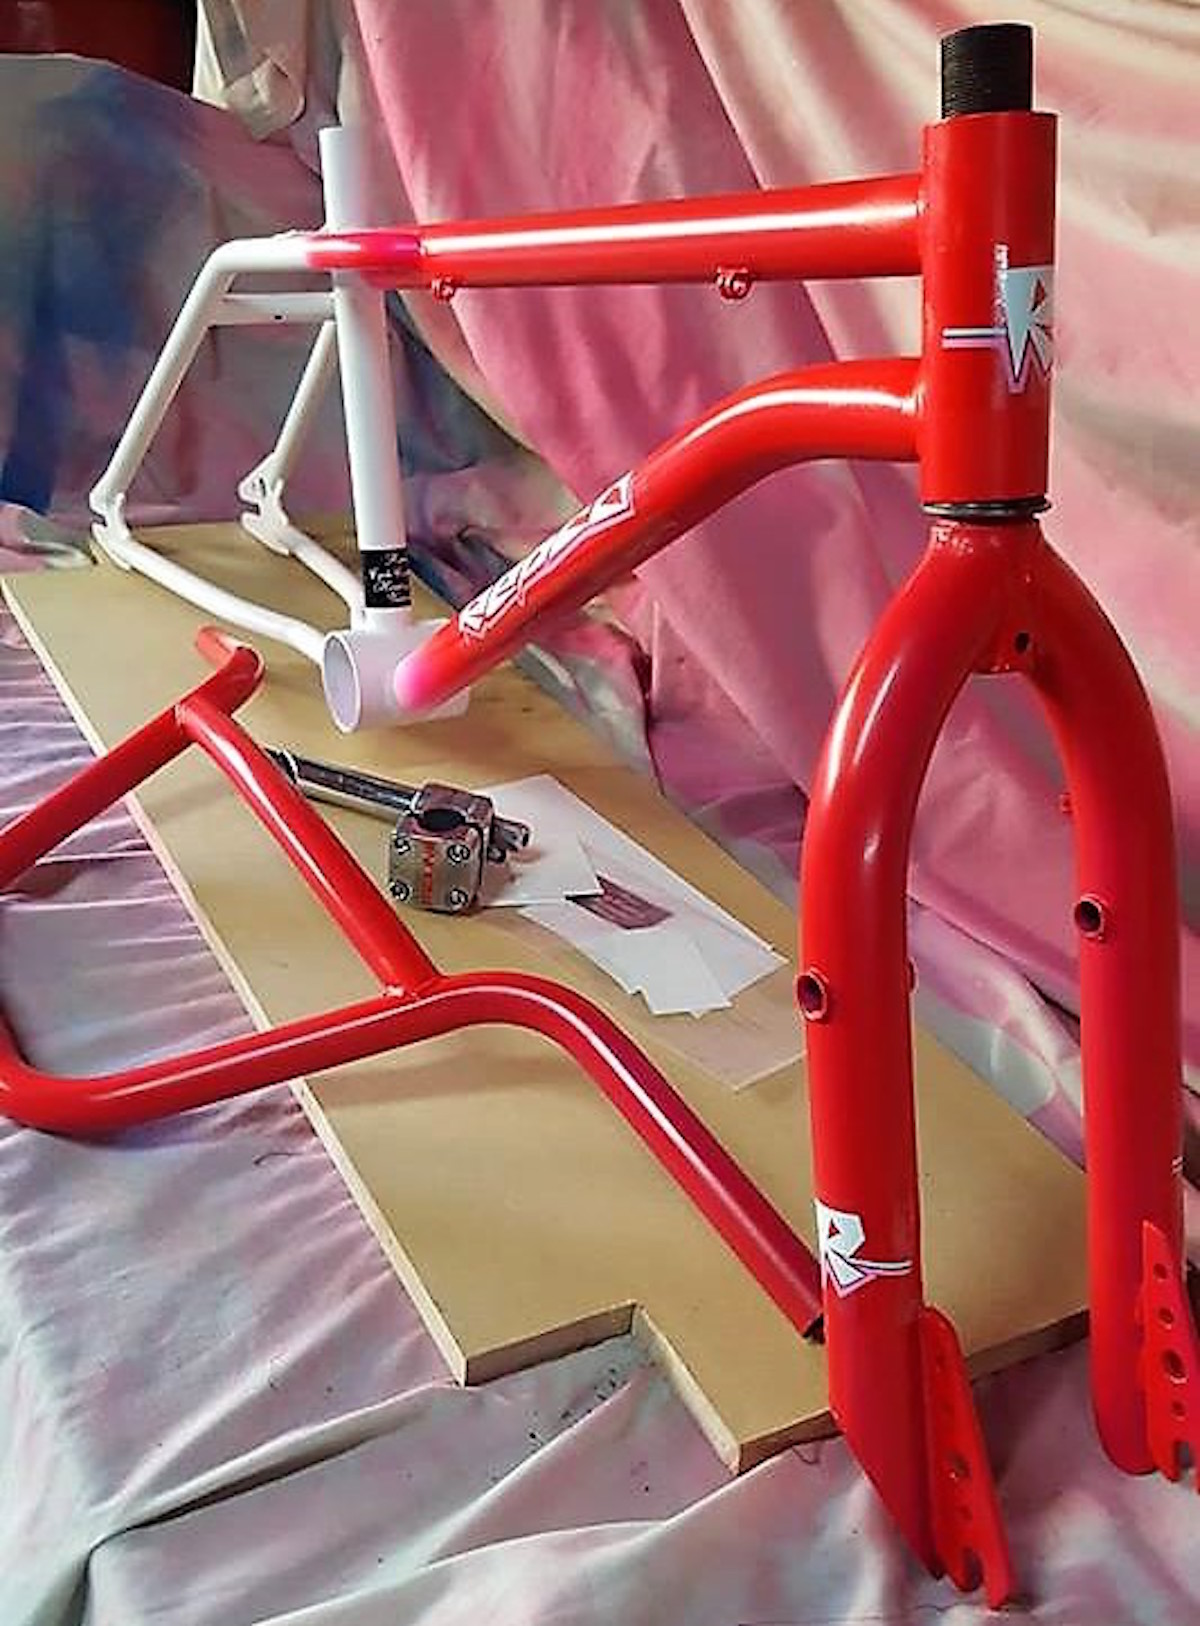
Painted Frame
Pete (BMXMadMan) did a great job on the frame and forks! Here I have stickered it up and taken some mock up photos using the White Tuffs from my '85 Team - they will be replaced by Red Stone tuffs when I work out how to restore them properly.

|

|
|

|

|
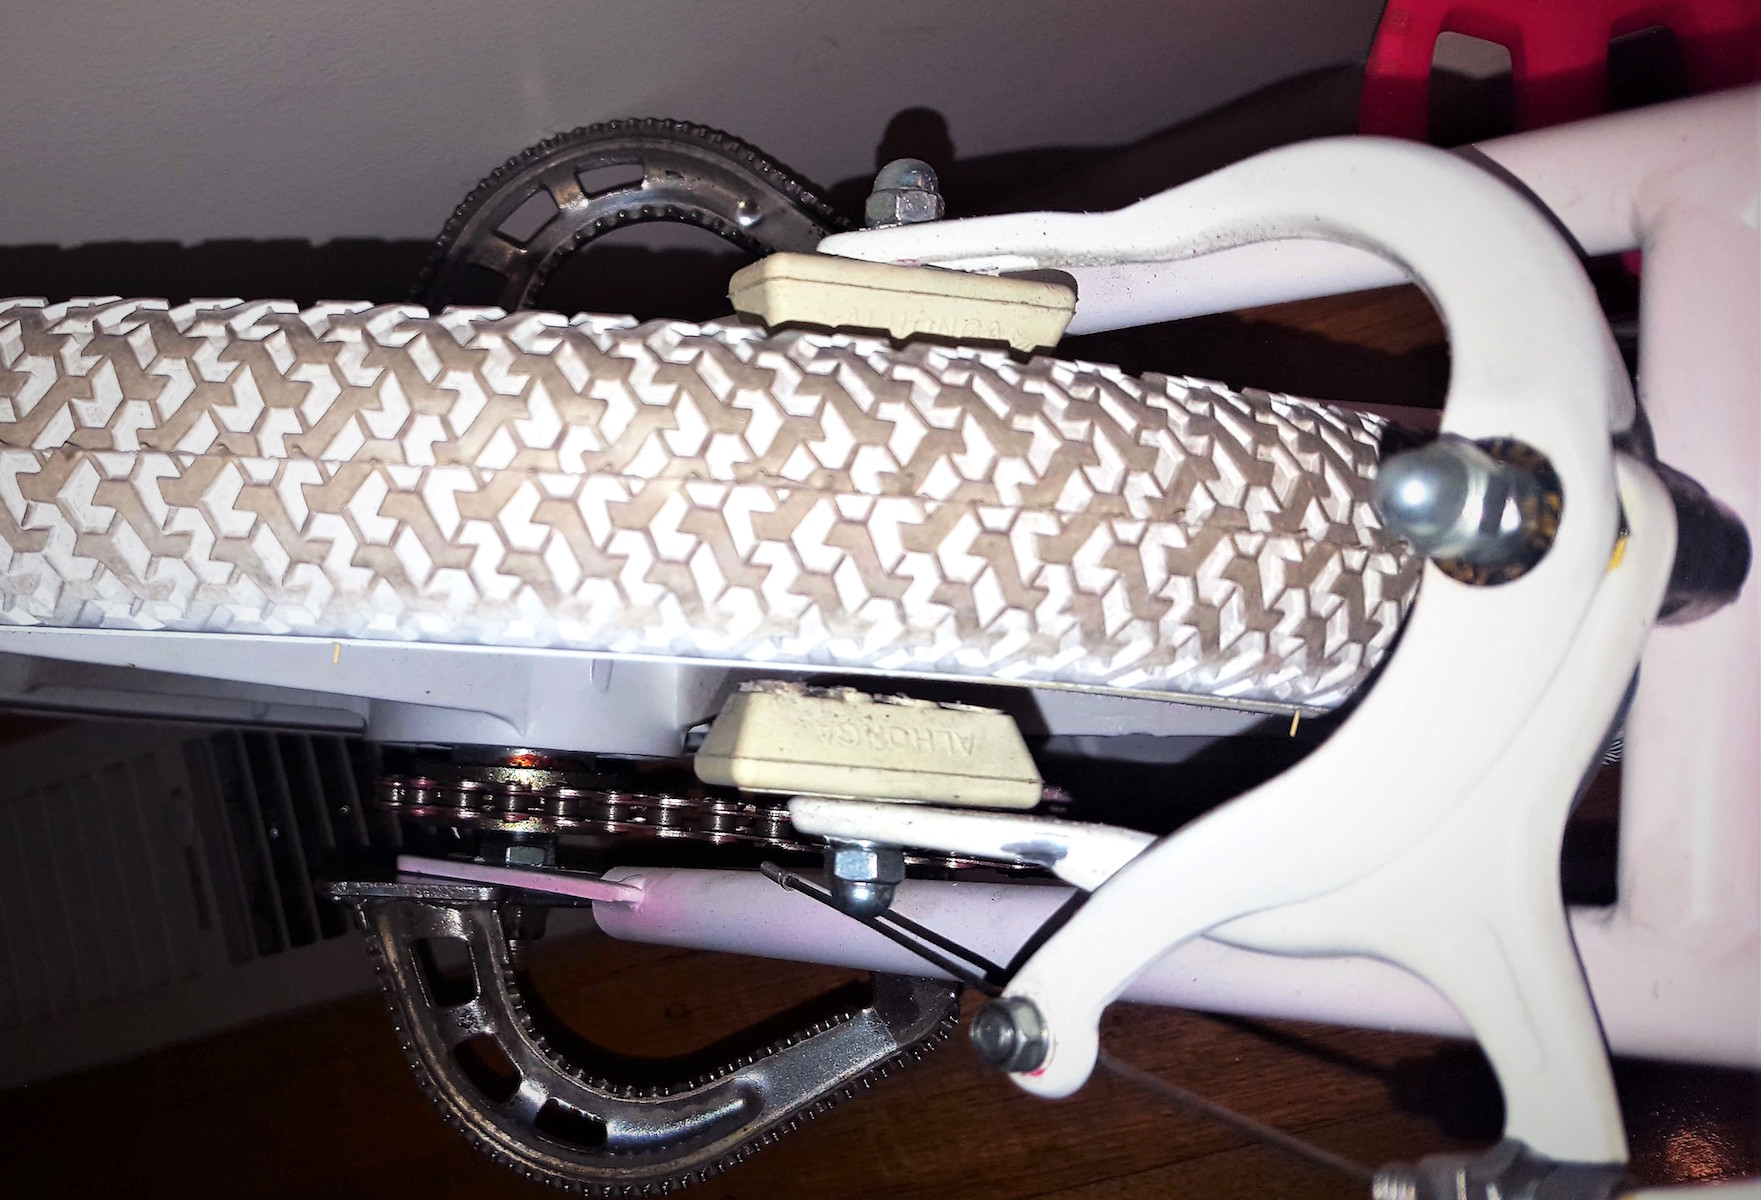
Red Stone Tuffs
I am very keen to preserve the original Red Stone Tuffs that came with the bike simply because they are different to the common Skyway Tuffs. After nearly thirty years of riding, the white tuffs were filthy and in desperate need of a bleach bath.
After comparing the active ingredients in a number of different brands of bleach, I settled for 'Home Brand' from because it was the cheapest (by far!) and had the same concentration as the more expensive brands. I bought seven, two-litre bottles hoping it would be enough to fill the plastic container I had. it didn't even come close .. as you can see, I filled some of the empty bottles with water and submerged them in the bleach to raise the water level.
As you can see in the last picture, the effect was almost immediate - the dirt and grime fell away quickly and my hopes were high for a success!

|

|
|

|

|
Unfortunately the results were not as good as I was hoping. Although much whiter than the original wheel, the result after nearly a week of soaking was an off-white or ivory coloured wheel which looks very average compared to the stark white colour of the frame or the new reproduction Skyways I temporarily put on the bike.
I have spoken to Warren Eales (waza007) about bead blasting but he has confirmed that it will restore the finish of the plastic but will not necessarily restore the colour back to white. I guess my only option is to paint the rims white if I want them to look factory original. As the back rim is cracked and unrideable, I do not see a problem in doing this ..

|

|
|

|

|
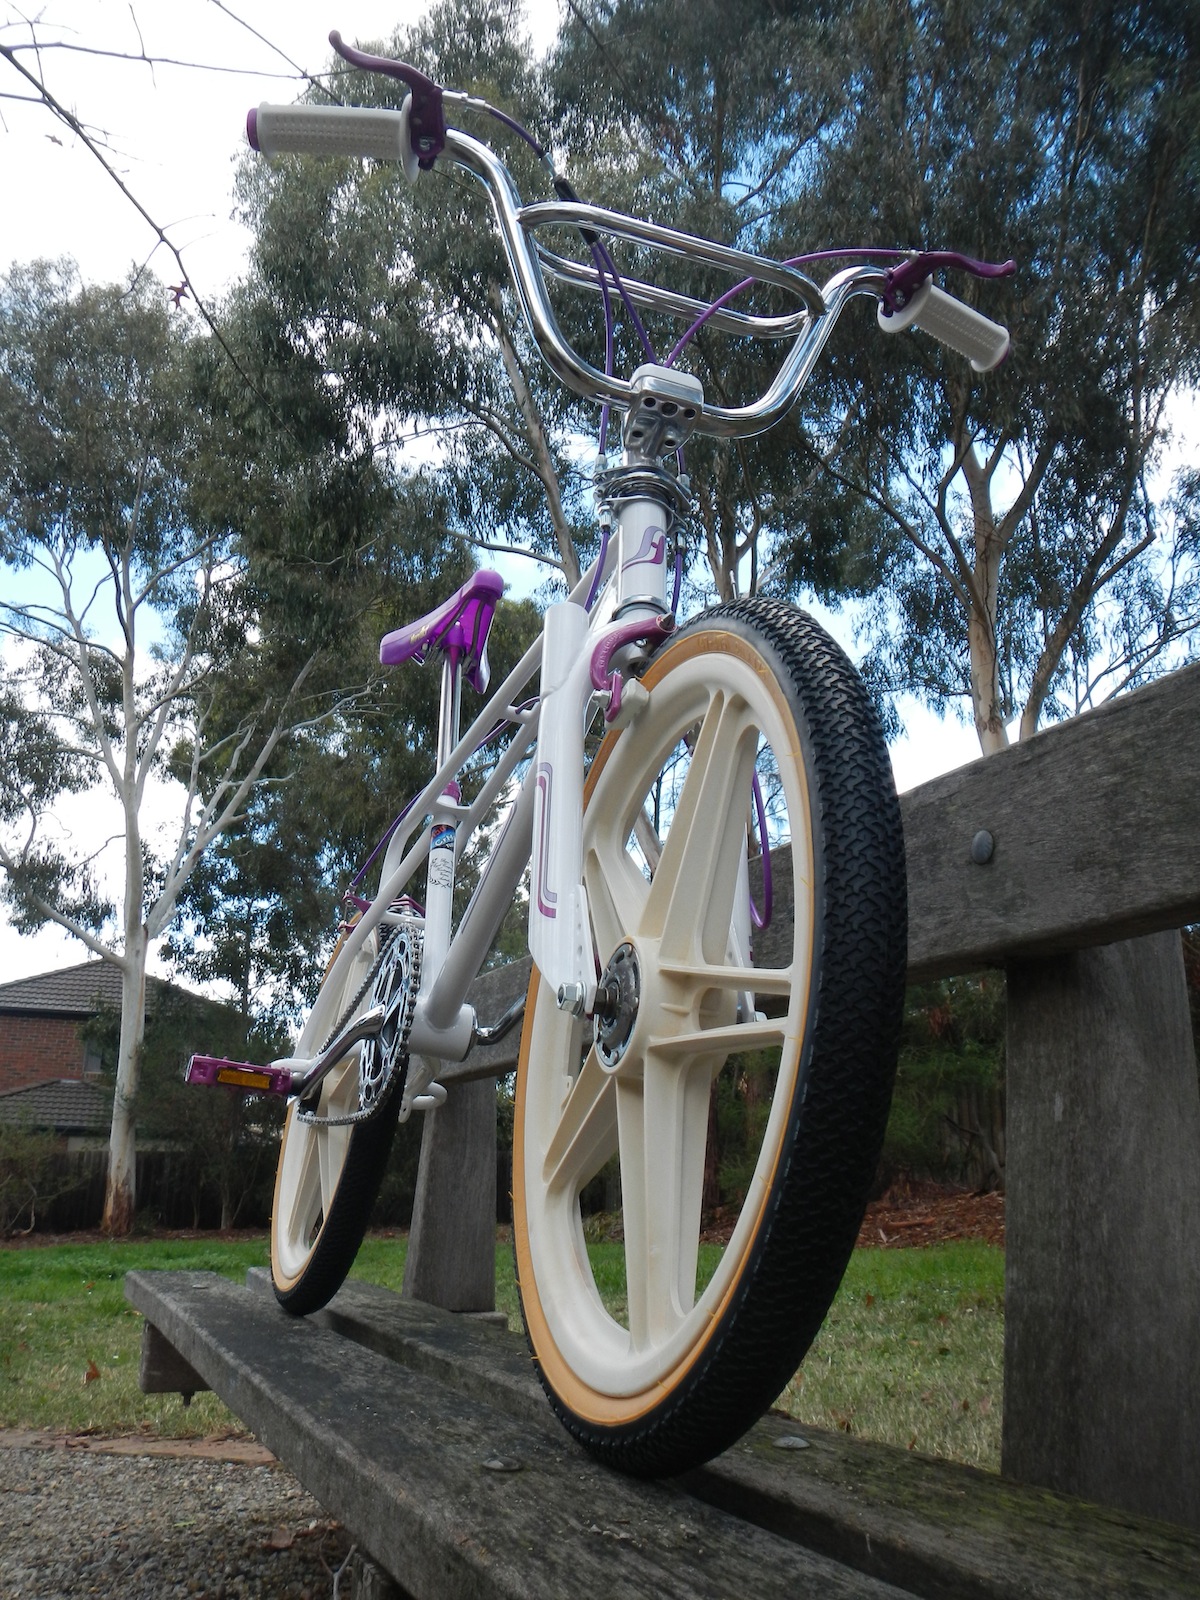
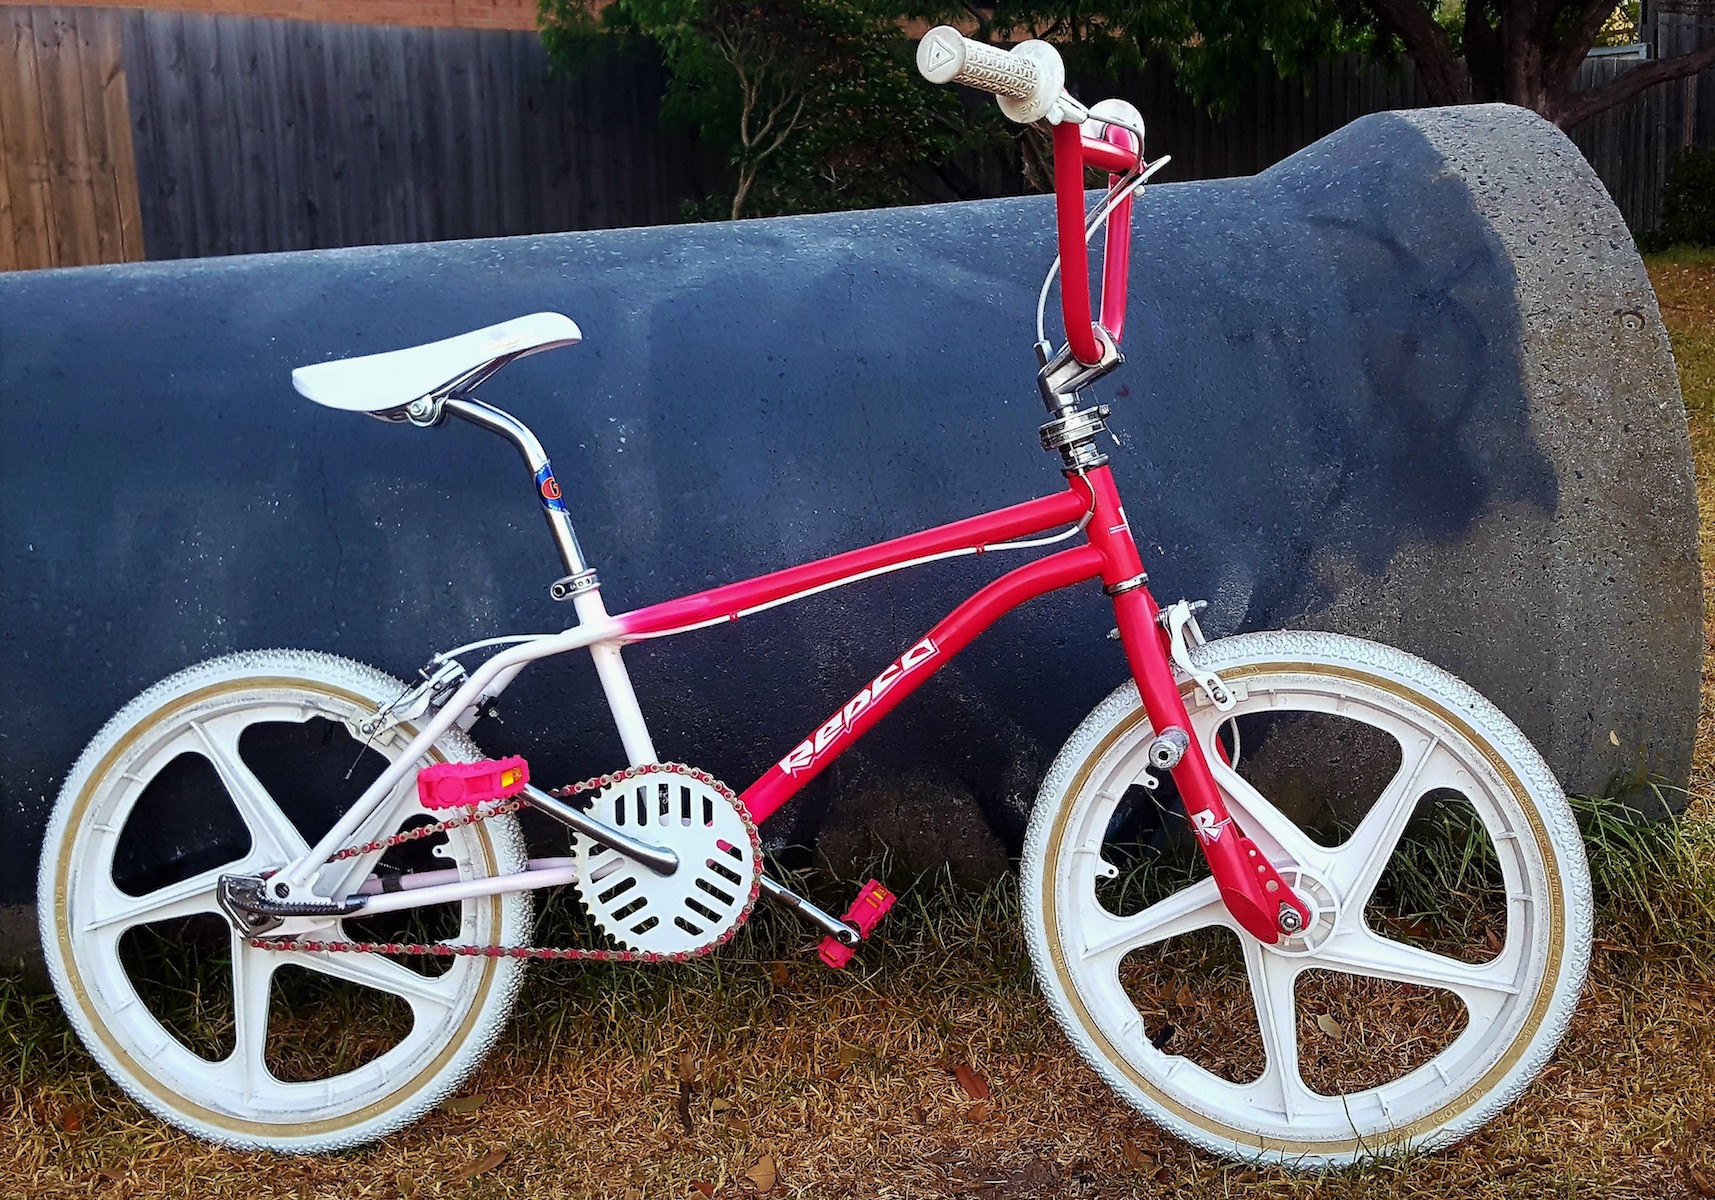
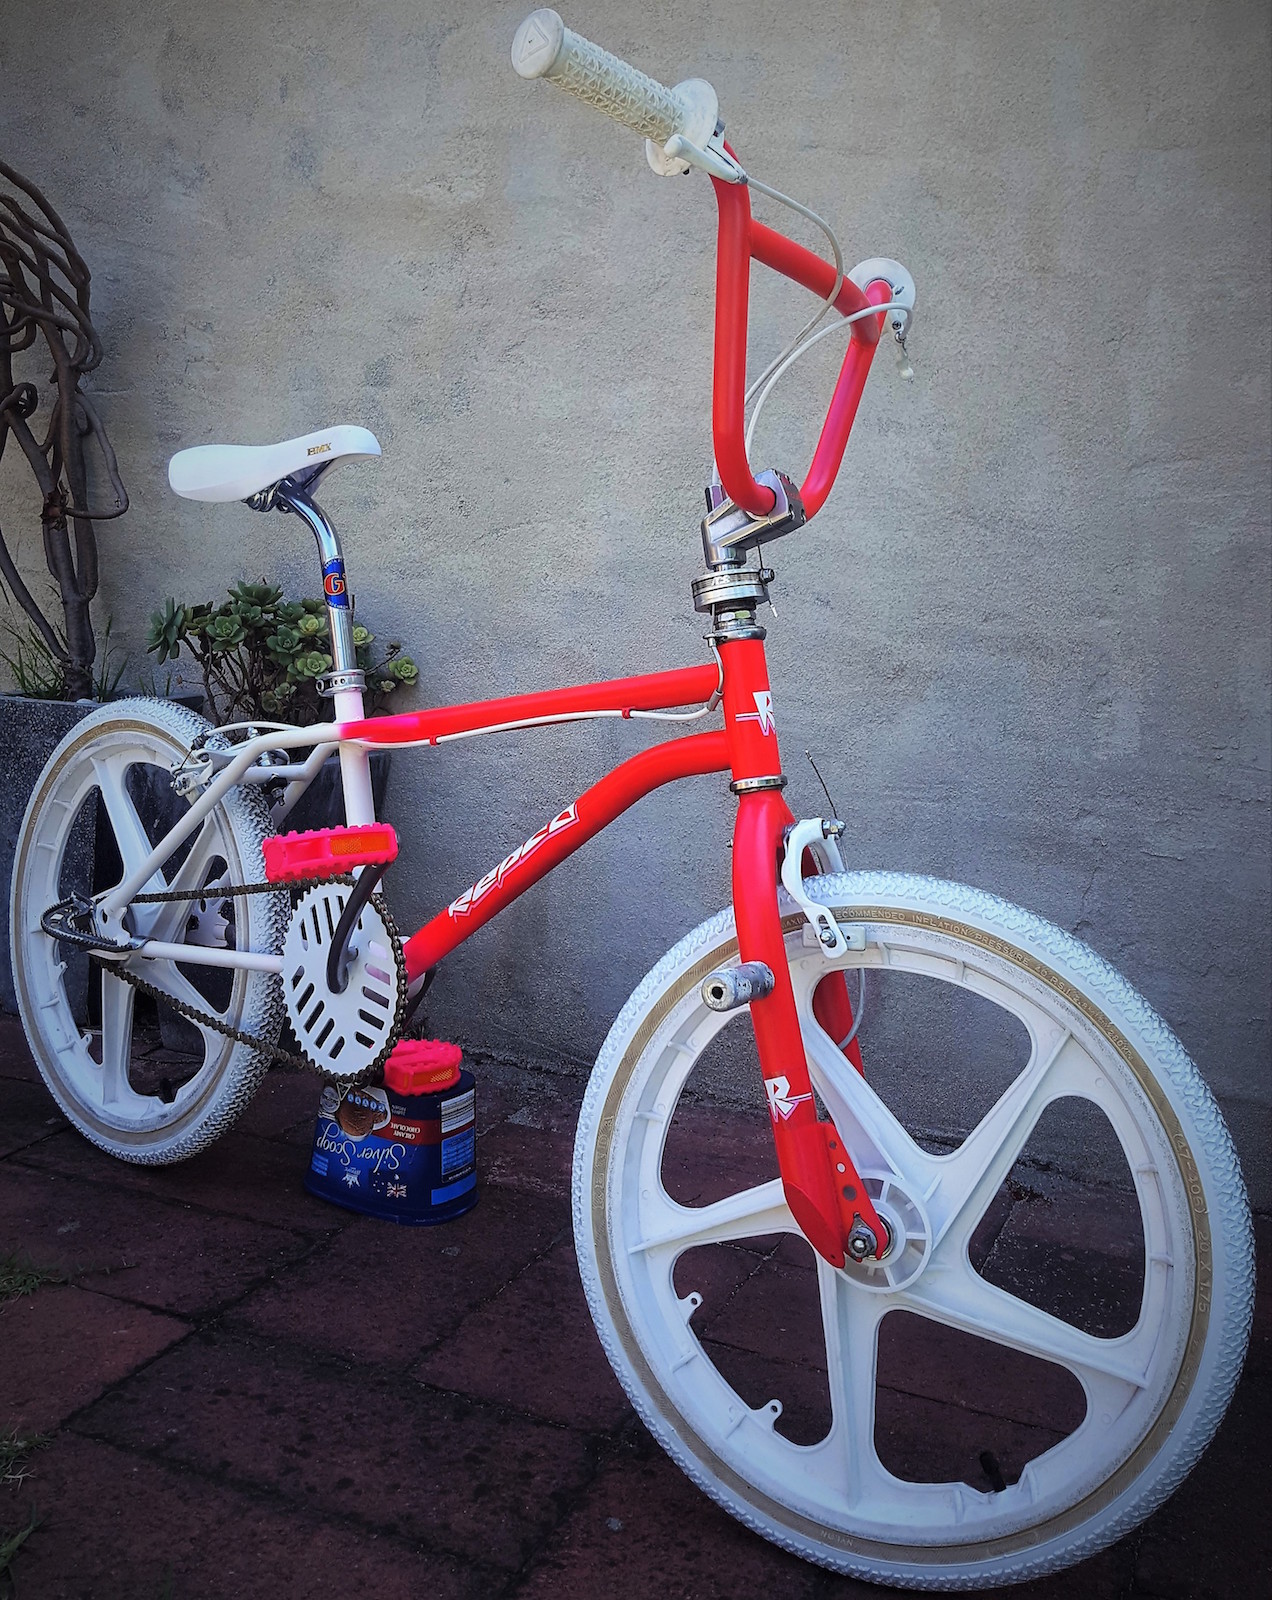
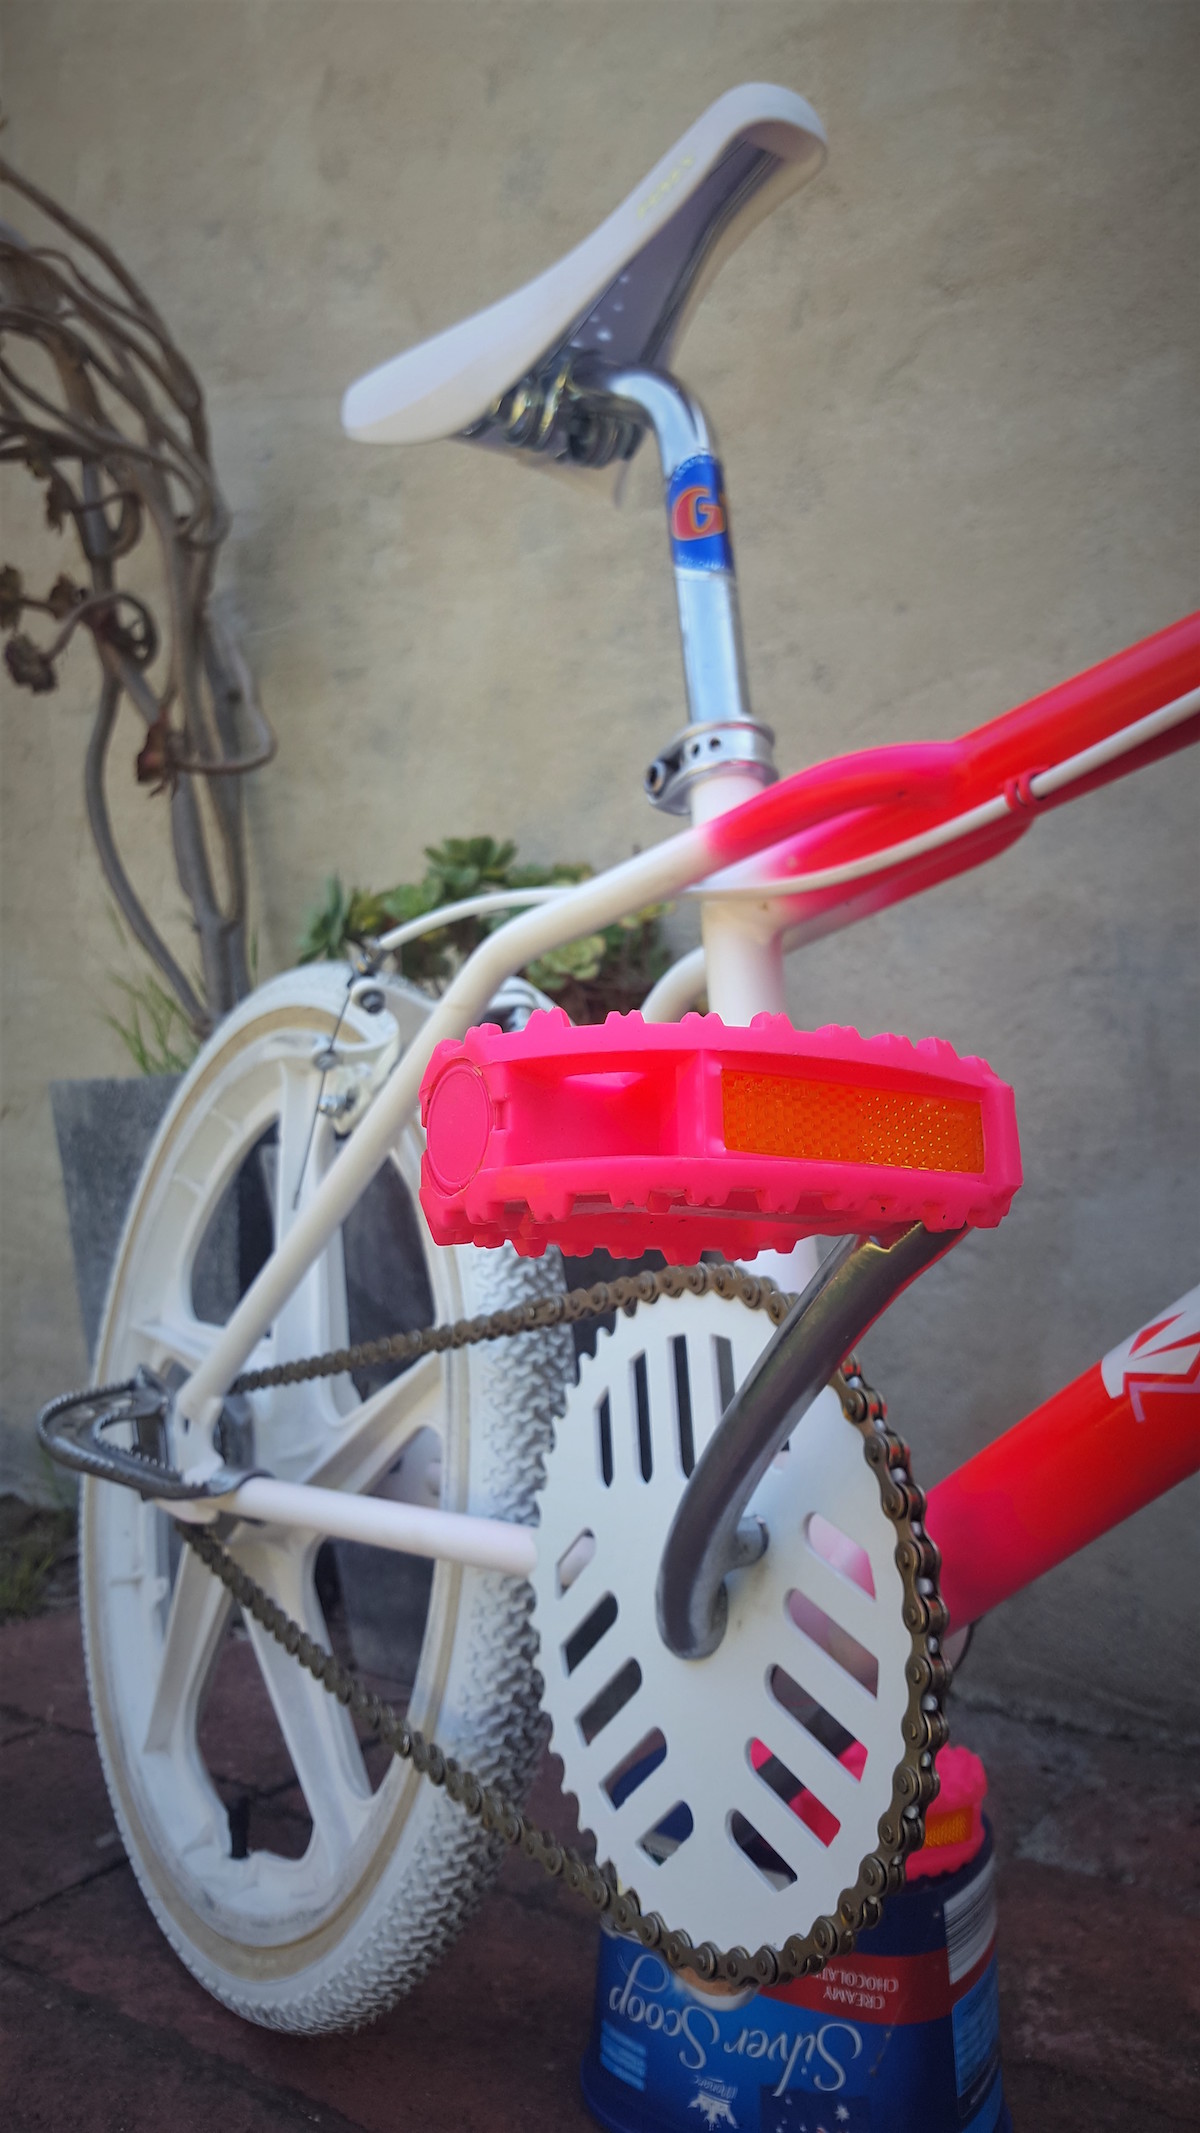
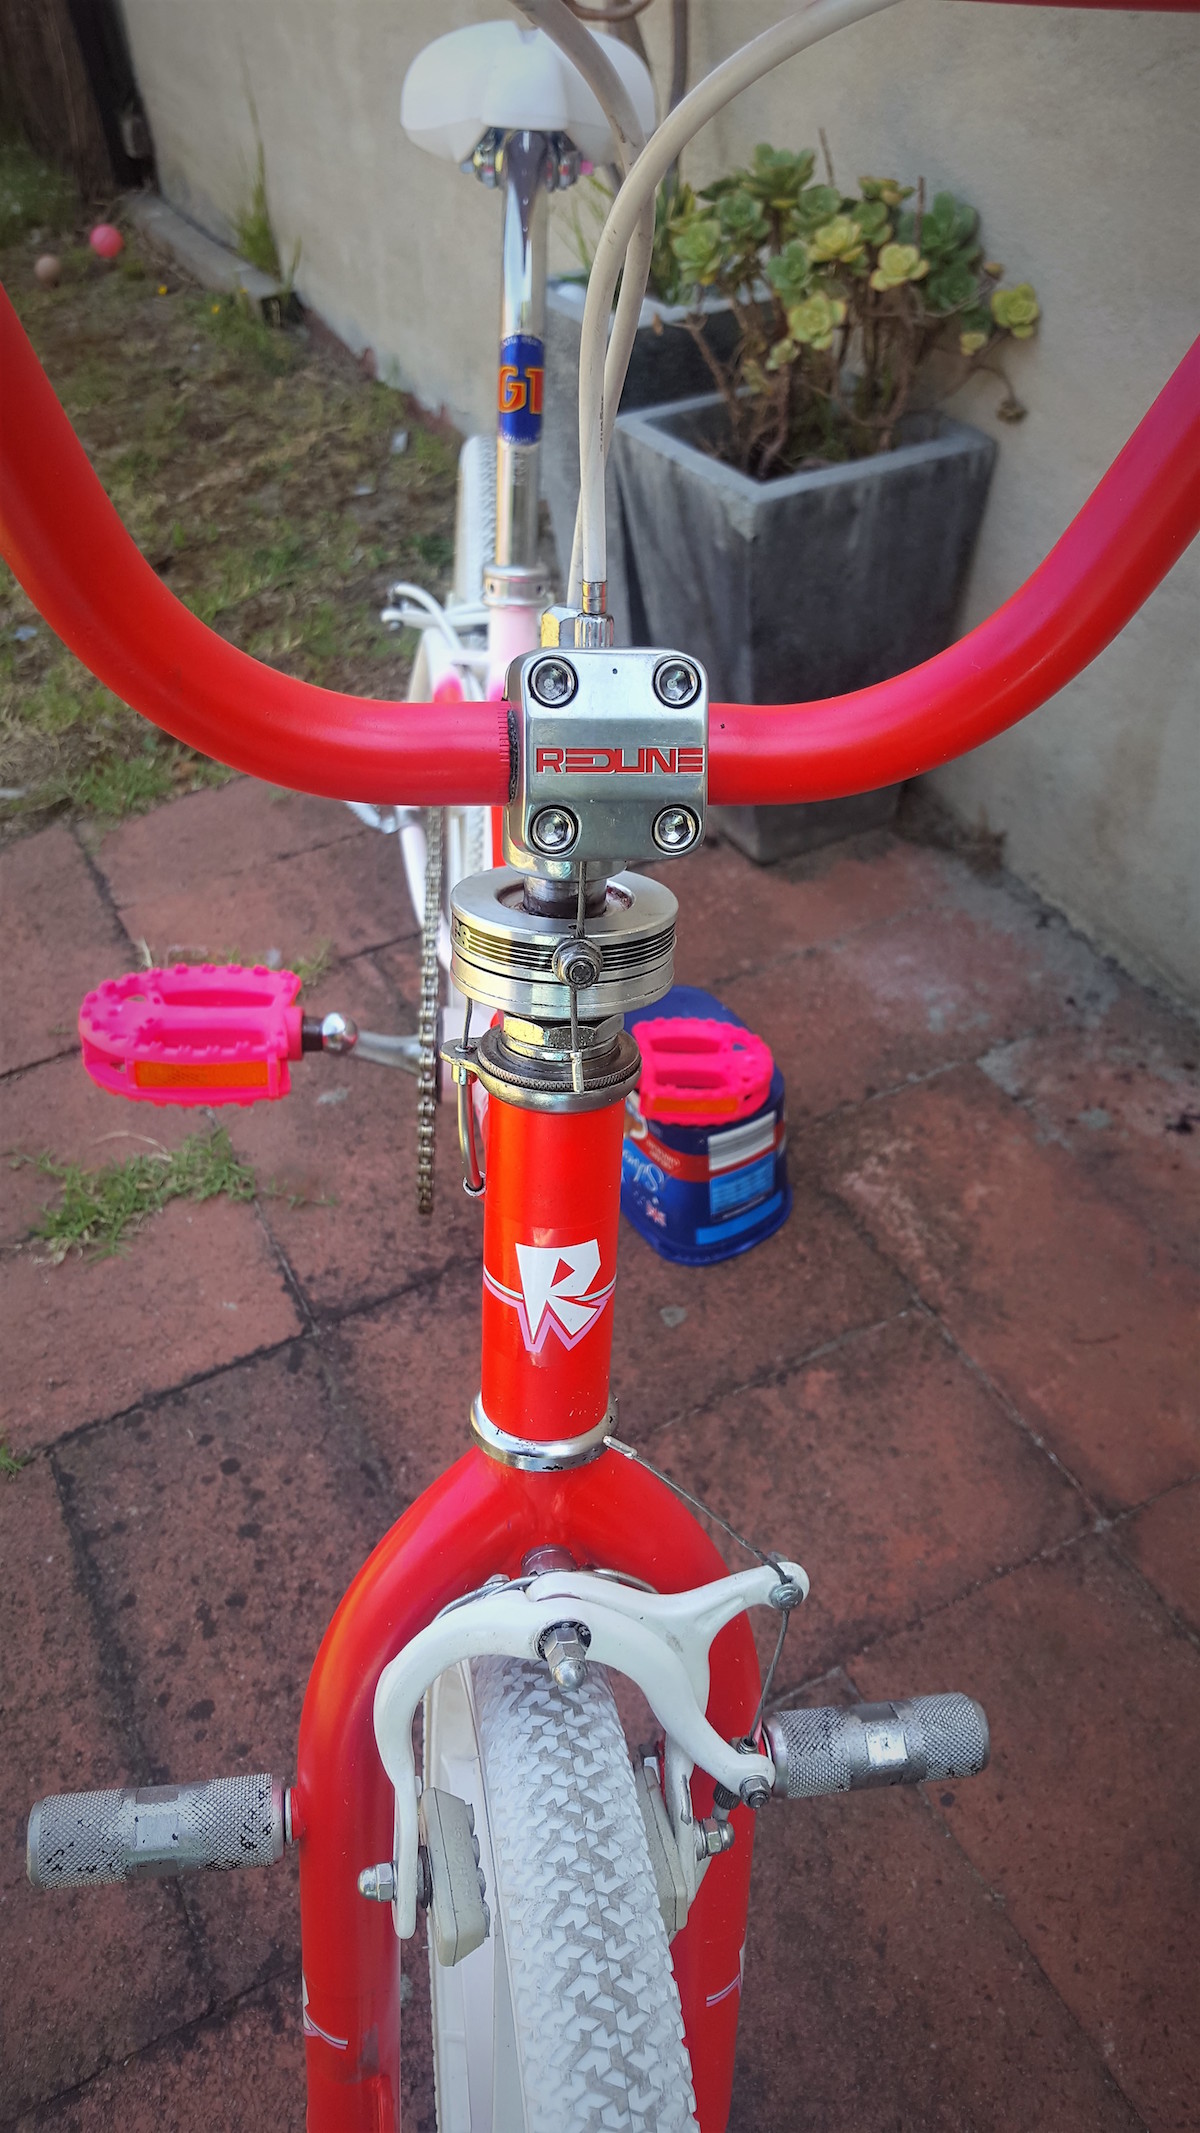
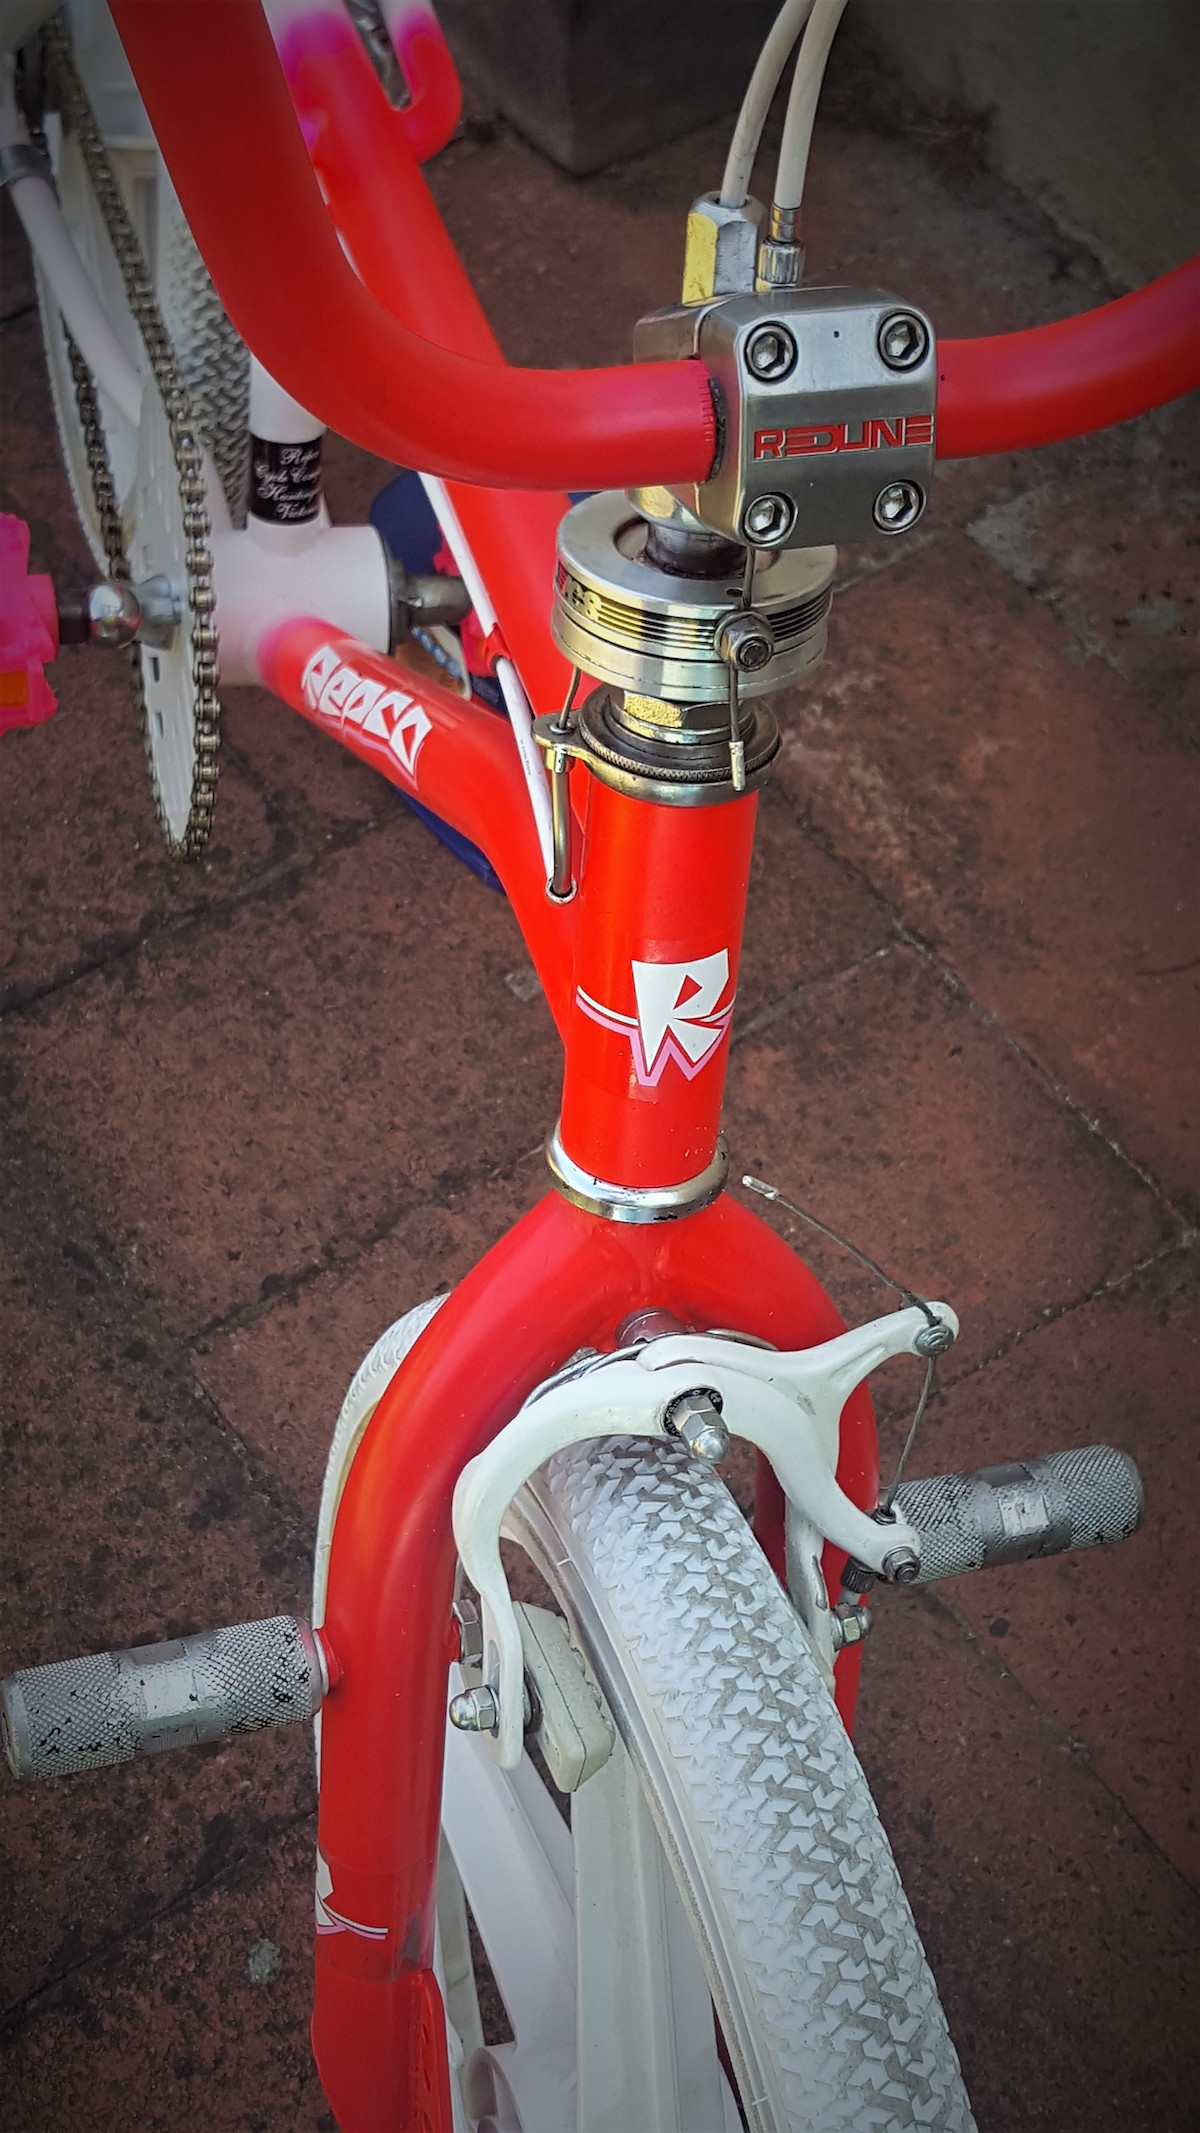
Complete
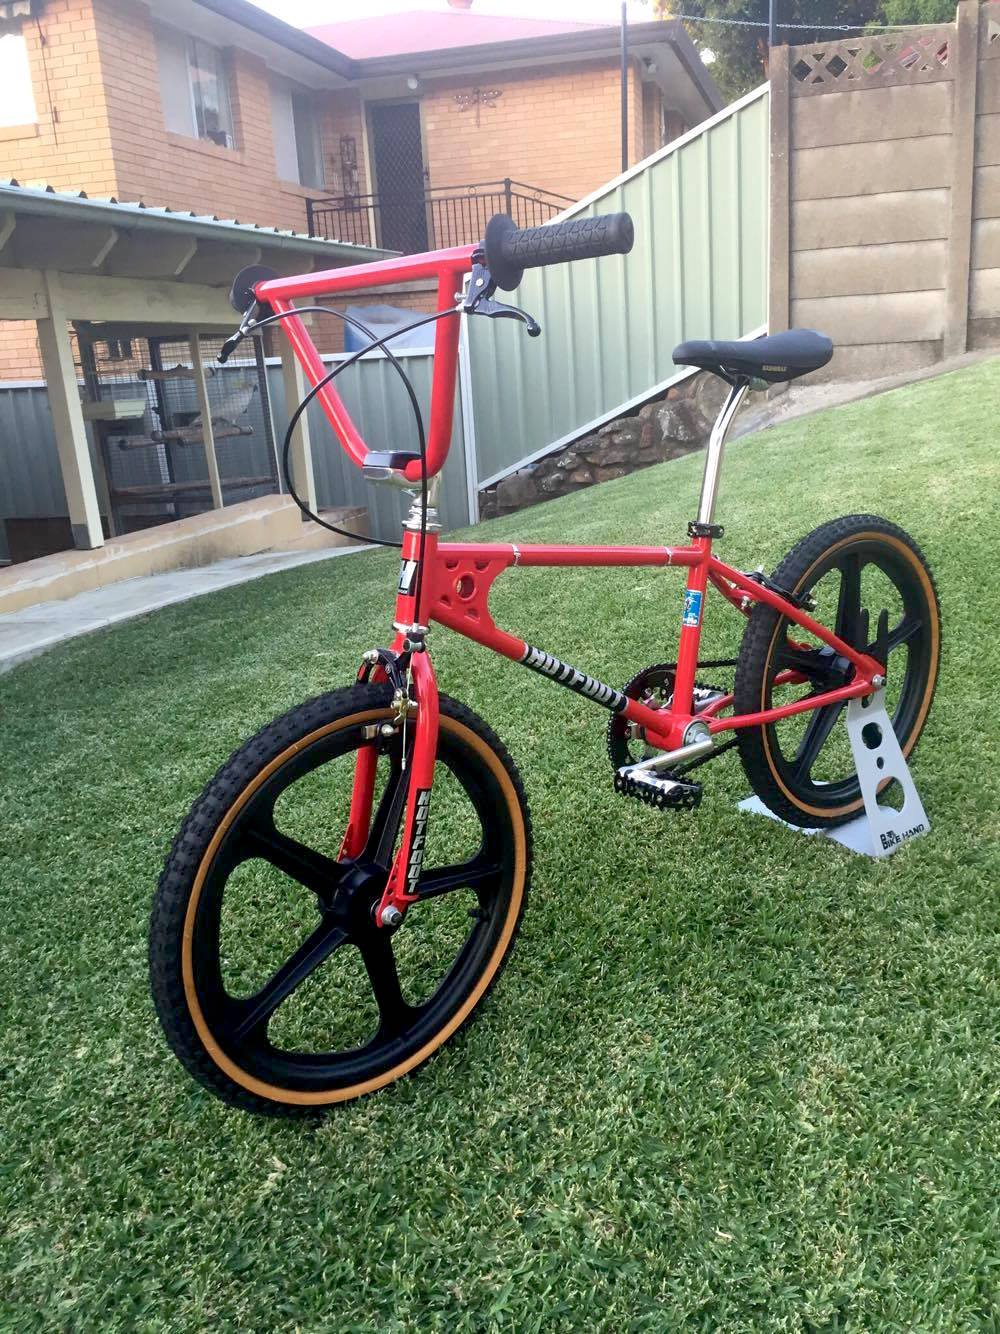
Finally I have got this beast together .. and I love the results though I wish I the bleaching of the wheels made them a bit whiter. The catalogues show that they were never really white but they were never this ivory colour either. Maybe one day I will find a NOS of Red Stones or concede defat and buy some new Skyways in white.
 |
 |
 |
 |
 |
 |
 |
 |
 |
||
|
||||


