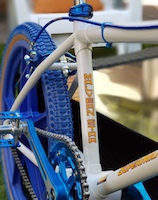
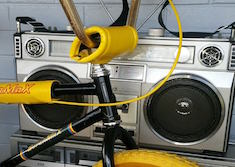
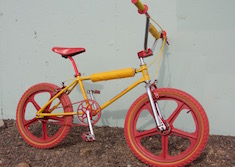
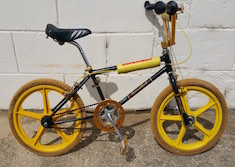
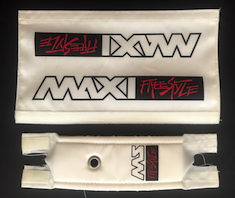
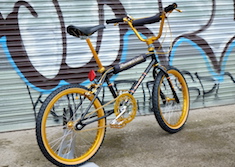
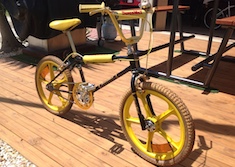
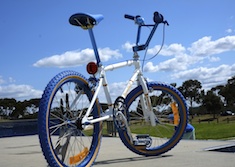
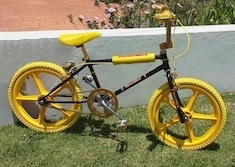
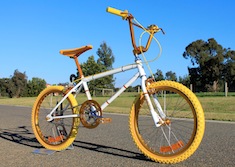
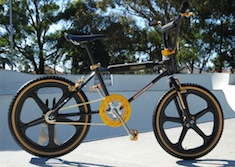
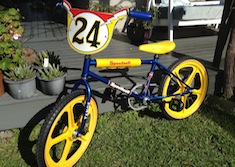
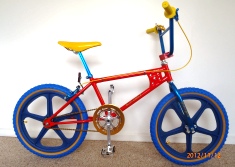
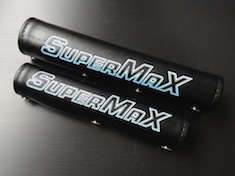
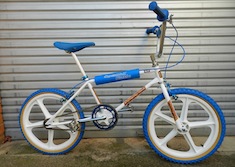
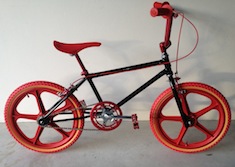
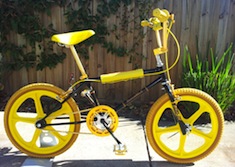
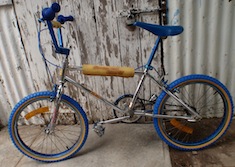
Malvern Star SuperMax, Maxi and Speedwell Sting
While researching information for my '81 SuperMax, '83 Speedwell Sting and up-coming '79 5-Hole gusset builds, I got so sick of finding information then losing it again that I started copying images of bikes, parts and advertising material into a single place. To assist others, I have reproduced this information over the following pages .. most of the information can be found on OzBMX and BMXMuseum and I am not pretending that this informtion will replace either of these valuable resources.
Please browse through all of the material I have collected:
|
If you have any Malvern Star or Speedwell information or photos, please forward them to me and I will add them to the site. I am especially interested in brochures and advertisements as these are most valuable when restoring bikes back to their original glory.
Restorations
- Zuno555: Series II Malvern Star Maxi
- Filmote: 5 Hole SuperMax
- OzBMXBandit: Series II SuperMax BMX Bandits Replica
Zuno555: Restoration of a Series II Malvern Star Maxi
A special thanks to Zuno555 (Tom) for submitting the series of photos below that detail the restoration of his Malvern Star Maxi. This build is not complete - Tom has already started to acquire parts to convert this Maxi into a SuperMax.
Before
The SuperMax and Maxi bikes came equipped with decent componentry - Tange seat post clamp, TX1200 pinch forks, headset and bottom bracket; Takagi chainring and cranks; and Shimano Tourney brakes and levers.
If carefully disassembled, the headset and bottom bracket can be reused if the bearing race is not pitted. Typically, the bearings themselves will need to be replaced or at a minimum washed in petrol or other solvent and repacked with grease.

|

|
|

|

|
|


|

|
Oxalic Acid Bath
Once completely disassembled, the paint can be stripped from the frame prior to the parts being soaked in an Oxalic Acid (OA) bath. This stuff is sold at hardware stores as a wood bleach and alternatively as a rust and stain remover.
The directions say to mix it to a ratio of 100g per litre of water but like all good science experiments you can vary the quantity. Typically, a lower concentration will work. Let the items sit for 24 hours in the solution then use a brush on the rustier sections before soaking for a further 12 hours. If you are unsure or have mixed a higher concentration then shorten the soaking period and inspect regularly. Remove the item and wash it down with water when the process is complete.

|

|
|


|

|
Paint
Some SuperMax models came with alloy ALPs bars that can be sanded back to remove any scrapes using wet and dry sandpaper. Start with a relatively coarse grit paper (100 or so) and work up to a very fine grain (say 1200 or even 2400). With enough elbow grease, the bars will look great at this stage but a polish will really make them sparkle. Steel bars can be polished, re-chromed or painted depending on their condition. When repainting with a candy or translucent colour, prepare the bars with an undercoat of silver paint prior to the top colour as Tom did.
When painting a frame by hand, ensure that the frame is suspended in an open space that allows easy access from all angles. This will ensure that you can spray evenly without having to turn the frame or having to paint the frame in two stages. Remember, avoid the temptation to spray thick coats as this will likely result in runs. Spray thin coats and sand lightly with 800 - 1200 grit between coats for best results.

|

|
|

|

|
|


|
Grips
Rubber grips and nylon seats can be dyed to achieve a NOS look. The dye penetrates the nylon as it is heated in boiling water and the addition of salt ensures that it sets. This stuff will stain everything it touches and Tom took no chances using a propane-fired barbeque. A real man would have thrown caution to the wind and taken over the kitchen - risking the wrath of the wife.
A couple of tips: Firstly, read the instructions - crazy idea but worth the time. Secondly, make sure that you continually turn items to ensure an even coverage. Lastly, remove the item and rinse in water to check the colour periodically. You can always return the item if the colour is not dark enough but, of course, you cannot lighten a too dark colour. Oz BMX contains a great thread on dyeing seats, grips and Tuff wheels here.

|

|
|


|

|
Nitto Stem
The original Maxi came with a Nitto MX1 stem. These stems are nowhere near as common as the later model MX2s found on later Series II and CrMo SuperMaxes. The top plate on Tom's bike was rusty and rather beat up so he sanded it back and sprayed it and the original stem silver.

|

|
|


|

|
Complete
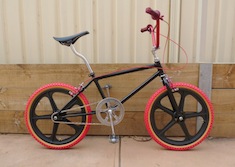
The completed bike looks great - what an effective combination red and black makes! The black Tuff wheels are an inspired choice as the black is bold but not overpowering as a red set might have been. Tom's next restoration project is this totally original Mongoose Motomag.

|

|
|

|
|
|

|

|
|


|

|
What Next?
Since these photos were taken, Tom has acquired a Nitto MX2 stem, the correct decals and a set of Tange TX1200W forks to complete the transformation from Maxi to SuperMax. As Tom wasn't completely happy with the paint, the new forks provide a perfect excuse to strip the bike down and rebuild it. A build is never complete ..


