Giant
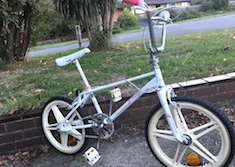
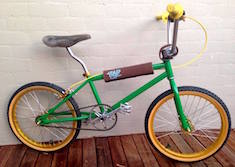
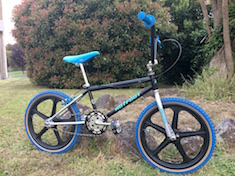
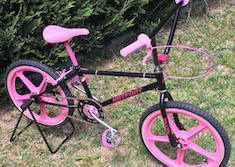
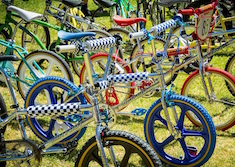
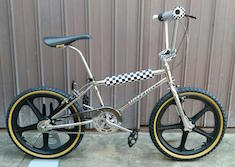
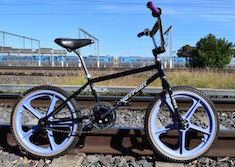
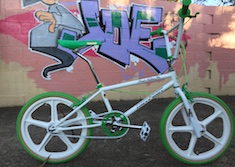
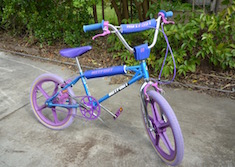
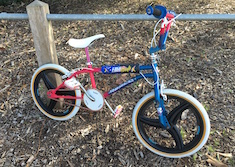
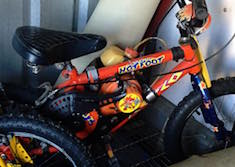
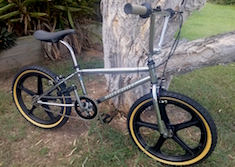
Giant made bikes for lots of companies in the '80s. In Australia, the Repco Hotfoot was made by Giant from approximately 1980 to 1985 when they then swapped manufacturers to Merida. While this was going on, Giant imported bikes and sold them to other companies - RoadMaster and the Melbourne Bike Company amongst others - and even sold their own branded version.
Please browse through all of the material I have collected:
|
If you have any Hotfoot information or photos, please forward them to me and I will add them to the site. I am especially interested in brochures and advertisements as these are most valuable when restoring bikes back to their original glory.
Restorations
- Todd Troutman: '85 Schwin Predator Streetwise
- Re-Rides: '81 Giant GMX-250
- Filmote: '80 Giant GMX-250
- Danny Pires: '80 Giant GMX-250
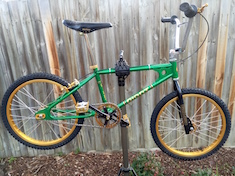
Filmote: Restoration of an '80 Giant GMX-250
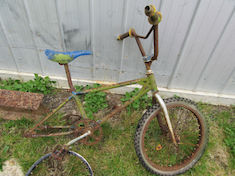
I had a Giant made looptail in my garage for a long time and was planning to restore it. It was pretty beaten up but with a lot of work could be made into a beautiful bike - the though of all of this work made me lose interest in the bike and I got rid of it. At that stage I had an '88 Repco Freestyle and an '81 / '82 SuperMax CrMo that I was building and I thought I would not miss it. I was wrong ..
- The Purchase
- All that Glitters isn't Gold
- Restoring the Dia Compe 890 Calliper
- Restoring the Bars
- Restoring the Stem
- Recovering the Seat
- Build Issues
The Purchase
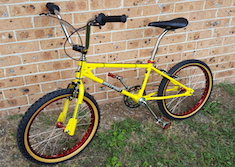
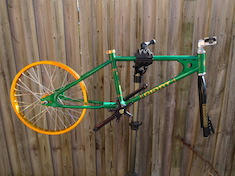
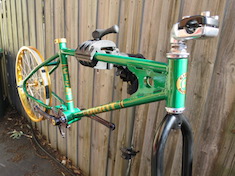
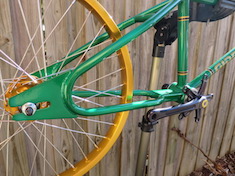
A few weeks after getting rid of my previous Giant looptail, I saw this frame and fork on eBay and knew I had to have it. It was already painted and stickered in the colours you see and I knew that is one less decision for me to make. The seller, Grant Nichols, didn't want to post the item though and I arranged for him to hold it until I could get it back to Melbourne.
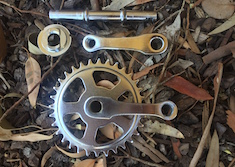
I had decided I wanted to get some restored wheels from Benny - Ukai rims and Shimano high-flage rims - and a set of Shimano 600 Arabesque cranks and as luck would have it, he was heading out to drop some items to Grant and agreed to pick up and post the frame and my new wheels to me. Happy days!
|
|
|

|
All that Glitters isn't Gold
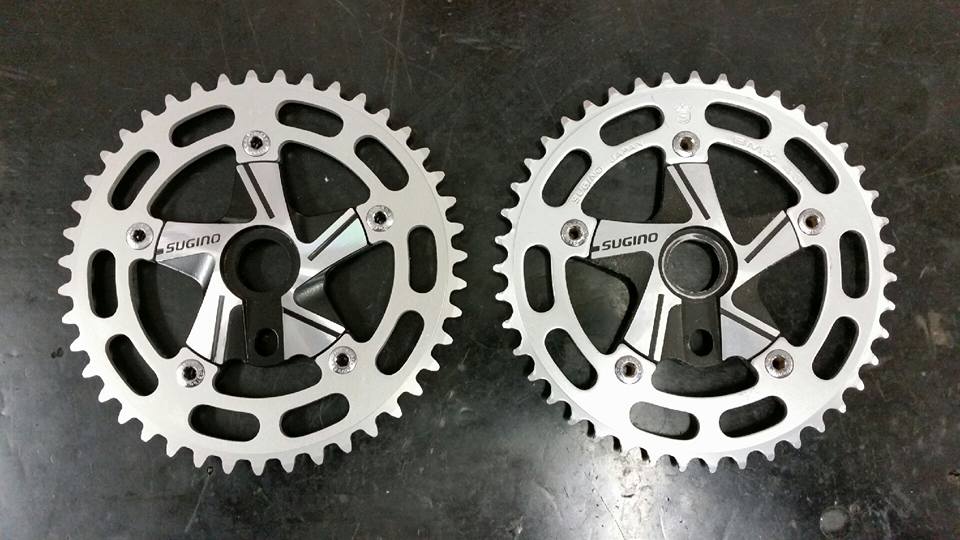
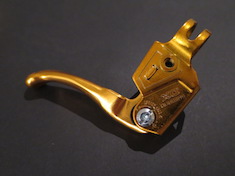
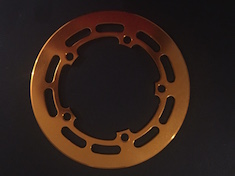
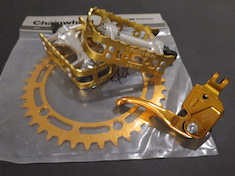
With the frame and accessories colours already decided for me, the collection for gold parts was on in ernest. Shimano parts were the obvious choice to match the 600 cranks that Benny was preparing and soon I had the NOS chain ring, DX lever and a Takagi chain ring guard. Not many people realise that Takagi was purchased by Shimano in the early 80s and thus it is in fitting with the Shimano theme.
The KKT pedals were sourced from the US and they are absolutely mint and in my mind are perfect for this sort of build. My other choice - the Shimano DX pedals - were way out of my price range and possibly might have looked a little heavy for this build.

|
|
|

|
|
|
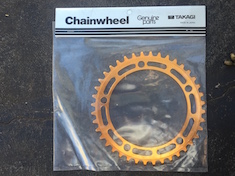
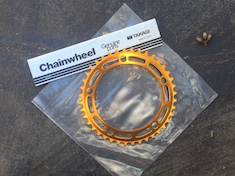
There is nothing like de-NOSing a part - taking it out of the bag after 30 or so years of it being protected from the elements and have the part immediate halve in value! I got to de-NOS the KKT pedals and the chain ring on this build.

|
|
Restoring the Dia Compe 890 Calliper
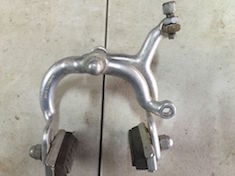
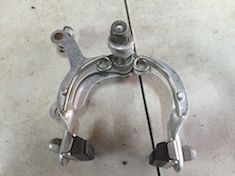
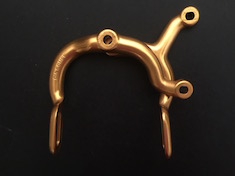
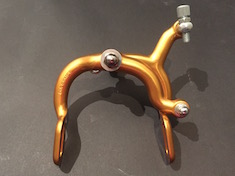
A lot of my builds have Shimano Tourney callipers on them so I decided to do something different on this build and found a nice Dia Compe 890 on eBay for $5. As you can see, it was in fairly good condition and after stripping it and removing some of the blemishes with wet-and-dry paper it was sent to Benny for him to perform some magic on it. The results were spectacular and after reassembling it with new hardware, it looks better than new!
|
|
|

|
|
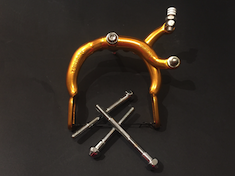
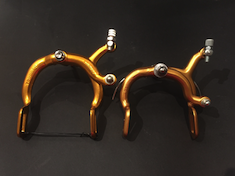
However, after reassembling it I test fitted it to the bike and realised it simply would not have enough 'reach' to sit properly on the rims of the rear wheel. At about this time I saw a set of mint Tourneys on OzBMX and bought these instead. You can see from the pictures below just how much larger the Tourneys are compared with the 890s. In retrospect, the bike was destined to have a lot of Shimano / Takagi parts - cranks, chain ring and brake lever - so maybe the Tourney was a better suit overall.

|
|
Restoring the Bars
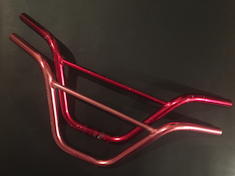
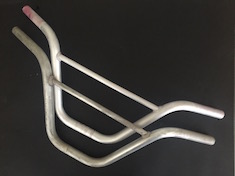
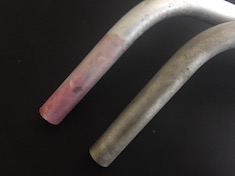
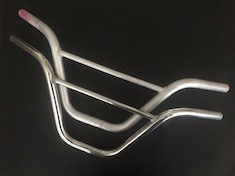
Still worried about the amount of gold in the build, I decided on a pair of raw alloy bars and the hunt was on for a set of Alps bars. I found a pair on Facebook - one a genuine set of Alps (the deep red ones) and the second an exact copy or (if I am being generous) a non-stamped set. Both had been knocked around a bit and required stripping and polishing.
I made a moderate caustic bath in my laundry sink from liquid 'Draino' and put both sets in - but nothing happened. I kept adding the Draino but even after adding the entire bottle in, the only activity was a small amount of bubbling from the welded area where the cross rail is welded to the main bar. I rinsed the bars off and went shopping for granular sink cleaner. This stuff is much stronger than the pre-diluted liquid stuff and things started to happen!/
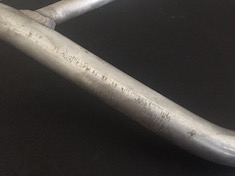
The pics below show the bars before and after the stripping. The red was hard to get off both sets of bars even with me agitating the surface regularly with a toothbrush. and I ended up stopping the process early before to much damage was done to the raw alloy but at the same time leaving some colour on the bar ends and in various spots where it had obviously penetrated the metal more.
|
|
|

|
|
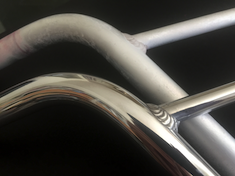
Alloy is fun to work with and any schmuck can produce a decent finish. As usual, I started removing the major gravel-rash and other marks with 80 grit wet-and-dry paper then worked my way up to 1,200 grit. I had to leave some of the deepest gouges as to remove them would require removing a lot of the metal surrounding them I like to think these marks add character to the bars and show they were not NOS prior to mounting. The top two pictures show the bars part way through the sanding process against the stripped second set of bars - a shine is starting to build but nothing compared to what polishing will reveal.
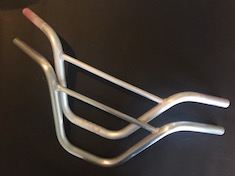
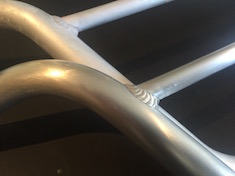
I polished the bars on my trusty wheel and not once but twice had the bars slip onto the spindle wrecking the finish and adding a new set of gouges. Each time I stopped polishing and returned to the wet-and-dry, removing the gouge and feathering the sanded area using the various grades of paper into the remaining areas. The finished result is shown below the 'before' pictures and the result looks better 'in the flesh' than the pictures would suggest.
|
|
|

|
|
Restoring the Stem
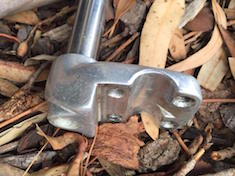
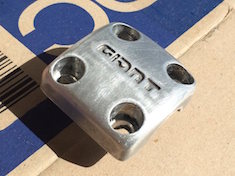
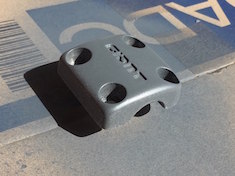
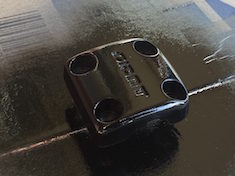
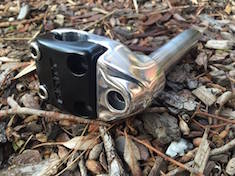
While waiting for the frame to arrive, I found this Giant stem on eBay US. It is for a later bike - probably a mid 80s - but would look great on the build. Again, I restored the base using some wet and dry paper and then a quick polish. The top was sanded back, etch primed and then coated in Satin black. That wet paint looks really thick in the pictures but dried to leave a nice, flat coat of paint.
|
|
|
|
|
|

|
Recovering the Seat
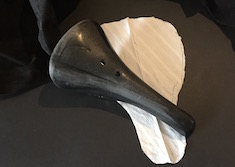
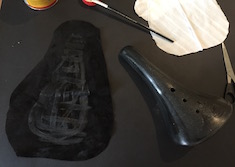
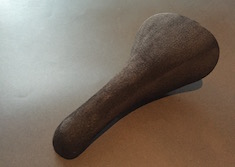
Nearly all of my bikes have a nylon Kashimax, Dominator or similar seat and I wanted this one to be different. I was looking to buy one of the suede covered Kashimax Aero seats but I saw some seats that Lucien had covered and was inspired. A quick conversation with him confirmed that it was easiest with split pig suede as this is relatively thin and can fold around the tight corners of a seat easily.
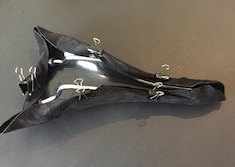
I started with a scuffed Viscount seat and sanded the bumps flat. I then coated the top of the seat ans the centre of the pig with contact adhesive and glued the skin on, ensuring it was lined up correctly. At this point, I wrapped the sides under the seat and pinned them down with some paper clips until the top dried. The sides were not glued over the edges yet but I wanted to ensure that the skinn would not move around.
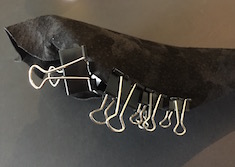
Taking it slowly, I glued the edges down moving from the sides to the back. I would tackle an inch at a time, planning where I wanted the skin to sit - due to the shape of the seat, you are always trying to gather the suede back towards the sides and away from the curves. The suede will stretch a little and 'scrunch' up nicely and assume the shape you squish it in. Once, happy I glued the area and placed bulldog clips on the area to prevent the skin from moving.
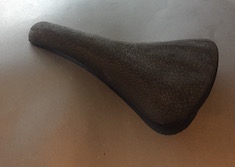
The last two shots show the completed seat. Being suede, fingerprints and the various directions the nap is brushed in makes the seat take on a variety of different hues. Mine is definitely black but can look grey at times or even brown as in the photos.
Thanks Lucien for talking me into having a go at this.
|
|
|
|
|
|

|
|
Build Issues
All builds present a number of issues that you never expect and this build was no exception. Firstly, I bought a bottom bracket for the Shimano 600s and I had a bitch of a time fitting it and had to resort to a rubber mallet to 'persuade' the bearings to fit.
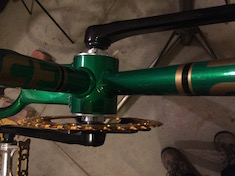
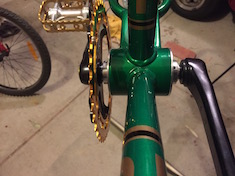
My second issue was that the cranks would not sit correctly on the spindle resulting in them sitting further away from the centerline and in turn making the whole set up look very wide and the chain line not lining up correctly. I determined that this was due to the chamfered edges of the spindle and I managed to grind the shoulders of this and then the spindle bottomed out on the back of the cranks. This brought the cranks back in towards the frame but the chain ring and freewheel line still did not line up exactly. Bearing in mind that the Shimano cranks were originally designed for a road bike, I cut my losses and bought some 2.5mm chain ring spacers to fix the problem.
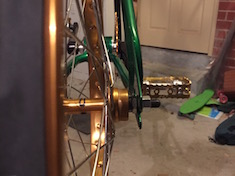
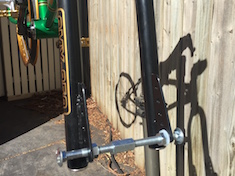
My final issue was the spacing on the forks was a little too narrow for the Shimano hubs on my shiny, new wheel set by 3 or 4mm. I didn't have the strength to splay them with one hand while inserting the wheel with the other so I built a little tool to spread the forks ever so slightly and hoped it would spring back to a slightly wider track. Unfortunately, this didn't work so I had my wife help fit the wheel while I splayed the forks manually. Unfortunately, this too did not work and I resorted to taking the cone lock nuts off the hubs. This did work.
|
|
|

|
|
Bolting it all Together
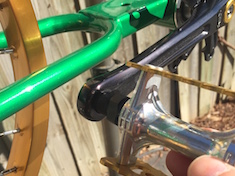
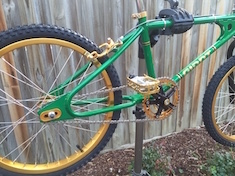
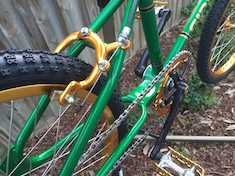
At this point it was a simple matter of bolting it all together. As with the chain ring above, there was some excitement about fitting a NOS set of pedals to the bike and lamenting on the fact that they would never be NOS again. The best I can hope for is 'Show Fitted, Never Ridden' if and when I go to sell them.
|
|
|

|
|
The bike is complete .. but are they ever complete?
|
|


